Last updated November 17, 2026


Free written scope consultation - allowances, timeline, and change-order rules on paper before a single trade is scheduled
Driveway & Pavers Troubleshooting: Common Problems and How to Fix Them
Replacing a sunken paver without probing the base beneath it is the driveway equivalent of patching a ceiling without finding the roof leak. The same paver will sink again within one rainy season. We’ve watched this play out on Fremont driveways from Ardenwood to Mission San Jose: a homeowner pays for a spot fix, the surface looks flat again, and by February the low spot is back within an inch of where it started. The surface layer tells you almost nothing. The fix lives underneath it. This guide walks you through diagnosing the actual layer responsible for whatever you’re seeing, then matching the repair to the cause, including the point where patching stops making financial sense.
Quick Answer
Most driveway paver problems come from one of four layers failing: the sub-grade, the base aggregate, the bedding sand, or the edge restraint. Rocking and spreading usually mean an edge failure. Sinking and persistent puddles usually mean a base or sub-grade problem. Staining and white haze are surface chemistry issues and don’t require excavation at all. Diagnose the layer before you spend money, because the fix for sand migration costs a few hundred dollars and the fix for a base failure costs several thousand, and the two look nearly identical from standing height.
Table of Contents
- Symptom-to-Layer Decision Tree
- How to Use a 10-Foot Straightedge and a Moisture Meter
- Rocking Pavers: The Edge Restraint Problem
- Sinking and Settling: Base or Sub-Grade Failure
- Efflorescence vs. Oil Staining: The Right Cleaning Chemistry
- Spot Repair vs. Full Section Removal: The Five-Year Math
- What to Photograph Before Any Repair Begins
- Common Mistakes to Avoid
Symptom-to-Layer Decision Tree
Start with what you can see. The visible symptom narrows the diagnosis faster than anything else, and it keeps you from excavating the wrong part of the driveway.
- Rocking pavers: typically an edge restraint that has tilted, cracked, or heaved away from the field, letting the field spread outward. The bedding sand washes into the gap. Look at the outer perimeter first.
- Sinking in a localized area: bedding sand migration under a void, or a base aggregate that was never compacted in lifts. Two different repairs with a wide cost gap, which is why the straightedge test matters.
- Spreading joints across a whole section: usually a failed restraint combined with insufficient joint sand. On a slope, it can also be sub-grade creep.
- Persistent puddles in the same spot after rain: a low point in the base, not the surface. Resetting pavers to level over a bent base leaves the water exactly where it was.
- White haze or powder on the surface: efflorescence, a mineral deposit drawn up from the base through the paver. Cosmetic, but informative: it usually means moisture is moving through the system.
- Dark oil-like blotches: organic staining, from vehicles, tree sap, or irrigation runoff. Surface chemistry, no excavation needed.
Two of these six point to the very bottom layer. That’s the pattern worth remembering, and it’s why we recommend probing before pricing any repair in Fremont, where our winter rain cycles test drainage more aggressively than most of the Bay Area.
How to Use a 10-Foot Straightedge and a Moisture Meter
The single most useful test a homeowner can run is cheap and takes ten minutes. It also decides whether your repair is a couple hundred dollars or a couple thousand.
- Lay a 10-foot straightedge across the suspect area, running in the direction water should drain. A long level works; a straight 2×4 works too.
- Measure the gap at the lowest point. Under 1/8 inch across 10 feet is normal and needs no attention. Over 1/4 inch is a real low spot worth diagnosing.
- Now check whether the low spot moves. If the pavers have shifted sideways into a joint gap, the sand is migrating and the surface is settling into a void, not the base.
- Probe a joint with a screwdriver or a thin metal rod near the low spot. If it drives in easily and comes up wet, the bedding sand is saturated and the base beneath may be holding water.
- Use a pin-type moisture meter on a paver pulled from the low spot. Readings above 20 percent in the paver body, or standing water under a lifted paver, point to base or sub-grade drainage rather than sand migration.
- Compare the opposite side of the driveway. If a repair was done years ago, a differences in settlement between the old and new sections tells you whether the original base was compacted properly.
A surface that’s low because sand washed away under a still-solid base costs a fraction of a surface that’s low because the base itself settled. That distinction is the whole game, and it’s the one most spot repairs skip. If you want the full picture of how we build a driveway so it doesn’t fail this way, our Driveway & Pavers in Fremont page walks through the base preparation step by step.
Rocking Pavers: The Edge Restraint Problem
A paver that rocks underfoot is almost always a paver with nothing holding its neighbor. The edge restraint, the concrete or plastic border that locks the outer course of pavers in place, has failed. Once it tilts or cracks, the field spreads outward, joints open, and sand escapes. The pavers themselves are fine. The perimeter isn’t.
To check: kneel at the edge of the driveway and look down the outer course. A restraint that has lifted off the base, cracked at a corner, or pulled away from the asphalt or concrete it butts against is the culprit. On Fremont properties with clay-heavy soil, we also see restraints heave in a wet winter and settle in a dry summer, which is why a rigid plastic restraint backed by a properly compacted base outperforms a thin concrete curb over the long haul.
The repair sequence, in order:
- Remove the outer course of pavers to expose the restraint.
- Clear the old restraint and any loose base material beneath it.
- Re-compact the base aggregate in lifts no more than 4 inches deep.
- Set a new restraint, pinned into the compacted base, then re-lay the outer course.
- Re-sand the joints and vibrate the field back into compression.
West-facing driveways in Ardenwood see afternoon sun most of the year and dry-cycle hard, which stresses a marginal restraint faster than a shaded driveway. If your rocking starts on the west edge, suspect the restraint, not the pavers.
Sinking and Settling: Base or Sub-Grade Failure
Sinking is the expensive one, and the most important step is distinguishing it from sand migration because the repairs differ by thousands of dollars. Sand migration means the bedding layer (usually 1 inch of coarse sand) has washed out from under a void. The pavers drop into the void, but the base aggregate beneath is still solid. Base failure means the compacted aggregate itself has settled, which means the repair has to reach the bottom layer.
Run the straightedge test first. If the low spot is shallow and local, and a probe under a lifted paver reveals firm base aggregate, it’s sand migration and a reset with fresh sand is a sound repair. If the depression is broad and deeper than an inch, or if you find standing water, softened aggregate, or a base that hasn’t been compacted in lifts, the fix is section removal and base rebuild. There’s no shortcut around it.
In Fremont, base failure is often a drainage story rather than a compaction story. Our expansive soils hold water, and a driveway with insufficient slope or a downspout that discharges onto the pavement will keep the base saturated long enough to soften the aggregate. Look for the downspout before you price the repair.
Efflorescence vs. Oil Staining: The Right Cleaning Chemistry
These two problems look similar and require opposite chemistries. Pick wrong and you’ll pit the surface of the paver, and no amount of care later undoes that.
- Efflorescence (the white, powdery haze): salt deposits carried to the surface by water migrating through the paver. Use a dilute muriatic acid wash at roughly 10:1 water to acid, applied to a wet surface, left a short time, and rinsed thoroughly. Never apply to a dry paver. And never apply to concrete pavers with metallic pigments or a sealant on them, where the acid can damage the finish.
- Oil, grease, and organic stains (dark blotches): an alkaline cleaner or a dedicated paver degreaser. Acid on oil makes it worse and pushes the stain deeper. If you use muriatic acid on a stain that turns out to be oil, the acid won’t move it and will etch the paver in the process.
Test in an inconspicuous corner first. On Belgard and Techo-Bloc pavers in particular, the surface finish varies by product line, and an aggressive acid wash on a textured or sealed face will show.
What most homeowners miss: if efflorescence keeps coming back more than once in the same spot, the moisture feeding it is the real problem. Cleaning is the cosmetic answer. Sealing, drainage correction, or base work is the real one. You’re back to the base layer again.
Spot Repair vs. Full Section Removal: The Five-Year Math
This is where homeowners run out of money against a problem they could have solved once. A spot repair on a base failure will fail again, usually within 18 months to two years. Two or three of those, at typical line-item ranges of $200 – $600 per spot depending on scope, quickly cost more than a single section rebuild.
The decision threshold we use: if a spot repair is on a sound base, it’s structurally sound and worth doing. If the defect is deeper than the base layer or covers more than roughly 15 to 20 percent of the driveway, replace the whole section. Over a five-year window, section removal is frequently cheaper, and it eliminates the recurrence problem instead of postponing it. A section rebuild in Fremont typically lands in the $2,500 – $6,000 range for a two-car driveway area, depending on square footage, paver choice, and how much base has to come out.
One more factor: matching. Older pavers fade. A spot repair on a 12-year-old driveway will show, and a section rebuild gives you the chance to rework the drainage slope. Sometimes the cosmetic argument and the structural argument point the same direction.
What to Photograph Before Any Repair Begins
If you ever need to make a warranty claim or discuss contractor liability, the photos you take before excavation does the talking. Take these, save them with a date and a note about the weather that day:
- The full driveway, straight on, one photo from each side.
- Close-ups of the problem area with a tape measure or a coin for scale.
- The straightedge test in progress, showing the gap.
- A photo of any lifted paver with the sand and base exposed underneath.
- The edge restraint and the downspout or grading at the perimeter.
- Your invoice and warranty from the original install, if you have them.
The photo record is also part of how we work. On every driveway visit, we hand the homeowner a documented photo record of what we found and what we did, not a verbal description. That’s under the Haven Standard, the same discipline that puts a written price in front of you before any work starts and keeps changes on a signed change order. If you’re considering a repair, ask any contractor for a written scope and a photo record; a legitimate one won’t flinch.
Common Mistakes to Avoid
- Resetting a low paver over a bent base. It’ll look fine for one season and fail again. Probe first.
- Using muriatic acid on stains you haven’t identified. Acid on oil is the wrong chemistry and pits the surface.
- Top-dressing with more sand without fixing the drainage. You’ll add material, not solve the moisture problem, and the sand returns to the joint in one winter.
- Ignoring the downspout. Discharge that lands on the pavement is a base problem waiting to happen.
- Skipping the edge restraint inspection on a spreading joint. Resetting the field without a new restraint is effort thrown away.
- Patching past the 15 to 20 percent threshold. The recurrence math is against you.
- Not photographing the failure before excavation. You lose the documentation a warranty claim might need.
Styles & brands we work with
- Kitchen remodeling
- Bathroom remodeling
- Home additions & ADU
- Roofing
- Windows & doors
- Driveway & pavers
- Fence
When to Call a Professional
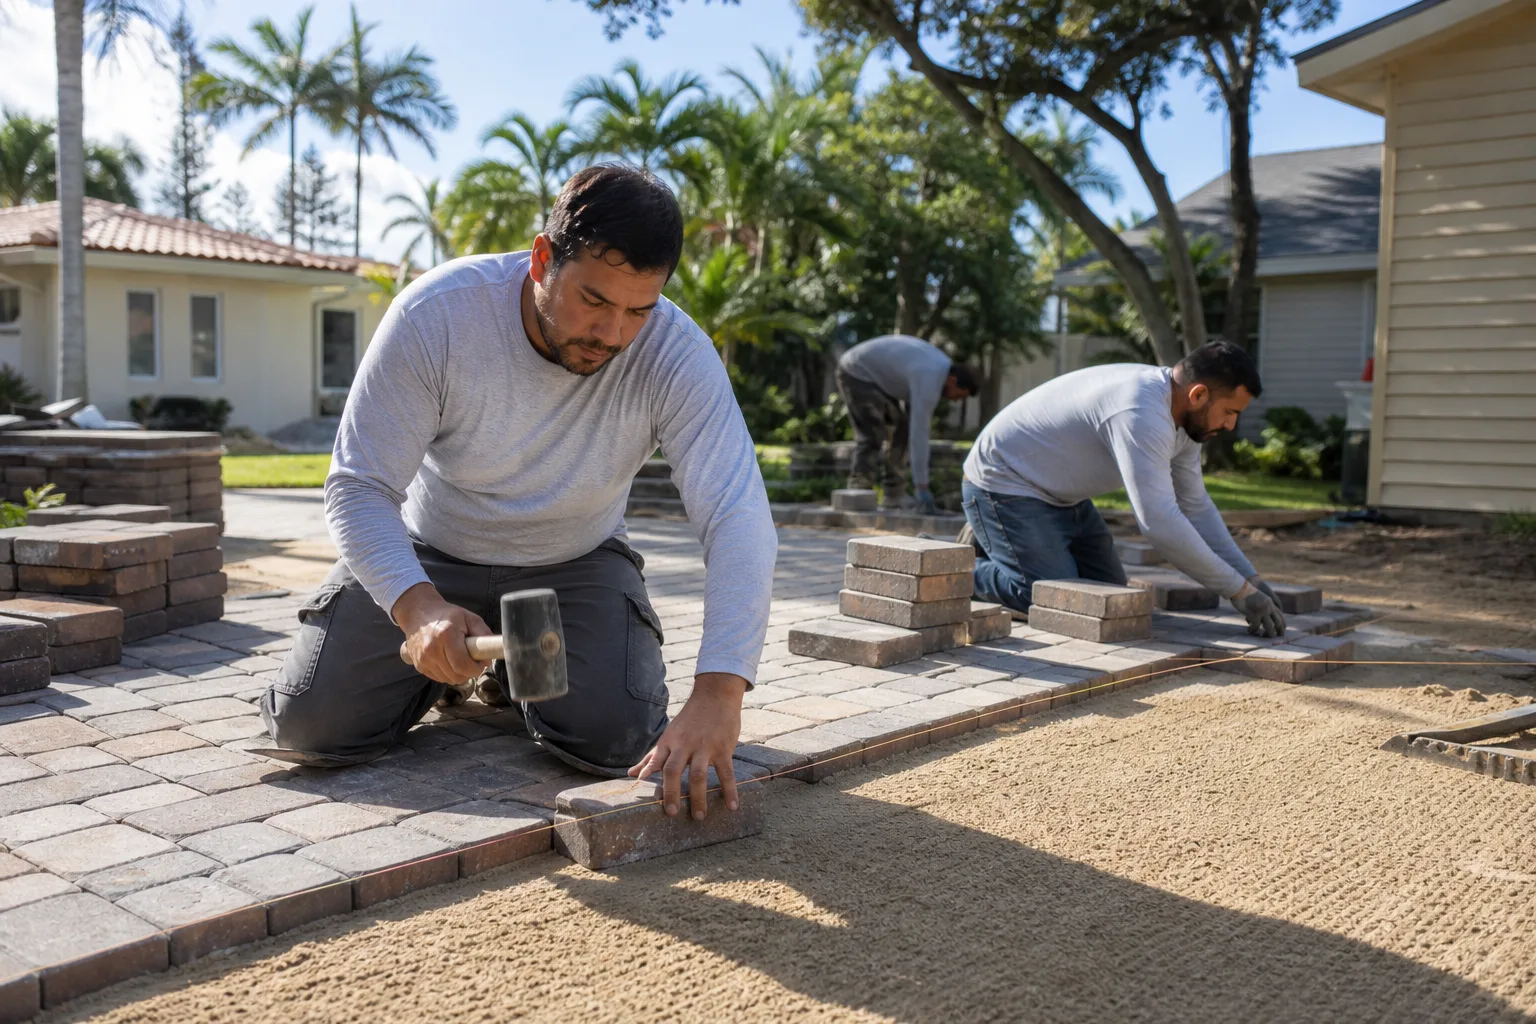
Most homeowners can handle the straightedge test, the stain identification, and the photo record. The work that reaches the base is a different matter. Call a contractor when a low spot is deeper than 1 inch, when water pools for more than a day after rain, when the same spot has already been repaired and failed again, or when a section covers more than about 20 percent of the driveway. Excavation, base compaction in lifts, and drainage slope correction are the parts that decide whether the repair lasts five years or fails by the next wet season. Rowan Construction Group Fremont offers free estimates in Fremont, with a written scope and a flat price before any work starts. Call (866) 797-6171 to schedule yours, and bring any old estimate for a free second opinion reviewed line by line. If the repair turns out to be part of a larger plan, our Rowan Construction Group Fremont home page shows how the seven trades connect.
Frequently Asked Questions
Because most repeat sinking is a base or sub-grade problem that a surface-level repair doesn’t address. Resetting a paver over a base that has settled or softened just hides the failure until the next wet season. The fix is excavation to the compacted base, checking for drainage, and rebuilding the section. Call (866) 797-6171 for a free estimate that diagnoses the right layer first.
Spot repairs typically run $200 – $600 depending on scope, while a section rebuild for a two-car area usually lands in the $2,500 – $6,000 range depending on square footage, paver choice, and how much base has to come out. These are job-dependent, so the useful number is the written quote you get after the base is probed. Call (866) 797-6171 for a flat written price before any work starts.
That’s efflorescence, a mineral salt deposit drawn to the surface by moisture moving through the paver, and it’s cosmetic rather than structural. A dilute muriatic acid wash cleans it, but if it keeps returning, the moisture feeding it is the real issue and points to drainage or base work. Have the drainage checked before you re-clean a third time.
No. Acid and oil are the wrong chemistry; the acid won’t lift the oil and will etch or pit the paver surface. Use an alkaline cleaner or a paver degreaser for oil, and reserve dilute muriatic acid for efflorescence. Test any chemistry in an inconspicuous corner first.
In many cases, no, but it depends on whether the work touches the public right-of-way, changes the drainage pattern at the curb, or is part of a larger improvement. If any of those apply, check with the city before excavation. A contractor who pulls permits and documents the inspection record is the safer route. Ask that question at the estimate stage.
If the defect is on a sound base and covers under roughly 15 percent of the driveway, a spot repair is structurally sound. If the failure reaches the base layer or covers more than 15 to 20 percent, a full section removal is usually cheaper over five years than two or three repeat patches. The straightedge test plus a base probe settles it.
The Bottom Line
Paver problems are almost always a message about a layer you can’t see. Rocking points to the edge restraint. Sinking points to sand migration or the base. White haze points to moisture moving through the system. Match the fix to the layer, use the straightedge test to separate a cheap repair from an expensive one, and photograph the failure before anyone touches it. If the diagnosis reaches the base or covers more than a fifth of the driveway, stop patching and rebuild the section. That’s the difference between fixing a driveway once and fixing it every season. When in doubt, get the base probed by someone who’ll put the price in writing first. That’s how we quote at Rowan Construction Group Fremont, and it’s how the driveway stays flat in Fremont next spring.
Ready for a diagnosis you can price? Call (866) 797-6171 for a free estimate, or bring a competitor’s written quote for a free second opinion. If your project grows into a bigger plan, you can also look at Fence Installation in Fremont and Home Additions & ADU in Fremont to keep the whole property in one scope.
Written by the team at Rowan Construction Group Fremont.
See the difference
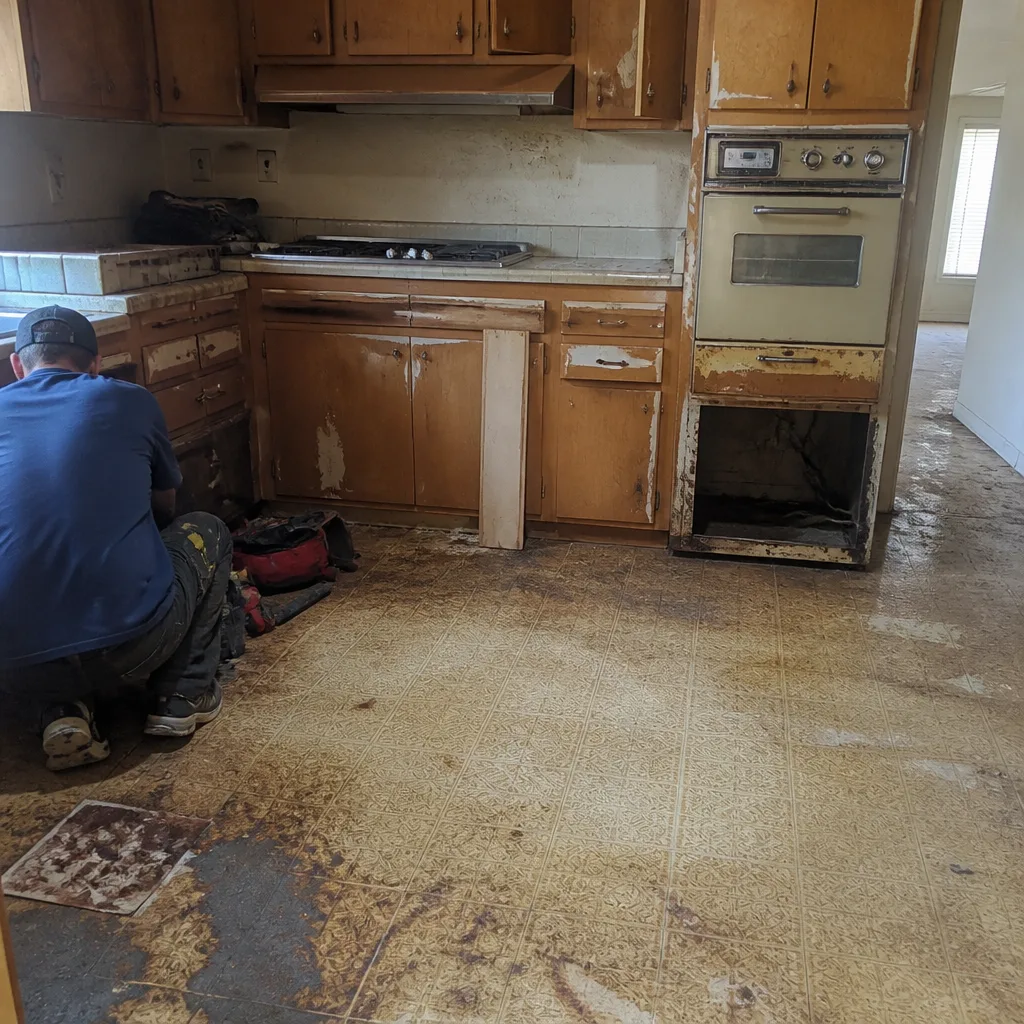 Before
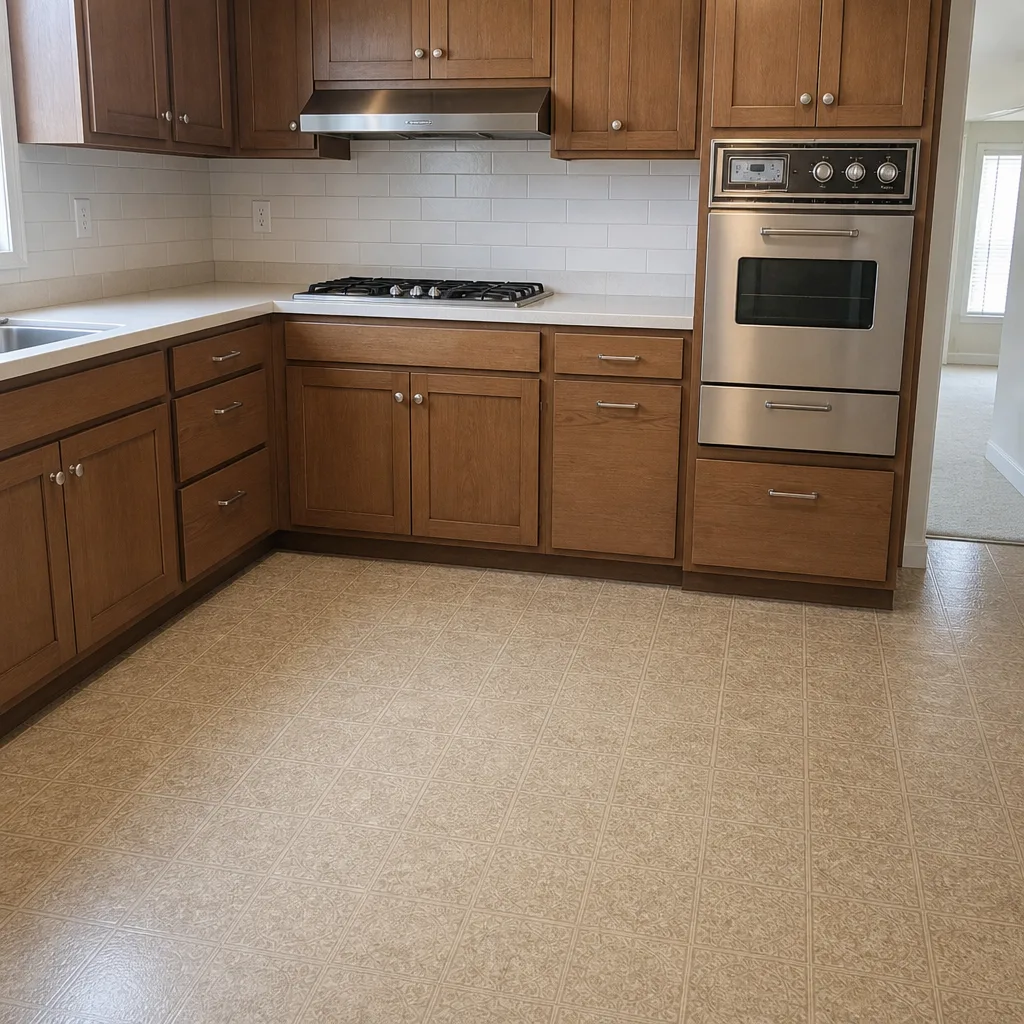 After
 Before
 After
 Before
 After