Last updated November 17, 2026





Free written scope consultation - allowances, timeline, and change-order rules on paper before a single trade is scheduled
Driveway & Pavers Warning Signs Every Homeowner Should Know
One rocking paver is not a loose paver problem. It’s a bedding sand problem, and that is usually a base drainage problem underneath it. By the time three pavers in the same stretch rock underfoot, the repair in our experience has typically doubled from what it would have cost at the first sign. That gap of 12 to 18 months is the whole point of this guide: the layer that’s failing announces itself long before the surface shows it. What follows is a ranked reading of those signals, how to measure them, and how to document them so a warranty claim or an HOA repair negotiation holds up. We’ve walked hundreds of Fremont driveways in various stages of this, and the pattern is consistent.
Quick Answer
Early warning signs of paver driveway structural failure are readable 12 to 18 months before the failure becomes visible: a single sunken section, a widening joint at the edge restraint, sand washing out of joints after rain, or one or two pavers rocking underfoot. The severity depends on which layer the symptom is reporting from. Cosmetic surface issues stay surface issues. A joint that keeps widening, or standing water still present 48 hours after rain, means the base is moving and the repair is no longer cosmetic.
Styles & brands we work with
- Kitchen remodeling
- Bathroom remodeling
- Home additions & ADU
- Roofing
- Windows & doors
- Driveway & pavers
- Fence
Table of Contents
- The Severity Scale: Cosmetic, Structural Early-Stage, Structural Urgent
- How to Measure Joint Width Change (and What the Millimeters Mean)
- Pattern Shapes Tell You What’s Failing Underneath
- Reading the Edge Restraint: Fastener Pullout, Heave, Overrun
- Water Is the Report: Drainage Signs After Rain
- The Documentation Protocol: Photos, Dates, Measurements
- Fremont-Specific Conditions That Accelerate Failure
- Repair Triage: What Each Repair Actually Replaces
The Severity Scale: Cosmetic, Structural Early-Stage, Structural Urgent
Not every symptom means the same thing. The mistake homeowners make is treating all of them the same way: either ignoring everything until it’s urgent, or panicking over white haze on the surface. Here’s the ranked reading we use.
Cosmetic (surface reporting, base intact)
- Efflorescence: a white, powdery haze on the paver face. It’s mineral salts drawn to the surface as moisture evaporates. Ugly, harmless, and it does not indicate base failure on its own.
- Minor joint weed growth: a few weeds in the joints. The polymeric sand has thinned in spots, likely from sun and traffic. Re-sanding is a maintenance task, not a structural repair.
- Faded color: normal weathering on older Cambridge Pavers or Oldcastle products. Surface reporting only.
Structural early-stage (base reporting, repair window open)
- One sunken section no wider than a paver or two. The bedding sand has migrated or compacted unevenly. This is the cheapest repair window you get.
- Edge restraint gap: visible separation where the pavers meet the perimeter restraint. The restraint is moving, which means the pavers can spread.
- Sand washing out of joints after every rain. The joints are draining rather than shedding, which means water is getting under the pavers instead of running off.
- One or two pavers rocking. This is your first real diagnostic signal. Handle it here.
Structural urgent (repair now, cost is climbing)
- Multiple linked sunken areas across a walkway or vehicle path. The base is failing across a zone, not a point.
- Standing water 48 hours after rain. The base is no longer draining, and freeze-thaw isn’t the problem in Fremont, but saturated subgrade under load is.
- Pavers displacing sideways or pushing upward. The edge restraint has failed or the base has spread. Repaving a zone, not resetting a paver.
If you’re already at urgent across a zone, our team does this work every week in Fremont on Driveway & Pavers in Fremont, and the first call is a free estimate that tells you the scope before you spend a dollar.
How to Measure Joint Width Change (and What the Millimeters Mean)
This is the single most useful diagnostic you can do as a homeowner, and almost nobody does it. Joint width is the gap between adjacent pavers. It tells you which layer is moving, and it’s measurable in millimeters with a cheap feeler gauge from any hardware store.
- Pick a control point. Choose a joint at the center of the driveway that shows no visible wear, and measure it. This is your reference.
- Measure the suspect joint. Insert the gauge blades one at a time until you find the tightest fit. Record the number in millimeters.
- Repeat at the same spot monthly. Write the date next to each measurement. A single reading means nothing; a trend means everything.
- Compare readings to the thresholds below.
- 0-1 mm of change and stable: normal seasonal movement. The polymeric sand is doing its job. Keep measuring.
- 2-3 mm of change over a season: the polymeric sand has failed at that joint. Water is getting into the bedding layer. Re-sanding is a maintenance fix that costs a fraction of base repair.
- 3-5 mm of change concentrated near the perimeter: edge restraint movement. The restraint is losing its grip on the pavers and the pavers are spreading outward.
- 5 mm or more, or change at interior joints away from the edge: base spread or subgrade failure. This is structural and the repair involves lifting the field, not the joint.
The subtlety: joint width at the edge reads as edge restraint failure, joint width in the field reads as base failure. Where the number moves tells you which repair you’re pricing. Quikrete and Sakrete both sell the joint sand you’ll need for the maintenance case, and that’s a weekend job. Base repair is not.
Pattern Shapes Tell You What’s Failing Underneath
The shape of a depression on the surface maps to what’s failing below it. This is where we see the most diagnostic value in a free estimate: the footprint of the problem.
- Linear sunken zone: a depression that runs in a line or a channel, roughly straight or following a gentle curve along the drive. In Fremont, this almost always reads as a pipe or conduit beneath the driveway. A sprinkler lateral, a gas line, a shallow utility trench that was never backfilled to a proper compaction standard. The trench is settling and the driveway is riding down with it. Repair means exposing the pipe and re-compacting the trench, not re-setting pavers.
- Radial sunken zone: a roughly circular depression. That’s point-load sub-grade failure under a vehicle path, where the wheels track. Saturated clay under that wheel path loses bearing capacity, and the base layer above it compacts into the soft spot. A paver cannot fix this on its own; the base has to be rebuilt. We look at the depth and the diameter to estimate how much base layer to replace.
- Wide shallow bowl: the whole driveway bends toward a low point. The base layer was never crowned for drainage, or the soil beneath is heaving. Common on older residential slabs where the original contractor ran the driveway flat.
- Compass-point pattern: lifting or heaving outward from a fixed point. That’s frost heave or a tree root pushing from below. In Fremont the trees are more likely than frost, though a cold snap in the hills can produce shallow heave.
Take a photo of the shape with a tape measure across it. That photo and that measurement are worth more to a contractor than a verbal description, and they tell you before anyone shows up whether you’re pricing a paver reset or a base rebuild.
Reading the Edge Restraint: Fastener Pullout, Heave, Overrun
The perimeter edge restraint is the aluminum or plastic system that holds the whole paved field from spreading outward. It’s typically a product like Snap-Edge or Pave-Edge, and it’s fastened to the base with spikes or adhesive, or both. The perimeter is where failures announce themselves first because the restraint works against the most pressure. Walking the perimeter with a flashlight is the highest-yield 10 minutes a homeowner can spend.
Gap or separation at the restraint, no spiking damage
Fastener pullout. The restraint has lost its grip on the base, and the pavers are quietly spreading. Left alone, the failure moves inward and becomes a base-spread repair. Resetting the restraint and re-spiking is a relatively contained repair if you catch it here.
Restraint lifted, pavers heaved at a specific section
Freeze-thaw heave or moisture-driven expansion. The base under the restraint is holding water, and the swelling is pushing the edge up. The fix isn’t just reconnecting the restraint; the water has to be given somewhere to go. In our experience this is where a French drain or a re-graded base edge pays for itself.
Restraint crunched, cracked, or bent inward
Vehicle overrun. A car or truck rolled over the edge of the driveway and crushed the restraint. The repair is restraint replacement, and it’s straightforward. The base under it may be fine, though the overrun load can compress the base at the tire edge, so check the pavers behind the restraint for rocking before you call it a simple swap.
Water Is the Report: Drainage Signs After Rain
Water is the clearest diagnostic in the whole guide. The base layer under a paver driveway has one job: keep water off the subgrade. When it can’t, the failure starts. Here’s what to check on the day after a rain.
- Look at 24 hours post-rain. The surface should be dry. If it isn’t, water is draining slowly through failing joints and standing on top of a base that can’t absorb it.
- Look at 48 hours post-rain. Any standing water at 48 hours means the base is saturated. That’s a structural drain failure, not a surface one.
- Trace the path of water. Where does it enter the driveway from? A downspout discharging onto the paving, a slope draining from a higher lot, a low spot on the street side. Every entry point is a base problem waiting to happen.
- Check the joints. Sand gone from the joints after a storm is a sign the joints are acting as a drain. Sand in the gutter is a sign of joint failure, and it should be replaced with polymeric sand, not just brushed in.
Fremont’s winters bring the rain in concentrated events, not gentle spreads, and that’s the hardest test a driveway base faces. We see more base failures in Fremont after three consecutive wet weeks than at any other point in the year, and the driveways that fail at that point were showing visible warning signs 12 months earlier.
The Documentation Protocol: Photos, Dates, Measurements
A warning-sign record is only worth something if it’s dated, measured, and repeatable. Contractors, HOA boards, and warranty administrators respond to documented pattern, not to adjectives. Here’s the protocol we recommend.
- Establish a baseline file. Walk the driveway with a tape measure, feeler gauge, and phone. Photograph all four corners, the center, and each edge restraint in one continuous lap. Name the file with the date: YYYY-MM-DD-lap1.
- Pick three reference joints. One at the center, one at the street edge, one at the house edge. Measure and photograph each one with the gauge visible in the frame, so the reading is legible in the photo.
- Log each sunken or moving paver. Tape down a piece of painter’s tape at the paver and write the date on it. Photo every month. The tape tells the whole story.
- Repeat monthly and after every heavy rain. Same route, same order, same measurements. After six months you have a trend line, and a trend line is the difference between a warranty claim that holds and one that doesn’t.
- Keep a repair log. Every re-sand, every reset, every repair and the date it was done. This is what an HOA or a warranty administrator wants to see when there’s a question about whether the failure was installation or neglect.
At Rowan Construction Group, every visit includes a documented photo record as a standard deliverable, not an add-on. That’s the same discipline a homeowner can run on their own: we take photos and measure because the record is the evidence, and because a professional should be able to show you what was found, not just describe it in prose. If you have an existing written estimate from another contractor, our Fence Installation in Fremont team can review a perimeter or drainage scope line by line as a free second opinion.
Fremont-Specific Conditions That Accelerate Failure
Fremont’s soil and climate produce a specific paver driveway profile that homeowners in other regions don’t see in the same way. Three things to know.
Expansive clay. Much of Fremont sits on expansive clay soils that swell in the wet season and shrink in the dry season. That movement is transmitted straight up to the base under the pavers. Joints open in the dry season and close in the wet season; a driveway that shows more than 3 mm of seasonal joint change is on soil that’s telling you something. Base repair on expansive clay needs a proper gravel base, not a thin sand layer, to keep the seasonal movement from reaching the pavers.
Concentrated winter rain and long dry summers. Fremont’s rain falls in concentrated storms, and the summers dry out thick. That cycle stresses the joints, expands and contracts the clay, and pushes water into every failure point. The warning signs after a storm are the most reliable ones you’ll get all year.
Permit and inspection context. A paver driveway over a certain area or depth in Fremont is a permit and inspection item in most cases, and the base thickness, compaction, and drainage detail are what get inspected. If you’re pricing a repair, a contractor whose repair hits the same permit trigger should pull the permit and pass the inspection, not skip it to save the fee. That’s the same reason we quote every job on a flat written price with a written scope before work starts – the scope includes the permit and the inspection, or it doesn’t, and you should see that on the page.
Repair Triage: What Each Repair Actually Replaces
The repair cost is set by how deep the failure has gone. Here’s the triage map we use on free estimates.
- Single paver reset: the pavers are lifted, the bedding sand is re-leveled, and a fresh paver is set. The base is intact. This is the lowest-cost repair, and it’s for the first sign, not the third.
- Zone re-sand with polymeric sand: the joints are stripped, cleaned, and refilled with polymeric sand. Fine when the joint failure is cosmetic; repeat failures at the same joint mean the base is the problem.
- Edge restraint repair: re-spike or reset the restraint, reinstall pavers against it. The base is fine, the perimeter is not.
- Sub-grade repair and base rebuild: the paver field is lifted, the base layer is excavated, the subgrade is corrected, and a new base is compacted and re-paved. This is the expensive repair, and the one that a homeowner avoids by acting on the one rocking paver a year earlier.
In our experience, the cost at the first sign versus the third sign is the difference between a maintenance task and a base rebuild. A proper paver delivery in Fremont – our driveway work uses Cambridge Pavers, Oldcastle, Quikrete, and Sakrete as standard, because the written quote needs honest numbers on material, not inflated ones – starts with a documented base assessment before anyone orders a paver.
Common Mistakes to Avoid
- Treating a rocking paver as a cosmetic issue. A rocking paver means the bedding sand is gone under it. Every rain event washes more away. The repair at the first paver is a reset; the repair at three linked pavers is a zone rebuild.
- Re-sanding with the wrong product. Regular sand in the joints washes out with the first storm. Polymeric sand is the standard for a reason. Quikrete and Sakrete both make it, and the joints have to be stripped and cleaned before it goes in, or it will fail at the same joint.
- Ignoring the edge restraint because it’s “out of sight.” The perimeter is the highest-stress part of the driveway. Fastener pullout, heave, and vehicle overrun all show at the edge first. Walking it monthly is the easiest prevention you’ll ever do.
- Painting over or sweeping efflorescence on a schedule. Efflorescence is cosmetic, but if the haze keeps returning, the water driving it is a warning sign. Treat the moisture, not the haze.
- Skipping the permit on a repair. A base rebuild over a certain depth or area in Fremont is a permit and inspection item. A repair crew that skips the permit is not saving you money; it’s moving the liability to you.
- Not documenting the failure. A photo of a joint in January with the gauge visible, and the same joint in June, wins the warranty conversation. Without the dates, the contractor’s word does too.
- Calling a contractor only after the failure is visible across the whole driveway. The warning signs are readable 12 to 18 months before that point. Acting in the first half of that window is the difference between a repair and a rebuild.
See the difference
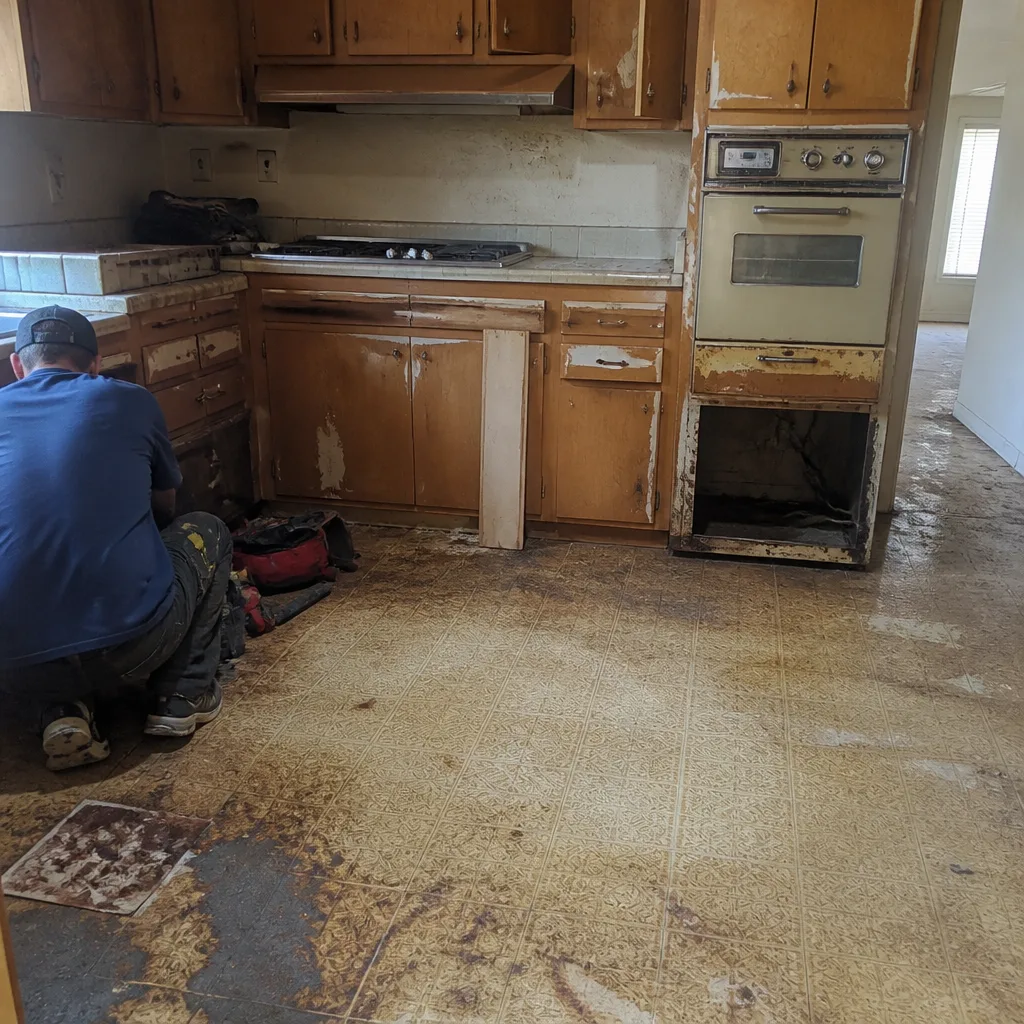 Before
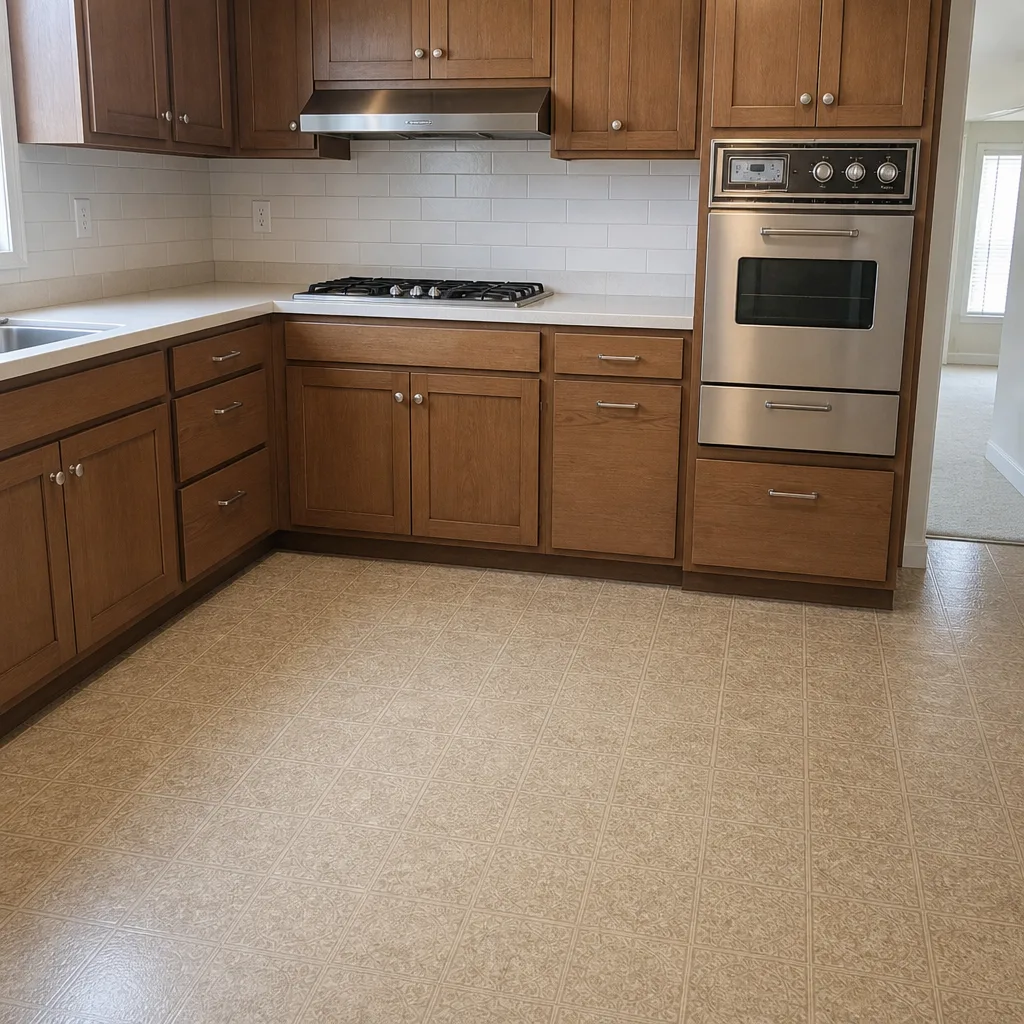 After
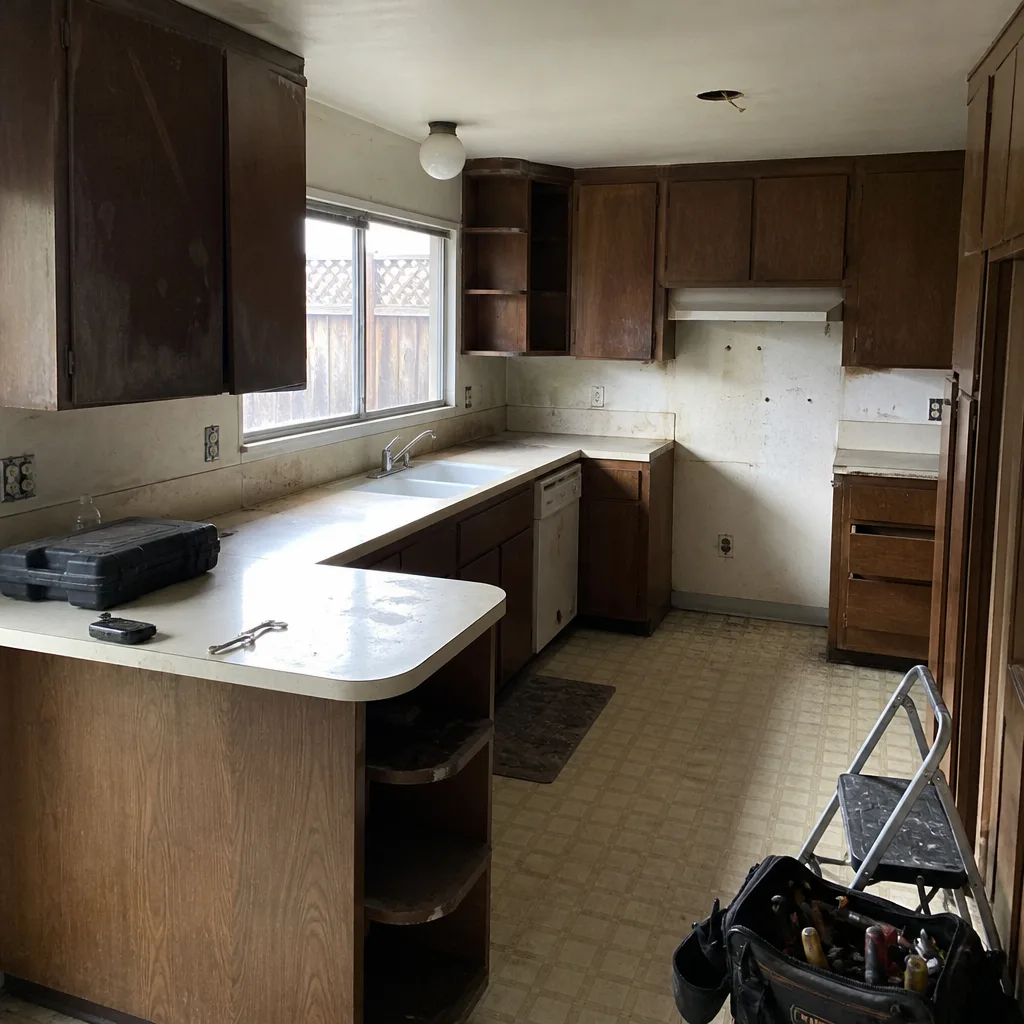 Before
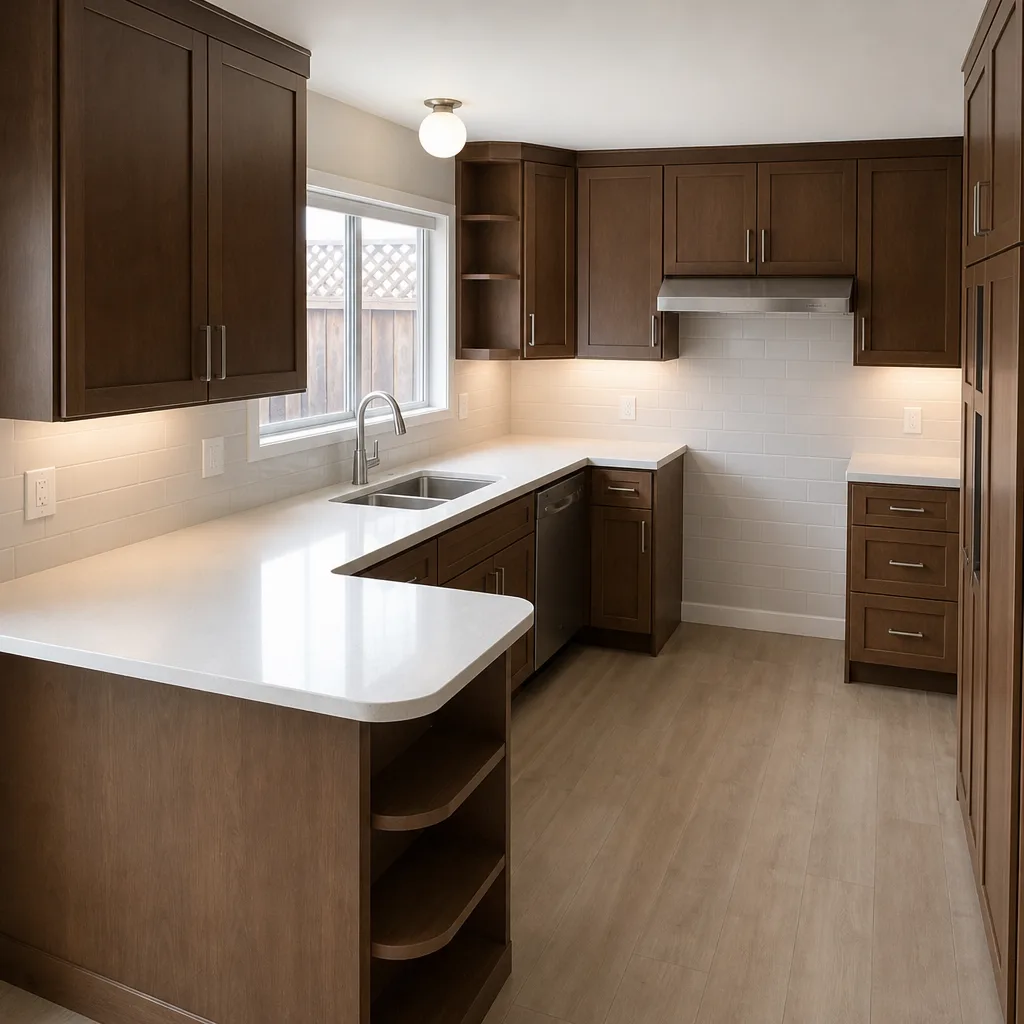 After
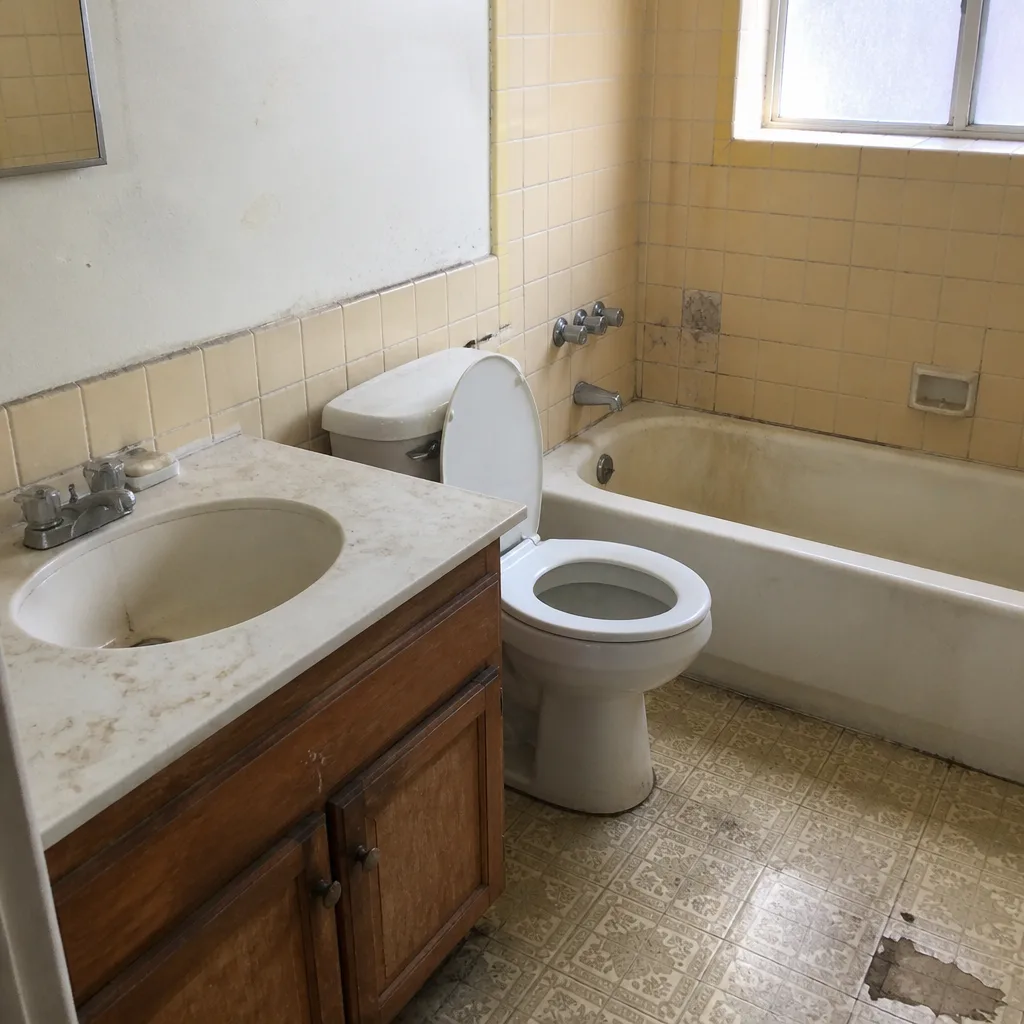 Before
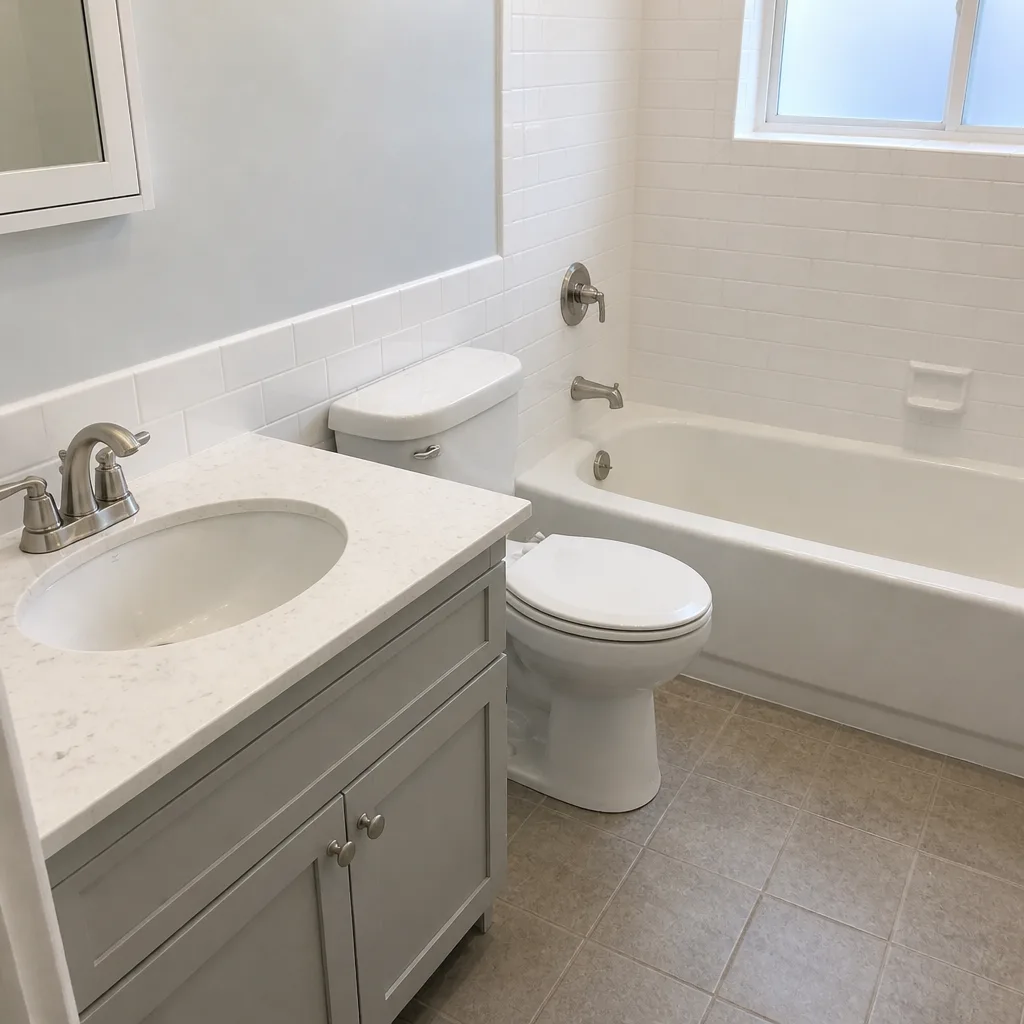 After
When to Call a Professional
Call us when any of these is true: two or more pavers rock in the same area, a joint has widened by more than 3 mm since your baseline, you have standing water 48 hours after rain, the edge restraint is separated or bent, or the pattern shape is linear or radial and spreading. These are the conditions where a reset stops being enough and the base has to be assessed. The rest – efflorescence, a few weeds – can wait. Rowan Construction Group Fremont offers free estimates in Fremont, and our technicians have up to 19 years of experience reading these signals on this soil. Call (866) 797-6171. We quote every repair on a flat written price with a written scope before any work starts, and no change proceeds without a signed change order. A written estimate isn’t a sales step here; it’s the whole point.
Frequently Asked Questions

The first structural warning signs are one or two pavers rocking underfoot, a single sunken section, a widening joint, and sand consistently washing out of the joints after rain. Any one of those is the repair window opening. Those signs typically appear 12 to 18 months before the failure becomes visible across the driveway, so the first paver is the moment to act.
Repair cost is set by depth, not by the number of pavers. A single paver reset and a re-sand of one joint zone are the low end, an edge restraint repair is a step up, and a sub-grade repair with a base rebuild is the high end. We quote a flat written price with a written scope before any work starts, so you can compare the exact scope line by line. Call (866) 797-6171 for an exact quote – estimates are free.
No. Under Clause 1 of The Haven Standard, the price is written before anyone starts, and no work proceeds on a change until the change order is signed. That’s the discipline behind the fact that our projects finish within a few percent of the agreed cost. If the base turns out to be worse than the diagnosis, the change is quoted, signed, and then done – never the other way around.
Yes, when the repair triggers a permit, and we pull it and pass the inspection as part of the written scope. A base rebuild over a certain depth or area is a permit item in most of Fremont. If a crew quotes a base rebuild and skips the permit, that’s a conversation worth having before work starts. Call (866) 797-6171 and we’ll tell you what your repair triggers.
Use a mechanical feeler gauge from any hardware store. Measure the same joint monthly, record the millimeter reading with the date, and compare it to your baseline. A 2-3 mm change reads as polymeric sand failure, 3-5 mm near the perimeter reads as edge restraint movement, and 5 mm or more in the field reads as base spread. A trend line is what matters, not a single reading.
A single paver reset or an edge restraint repair is typically a short window, often a single visit. A zone re-sand is similar. A sub-grade repair with base rebuild is a longer job because the base has to be excavated, corrected, and re-compacted before the pavers go back down, and the written scope states the expected time before work starts. Call (866) 797-6171 and we’ll give you the window with the price.
Both rest on the same documented record: dated photos, joint measurements, and a repair log. An HOA negotiation usually asks whether the failure was installation or a maintenance lapse; a warranty claim asks whether the contractor’s work failed within the warranty period. The monthly measurement log is what answers both.
The Bottom Line
Your paver driveway reports from the bottom up: subgrade first, then bedding sand, then joints, then the surface you can see. The surface is the last layer to fail. A rocking paver is a bedding sand report, a widening joint is an edge restraint report, and a linear or radial depression is a base report. Read the symptoms at the layer they come from, measure them in millimeters with a date, and photograph the trend. That record is what makes a repair a maintenance task instead of a rebuild, and it’s what holds up in a warranty conversation. Rowan Construction Group is the contractor that puts the number in writing before anyone picks up a tool. If you have a written estimate from another contractor, bring it in for a free second opinion, and we’ll review it line by line. To schedule your free estimate in Fremont, call (866) 797-6171. Our home page has the full picture of the seven trades we cover if you want to see the scope of the work, including Home Additions & ADU in Fremont and the Rowan Construction Group Fremont home page for everything else.
Written by the team at Rowan Construction Group Fremont.