Last updated November 17, 2026





Free written scope consultation - allowances, timeline, and change-order rules on paper before a single trade is scheduled
Driveway & Pavers Maintenance Schedule: What to Do and When
Sealing is the most heavily marketed product in paver care and, for most homeowners, the least cost-effective one. A paver driveway that receives three specific maintenance tasks on a fixed annual calendar will outlast one getting irregular “whenever it looks bad” attention by roughly fifteen years, and the difference comes down to joint sand integrity, not the surface coating. This schedule is built around Fremont’s wet-dry cycle, where five months of rain follow five months of dry heat, and that pattern breaks down pavers in ways generic national advice never addresses. Below is the month-by-month calendar, the screwdriver-probe test, and the maintenance log we recommend keeping.
Quick Answer
In Fremont, a paver driveway needs three tasks on a fixed calendar: joint sand replenishment in September before the rains, a post-winter inspection and polymer sand top-off in April, and weed treatment followed by pressure washing in May. Sealing is optional and, on standard residential concrete pavers, often does more harm than good. Everything else is inspection and record-keeping.
Styles & brands we work with
- Kitchen remodeling
- Bathroom remodeling
- Home additions & ADU
- Roofing
- Windows & doors
- Driveway & pavers
- Fence
Table of Contents
- Why Fremont’s Climate Sets the Calendar
- The Month-by-Month Maintenance Calendar
- The Screwdriver-Probe Test: When Joints Need Sand
- The Correct Cleaning Sequence (and Why Order Matters)
- When Sealing Adds Value – and When It Doesn’t
- The Maintenance Log Template That Protects Resale Value
- Common Mistakes to Avoid
- Frequently Asked Questions
Why Fremont’s Climate Sets the Calendar
Fremont runs on a wet-dry split that most national paver guides ignore. The rainy season typically runs October through April, when the ground in neighborhoods like Mission San Jose and Warm Springs stays saturated for weeks. Then comes a five-month dry stretch with inland afternoon heat pushing into the 80s and 90s. That cycle does two things to a driveway: winter water works its way into open joints and lifts or shifts individual units, and summer heat expands the concrete or clay, then contracts it overnight.
The failure mode we see most isn’t the paver itself cracking. It’s the sand in the joints washing out over one or two rainy seasons, which lets water reach the bedding layer, which lets the pavers rock, and rocking pavers chip at the edges. By the time a homeowner notices a visibly loose paver in a Fremont driveway, the joint loss has usually been developing for two winters.
There’s a second local factor: mature street trees. Fremont’s older neighborhoods have plenty of them, and roots lift sections of driveway the same way they lift sidewalks. That’s a different repair than joint maintenance, but the annual inspection catches it early, while it’s still a single-paver reset rather than a partial rebuild. If you need that kind of structural repair, we handle it as part of our Driveway & Pavers in Fremont work.
The Month-by-Month Maintenance Calendar
This is the schedule we recommend to Fremont homeowners. It’s not a list of chores for their own sake; each entry corresponds to a specific failure window in the wet-dry cycle.
- March (late): Walk the driveway after the last big rain. Note any paver that rocks underfoot, any joint visibly wider than its neighbors, any rust-colored staining near the edge. Photograph everything. This is your baseline for the year.
- April: Post-winter inspection. Probe the joints with the screwdriver test (details in the next section). Replenish polymeric sand where joints have dropped below the trigger depth, before summer heat bakes the bedding layer dry.
- May: Weed treatment first, then pressure wash on a low setting after the treatment has cured. More on the sequence below; doing it in the wrong order makes the problem worse.
- June through August: Inspection only. Check for efflorescence (the white powdery bloom that appears on some pavers), edge restraint integrity, and any new settlement. Don’t wash; the sun does the drying work for you.
- September: The most important month on the calendar. Replenish joint sand to full depth, verify the edge restraint hasn’t worked loose over the summer, and clear the driveway of leaf litter that will trap moisture once the rains start.
- October through February: Rainy season. Keep drainage channels clear of debris, avoid driving on saturated gravel-sand joints, and watch for ponding water in a low corner. Standing water after a storm is the single best early warning of a grading problem.
September matters more than the rest combined. That’s the window when the joints get filled to the top before the rain arrives, and a joint filled in September has a full season of protection. A joint filled in November, after two storms have already washed out the sand, has already lost the season.
The Screwdriver-Probe Test: When Joints Need Sand
You don’t guess whether polymeric sand needs replenishment. You test it. The test takes about five minutes and tells you exactly where you stand.
Take an ordinary flathead screwdriver and press it straight down into the joint sand, not the paver surface, until you feel resistance from the bedding layer underneath. Then measure the depth of the joint above the sand. The trigger: if the screwdriver penetrates more than a quarter inch (about 6mm) free of resistance, the joint has washed out enough to need replenishment. If you can press through to the bedding layer in more than a third of the joints, do the whole driveway, not just the problem areas.
Probe in the high-traffic lanes first, where tires run, plus the two front entry corners. Those three zones wear fastest, so they’ll show the problem before the rest of the drive does.
- 0 to 1/8 inch of free travel: joints are healthy, no action needed.
- 1/8 to 1/4 inch: borderline, record it in the log and re-test in the spring.
- More than 1/4 inch: replenish with polymeric sand at the next maintenance window.
- Bedding layer exposed: urgent. Water is already reaching the base; schedule the work before the next storm.
Polymeric sand is the right material for most Fremont driveways because it’s formulated to resist wash-out and settle firm when wetted. Plain sand is cheaper and fails faster. If your driveway was installed with a specific brand, match it; a driveway installed by a reputable paver contractor will often be documented, and if it isn’t, any quality polymeric sand will do the job. Our technicians have up to 19 years of experience with both paver types and will tell you which is on the drive before they recommend a product.
The Correct Cleaning Sequence (and Why Order Matters)
The order of operations here is not fussiness. Cleaning a driveway before treating weeds looks productive and makes the problem worse. Here’s why.
Pressure washing opens the joints: it clears out loose sand and creates a fresh surface. Any weed seed sitting on the surface at that moment gets distributed into those freshly opened joints, where it sits on a warm, damp bed of sand and germinates over the next couple of weeks. You wash the driveway and grow weeds in it. The correct sequence is the opposite: treat first, let the herbicide or vinegar solution cure on the surface, then wash. By then the seed bank on the surface has been hit and the weeds haven’t been given fresh joints to grow in.
The Sequence, in Order
- Treat weeds first. Spot-treat each weed at the root with a targeted herbicide or a strong vinegar solution. Wait 48 to 72 hours for it to work and cure. Don’t wash during that window.
- Remove debris. Clear leaves, seed heads, and loose soil from the surface and from the joints with a broom or leaf blower on a low setting.
- Pressure wash on a controlled setting. Wide fan tip, moderate pressure, working from the low end of the slope toward the high end. Too much concentrated pressure strips the joint sand you just protected; you want to remove dirt, not displace the joint material.
- Let it dry. Wait until the joints and the paver surface are completely dry before applying new joint sand. A damp joint won’t bond the polymeric sand, and the replenishment won’t hold.
- Replenish joint sand. Apply to the fill line, sweep into the joints, wet according to the product’s instructions, and record the brand and dilution in your log.
One local note: Fremont’s mature street trees drop leaf litter heavily in the fall, and leaves sitting in a damp joint through the wet season provide the exact moisture weeds want. A fall leaf cleanup is not cosmetic; it’s preventive.
When Sealing Adds Value – and When It Doesn’t
Sealers are marketed as the core paver maintenance product. In our experience, for most Fremont residential driveways, they’re the last task on the list, not the first, and sometimes they should not happen at all.
The case against sealing on standard residential concrete pavers: a film-forming sealer traps moisture in the paver. Concrete pavers aren’t fully vapour-impermeable, and sealing them on a driveway that sits through a wet Fremont winter traps the moisture inside. That trapped moisture promotes spalling (the flaking or pitting of the paver surface) and efflorescence (the white bloom that pushes out of the surface as water evaporates). It also weakens the joint, because the joint needs to breathe to cure properly. A sealer that looks great for two years can shorten the driveway’s life.
Sealing earns its place in specific situations:
- High-traffic areas. A driveway on a busy Fremont street where half the neighborhood turns around on it sees a level of wear that justifies the film’s protection.
- Light-colored pavers, especially travertine. Pale travertine and cream concrete pavers stain visibly and benefit from the protective film. If you’re working with travertine, brand sourcing matters: Belgard and Techo-Bloc pavers are both worth specifying, and we’d steer you toward a sealer compatible with the stone’s porosity.
- Interlocking pavers with tight joints. A dense interlock benefits from a breathable sealer; a highly permeable pattern doesn’t.
If you do seal, seal on a dry, warm day in June or early September, never right before the rains start, and use a breathable formulation, not a film-forming one. If you’re building a modular home and specifying the driveway early, Dvele and Plant Prefab both publish material specs that make it easy to match pavers to a sealer; ask for the spec sheet before the seal coat goes down. Sealing is a decision worth checking with the installer.
The Maintenance Log Template That Protects Resale Value
A maintenance log costs nothing to keep and pays off twice: once at resale, when a documented history shows a buyer the driveway was cared for, and once at warranty time, when an installer asks what was done and when.
Keep a simple spreadsheet or a notebook with these columns:
- Date the task was performed.
- Task (probe, sand replenishment, weed treatment, wash, seal, inspection).
- Product brand and dilution used, including the exact mix for any weed treatment.
- Square footage treated, which matters if you ever sell the property or transfer a warranty.
- Photo reference (a short note like “front-left corner joint loss” tied to a photo in a folder).
- Observations that don’t fit a category: a paver that rocked, a low spot that held water after a storm.
Three tasks done on the calendar, recorded, is the whole maintenance program. The record is what converts it into something a buyer trusts. If you’re planning a larger project and want the driveway finished to a documented standard, our team handles both maintenance and new installs across the seven trades we run, from Rowan Construction Group Fremont home base through Home Additions & ADU in Fremont, and the same documentation discipline applies on every job.
See the difference
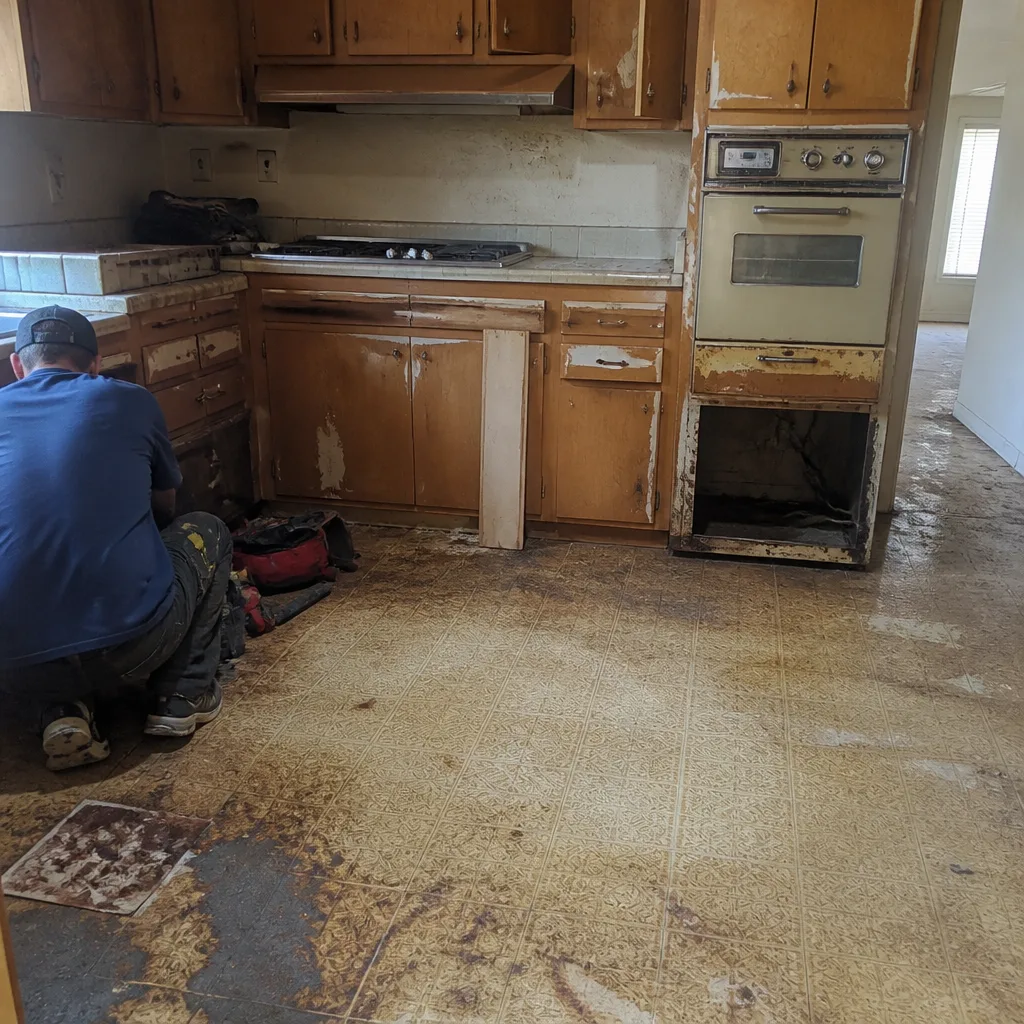 Before
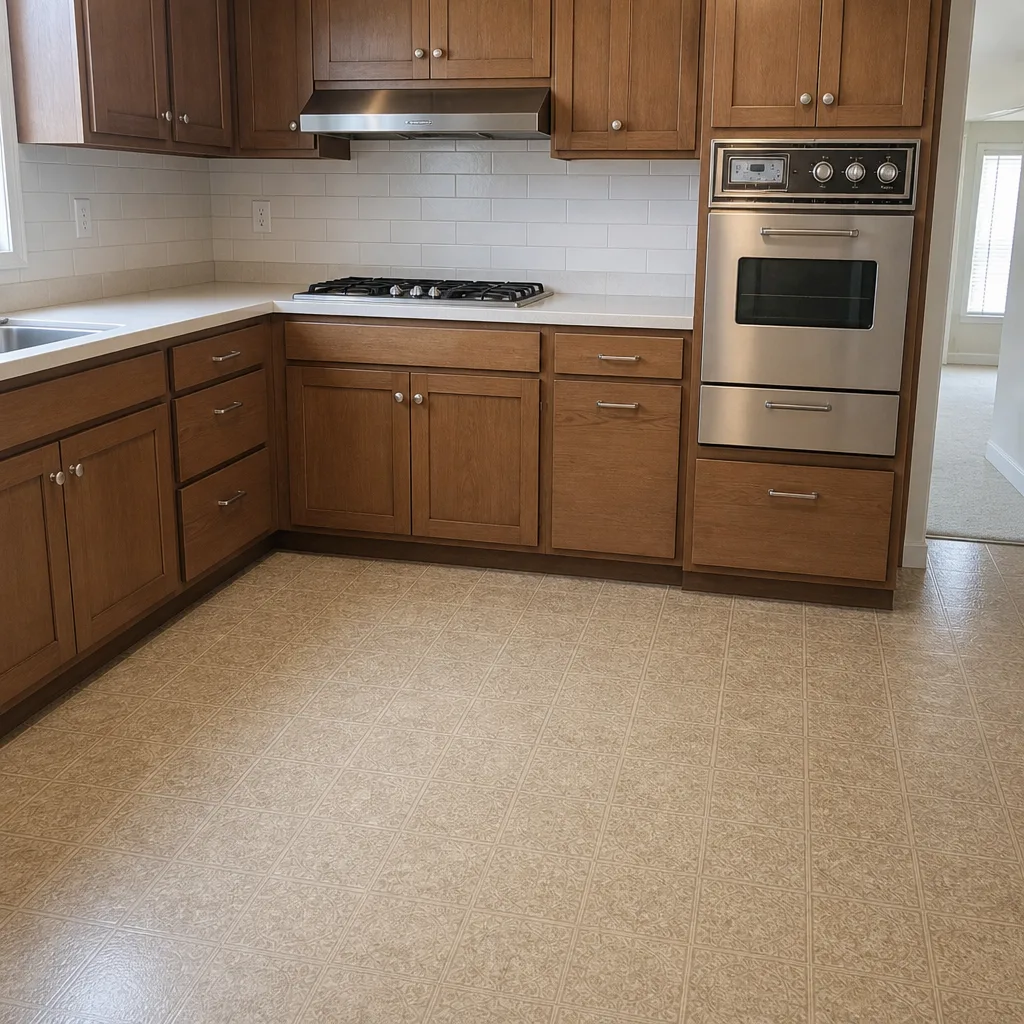 After
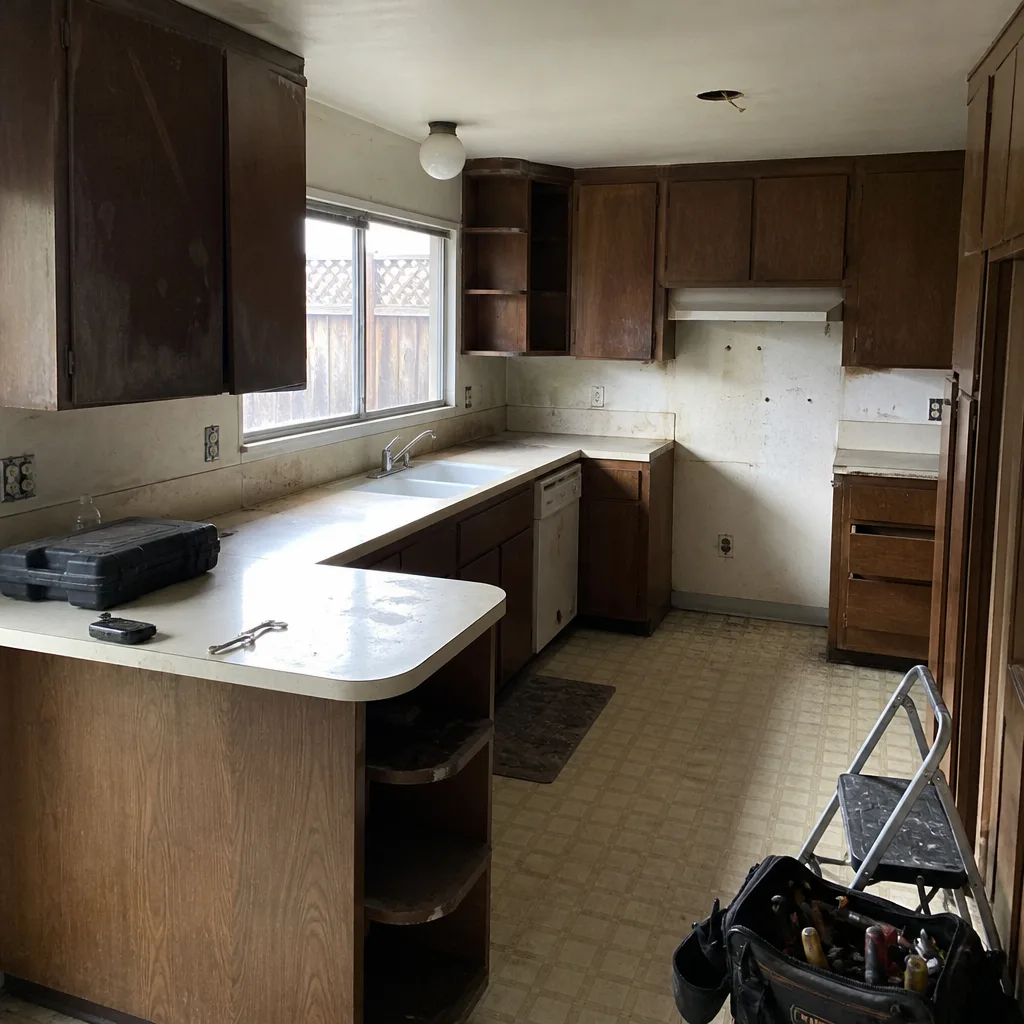 Before
 After
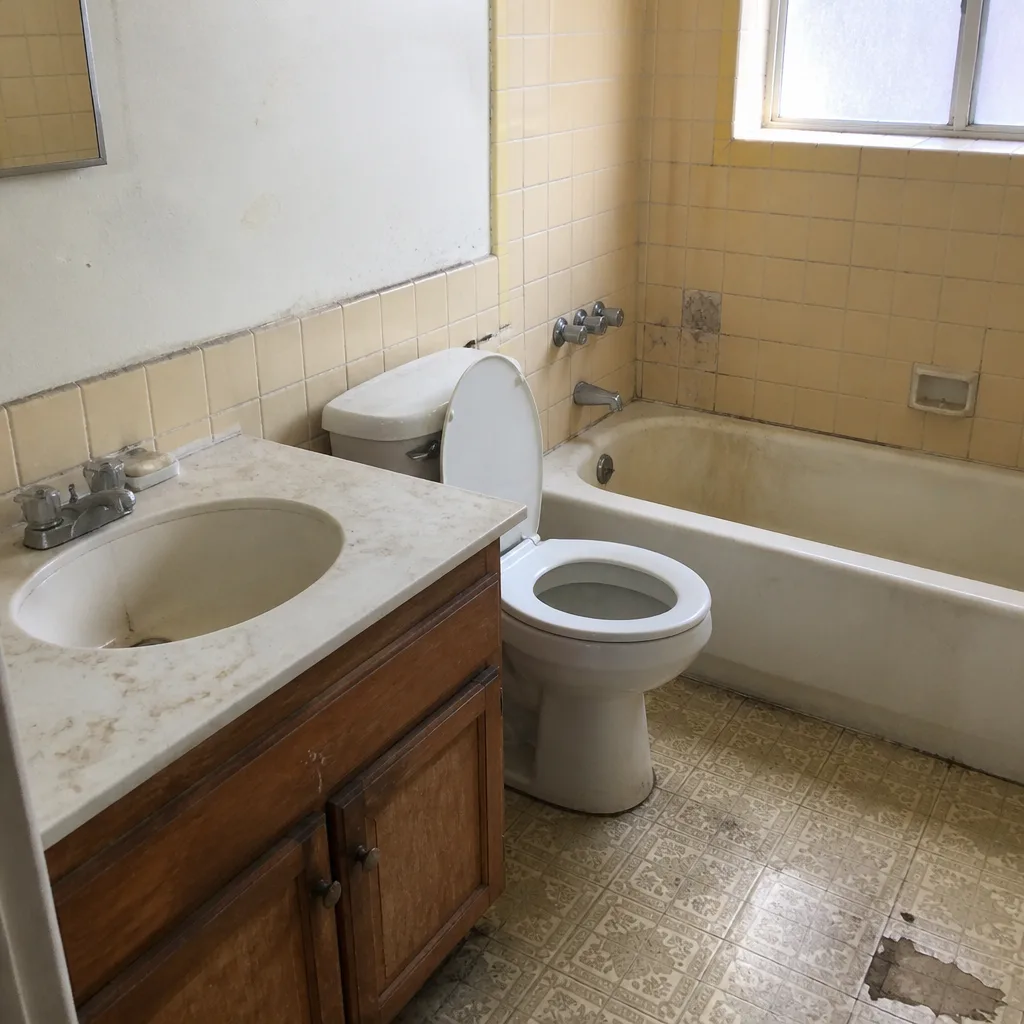 Before
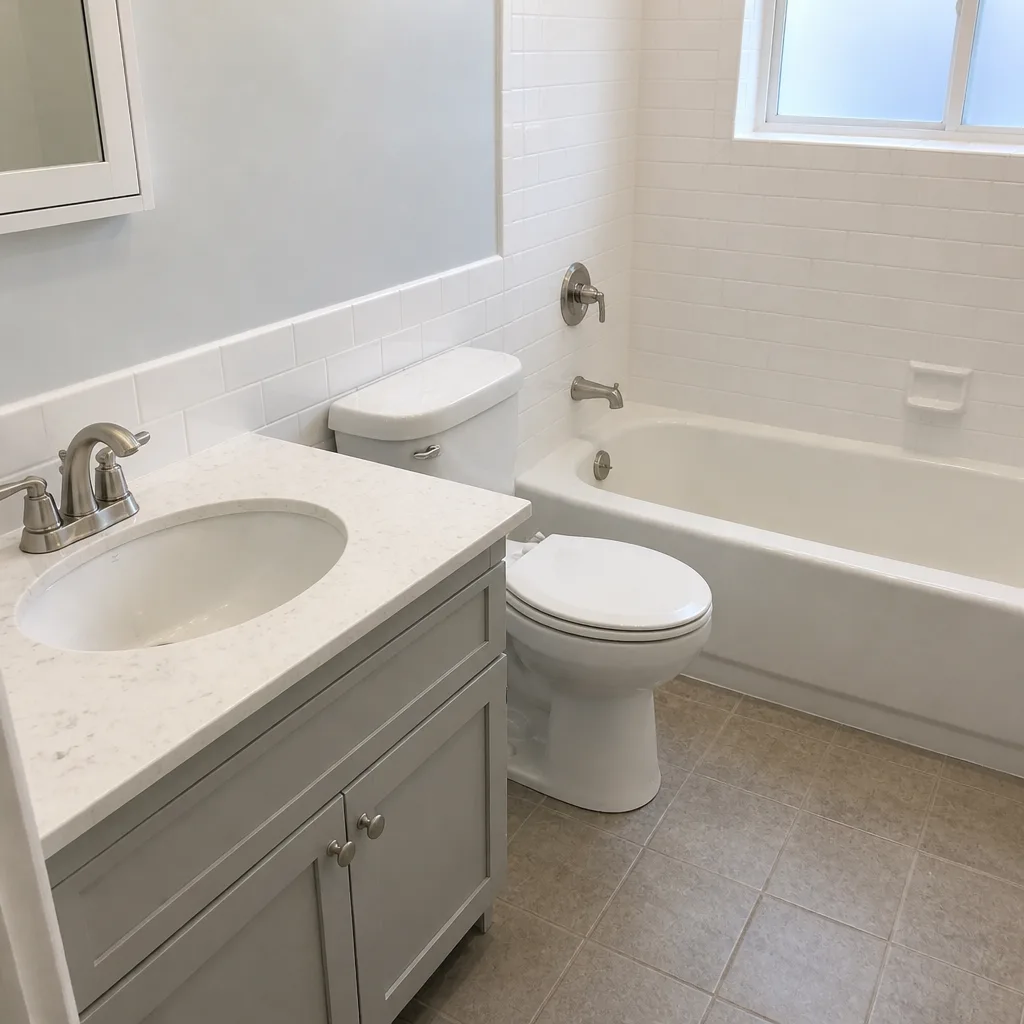 After
Common Mistakes to Avoid
- Pressure washing before treating weeds. This redistributes weed seed into fresh joints and costs you a season of regrowth. Treat first, wash later, every time.
- Reaching for sealer as the first line of defense. A sealed but under-sanded paver driveway fails faster than an unsealed one with full joints. Get the sand right before you consider a coating.
- Refilling joints in November. Sand that goes down after the first storms has already lost the season. September is the window in Fremont.
- Skipping the April probe. The screwdriver test tells you in five minutes what a visual inspection misses. Most driveways that fail structurally weren’t caught early enough at this step.
- Ignoring a single rocking paver. In Fremont, one loose paver near a street tree is usually the start of a settled section. Catch it while it’s one unit, not six.
- Using plain sand on a driveway that gets real traffic. It washes out and the weed pressure that follows costs more in herbicide than the polymeric sand would have.
- Never logging anything. The warranty conversation and the resale conversation both start with “when was it serviced?” and a blank answer is an expensive answer.
When to Call a Professional
Joint sand, weed treatment, and pressure washing are homeowner tasks. The repairs are not. Call a professional when a paver rocks more than a quarter inch underfoot, when the edge restraint has worked loose from the driveway’s border, when ponding water sits for more than a few hours after a storm, or when the bedding layer shows through at any joint. Those are structural conditions, not cosmetic ones, and they get more expensive the longer they wait. If you’re already planning fencing, matching your fence to the driveway and gate movement is a project worth bundling with a repair; our Fence Installation in Fremont crew handles the gate alignment side. Rowan Construction Group Fremont offers free estimates in Fremont, with a written price before any work starts. Call (866) 797-6171 to schedule.
Frequently Asked Questions
In Fremont, plan on polymeric sand replenishment once a year, in September, with a probe check every April. Most driveways wouldn’t need a full refill every year if the initial install used good polymeric sand, but the wet-dry cycle here strips the high-traffic lanes faster than the rest, so spot-filling those two or three times a season is normal. Check with a probe before you commit to a full refill.
No. Most residential concrete paver driveways in Fremont don’t need sealing at all, and a film-forming sealer on a driveway that sits through a wet winter traps moisture and can accelerate spalling. Sealing makes sense on high-traffic commercial surfaces and light-colored travertine, not as an annual routine. If the driveway is travertine or another pale stone, a breathable sealer in June or early September is the right call, and we can review the product with you.
Do it in May, after the rains end, and treat weeds three days before you wash. Washing before treating redistributes weed seed into newly opened joints. Wash on a wide fan tip at moderate pressure, working from the low end toward the high end so the water carries dirt away from the joints rather than into them.
Use the screwdriver test: if the tip sinks a quarter inch or more into the joint with no resistance, that’s maintenance. If a paver rocks more than a quarter inch, if the edge restraint is loose, or if the bedding layer shows through, that’s a repair. Maintenance you can do yourself; the second category needs a professional evaluation. Call (866) 797-6171 for a free estimate if you’re unsure which category you’re in.
Usually yes, if the problem is a settled section rather than widespread base failure. A localized reset lifts the affected pavers, corrects the base and bedding underneath, and reinstalls the original units. The cost depends on the size of the section and whether the base underneath needs rebuilding. A written price before work starts is how any repair should begin; our crew provides one before touching a single paver.
Yes. Fremont’s older street trees are the most common cause of localized settlement we see, and tree-root movement shows up in the log as a single rocking paver or a hairline crack in a joint. Treat those observations as early flags and schedule an inspection sooner than the annual calendar; a root issue caught early is a single-paver reset, not a partial rebuild.
The Bottom Line
Paver maintenance is a calendar problem, not a product problem. Set the three key dates in Fremont: September for joint sand, April for the screwdriver probe, May for weed treatment followed by washing. Skip the annual sealer unless the driveway is high-traffic or pale travertine, and keep a simple log of every task, product, and square footage. Do that, and the pavers hold up for decades. Skip it, and the joint sand quietly fails through one wet season and you’re looking at structural repairs instead of maintenance. The full maintenance program takes about a weekend of work annually across a standard driveway.
Written by the team at Rowan Construction Group Fremont.