Last updated November 17, 2026






Free written scope consultation - allowances, timeline, and change-order rules on paper before a single trade is scheduled
DIY vs Professional Windows & Doors: What’s Safe to Do Yourself
Replacing a window yourself is legal in some California jurisdictions when it’s a true like-for-like swap, and plenty of Fremont homeowners have done exactly that on a Saturday with a helper and a rented pry bar. But here’s the part most guides skip: permit status and warranty status are two different things. Milgard, Andersen, and Marvin all publish written installation requirements, and if the flashing sequence doesn’t match their spec, the product warranty is void regardless of whether you pulled a permit. You can be code-compliant and still on the hook for a leak. This guide draws the line between what’s genuinely safe to handle yourself and what isn’t, by permit exposure and weatherproofing risk rather than by how hard the job feels.
Quick Answer
Weatherstripping, hardware adjustment, interior casing paint, threshold adjustment, and screen replacement are safe DIY jobs with low failure cost and no permit exposure. Anything that changes a rough opening, modifies a structural header, alters an egress window, or installs an exterior door in a load-bearing wall requires a licensed contractor in Fremont. The flashing sequence – sill pan, side legs, head – is the step that separates a warranty-valid installation from a voided one, and it’s the step most DIY installs skip.
Styles & brands we work with
- Kitchen remodeling
- Bathroom remodeling
- Home additions & ADU
- Roofing
- Windows & doors
- Driveway & pavers
- Fence
Table of Contents
- Why Window and Door Work Splits Into Two Categories
- Five Jobs That Are Genuinely Safe to Do Yourself
- What Requires a Licensed Contractor in Fremont
- The Flashing Sequence Manufacturers Require for Warranty Validity
- How to Tell a True Like-for-Like Replacement From a Size Change
- What a Contractor’s Installation Warranty Covers That DIY Cannot
- The Resale Problem: Undisclosed Defects Surface Years Later
- A Step-by-Step Way to Decide
Why Window and Door Work Splits Into Two Categories
Most DIY advice sorts projects by difficulty – easy, medium, hard – and that’s the wrong axis for windows and doors. The right axis is permit exposure and weatherproofing exposure. A job can feel simple and still carry both: adjusting a threshold is easy and carries neither risk. Cutting a new rough opening for a wider window is hard and carries both plus a structural question.
A failed inspection costs you a re-inspection fee and a delay. A failed flashing job costs you a rotted sill, a stained ceiling in the room below, and a warranty claim the manufacturer will deny because the installation paperwork doesn’t show what they required. Those are very different failure costs, and they belong in separate categories.
Fremont’s climate adds a wrinkle other guides miss. The marine layer pushes moisture-laden air against the East Bay hills through spring and early summer, and wind-driven rain from the southwest finds the top and side corners of an exterior opening first. In Fremont neighborhoods like Niles and Mission San Jose, where older housing stock sits close to mature trees and shaded exposures, we see window frames that stay damp far longer than the same window would in a sun-exposed spot. Damp framing plus a shortcut flashing job is how a slow leak becomes a $4,000 repair.
So the two categories are simple. On one side: tasks that touch nothing structural, nothing exterior, and nothing in the manufacturer’s installation instructions. On the other: tasks that touch the weather barrier, the rough opening, or the structural framing. The line runs there, not at a difficulty rating.
Five Jobs That Are Genuinely Safe to Do Yourself
These five tasks carry low failure cost, no permit exposure, and nothing that voids a manufacturer’s warranty. A careful homeowner with basic tools can do any of them.
- Weatherstripping replacement. Peel the old strip out of the kerf, clean the channel, press in the new profile. A few dollars per door. If the door still whistles afterward, the problem is the door’s fit, not the strip.
- Hardware adjustment. Striker plates, roller assemblies on sliders, hinge screw torque, and lock alignment. Most sticking doors are an adjustment, not a replacement.
- Interior casing painting. Sand, prime bare spots, and paint the trim on the room side. No weather barrier is involved, so nothing in the installation spec is at stake.
- Door threshold adjustment. Raising or lowering a threshold saddle to stop a draft or fix a scrape is mechanical, reversible, and involves no cutting into the opening.
- Screen replacement. Spline and mesh on a frame is a bench job. Done wrong, you redo it. Done right, you’ve spent twenty minutes.
We’ve also seen homeowners safely replace a door sweep, re-caulk interior trim gaps, and swap a worn weather seal on a sliding glass door track. What ties all of these together: they’re surface-level, reversible, and invisible to the warranty terms. If you’re in a Fremont condo with an HOA, check the rules on exterior paint colors before you touch exterior trim, since HOA approval is its own separate requirement.
What Requires a Licensed Contractor in Fremont
Three categories of work call for a licensed contractor under California contractor law (Business and Professions Code section 7042) and Fremont’s building permit requirements. These are not gray areas.
- Any structural header modification. Enlarging an opening in a load-bearing wall means a new header sized by a structural engineer or prescriptive table, a permit, and an inspection. This is not a task that recovers from a mistake.
- Egress window changes that alter the rough opening. Bedroom egress windows have minimum clear opening dimensions under the California Residential Code. Moving the rough opening to make a window bigger or lower triggers a permit and an inspection that verifies the escape path.
- Exterior door installation in a load-bearing wall. The rough framing, header, and weather barrier all have to be handled correctly, and the door’s manufacturer installation spec has to be followed and documented.
There’s a fourth category that surprises people: replacing an existing window in a size that differs from the original. A size change typically means modifying the rough opening, which brings the same permit and inspection path as the items above. A true like-for-like replacement in the same rough opening with the same frame depth often doesn’t require a permit in California jurisdictions, but “often” is doing work in that sentence – check with Fremont’s Building and Safety Division before you buy, because the exact scope of what’s exempt gets interpreted at the counter.
Even where a permit isn’t required, contractor licensing still protects you. Unlicensed work over $500 is illegal to contract for in California, and the homeowner loses the leverage of the Contractors State License Board complaint process. When we quote exterior door work in a Fremont load-bearing wall, the permit path is built into the written scope and inspection results come back to us, not to you.
The Flashing Sequence Manufacturers Require for Warranty Validity
This is the step that most DIY installs skip, and it’s the one that decides whether the product warranty survives the job. Milgard, Andersen, and Marvin all publish installation instructions, and those instructions specify a flashing sequence that shingles from the bottom up so water always flows over the layer below rather than behind it.
- Sill pan first. The sill pan goes down before the window goes in, with the ends turned up and sealed to the sheathing. Water that gets past the window has to have somewhere to go that isn’t the wall cavity.
- Side legs next, overlapping the sill pan. The flashing tape runs up the jamb and laps over the sill flashing. Order matters enormously: if the sill goes over the side legs instead of under, water gets behind the leg.
- Head flashing last, over the side legs. The head piece sheds water outward and laps over both side legs. Get this order right and the weather barrier drains as intended.
The sequence looks fussy in a diagram and takes real discipline on a finished job site. Lap width, sealant bead placement, the specific tape the manufacturer approves, and the corner details all appear in the written spec. Skip any of it and the manufacturer has a written basis to deny a water intrusion claim, because the installation didn’t follow instructions. Whether you pulled a permit or not doesn’t enter into it.
In our experience, the failures show up one or two rainy seasons later, at the corners of the rough opening. That’s also why we photograph the layers as they go in. A documented photo record of the sill, legs, and head before the siding or trim closes them up is the evidence a manufacturer needs if a claim ever happens, and it’s standard on every window and door visit we run in Fremont.
How to Tell a True Like-for-Like Replacement From a Size Change
A like-for-like replacement means the new window goes into the same rough opening with the same frame depth and the same installation configuration. That’s the case where DIY is most often legal and where the warranty risk is manageable. A size change is anything that alters the wall – bigger, smaller in a way that requires filling, deeper or shallower in a way that changes the sill geometry, or a change from single to multiple units.
Four checks will tell you which one you’re facing:
- Measure the rough opening in three places each direction. Width at top, middle, and bottom; height at left, middle, and right. If the numbers are within a quarter inch of each other and match the new window’s rough opening spec, you’re in like-for-like territory.
- Measure the frame depth from inside face to outside face. If the new window’s frame depth differs from the old one, you’ll either recess it or shim it flush, and neither matches the manufacturer’s install spec without a plan.
- Check whether the trim and siding come off cleanly. A window replacement over an existing frame (a retrofit) and a replacement that pulls the whole frame (a full-frame replacement) follow different instruction sets. Know which one you’re doing.
- Look at the header above the window. Not because the header is a DIY question, but because you need to know if the opening is framed as a bearing location. If you can’t tell, that’s a question for someone licensed.
In Fremont, we’ve seen a lot of homes built between the 1950s and 1970s in the Centerville and Irvington areas where the original window frames were built with dimensional lumber that hasn’t moved in decades – clean like-for-like swaps are common there. We’ve also seen newer infill homes in the Warm Springs area where wall assembly details and tighter flashing specs make even a size change look simpler than it is. The measurements decide, not the neighborhood.
What a Contractor’s Installation Warranty Covers That DIY Cannot
A manufacturer’s product warranty covers the window or door as a manufactured item. It does not cover what happens after a poorly installed unit starts letting water in. A contractor’s installation warranty covers the work itself – the labor, the flashing, the sealant, the fit – and that’s a completely separate layer of coverage that a homeowner can’t recreate by doing the job themselves.
The two things it buys you in practice are water intrusion liability and documentation. If a Fremont rain event pushes water past a window we installed, the repair is on us under our 365-Day Done Right Promise. If a homeowner installs the same window and water gets in, the manufacturer points to the installation instructions, the homeowner has no written record of the flashing sequence, and the repair comes out of their pocket. That’s the entire difference.
The documentation layer matters even more at claim time. Homeowner’s insurance will look at an installation when a claim is filed for water damage, and a written work description, a dated invoice, and a photo record of the flashing before it was closed in are what separate a covered claim from a denial. Under The Haven Standard, every window and door visit on a Rowan job includes that photo record as a standard deliverable, plus a flat written price with a written scope before any work starts. Clause 1 in practice: the number is written before anyone picks up a tool.
And where a permit was pulled, the inspection record is one more piece of paper in the file. It shows the installation was checked by someone other than the installer. That matters when you sell, when you make an insurance claim, and when a manufacturer is evaluating a warranty request.
The Resale Problem: Undisclosed Defects Surface Years Later
Fremont’s housing market runs hot, and most sales move fast enough that disclosure forms get filled out quickly and taken at face value. A window installed DIY without permit, without proper flashing, and without documentation can sit quietly for years before the first staining ceiling or soft sill shows up in the room below. The homeowner at the time of the sale signs a disclosure saying they’re not aware of water intrusion. If the new owner finds rot two years later, the question of what was actually known becomes an issue – and the DIY installer usually has nothing to show that would support them.
There’s a straightforward fix. Keep the receipts, the manufacturer’s installation instruction sheet, your photos of the flashing layers, and any inspection card. If a contractor did the work, keep the signed scope, the written warranty, and the photo record. If you’re selling in the next five years, a buyer’s inspector will flag a window with visible sealant-only flashing, and that flag can slow a Fremont sale or cost you negotiating room. Recent updates like a new roof or repaved drive are common selling points – see Driveway & Pavers in Fremont for how we document that kind of work – and window and door work should be documented just as thoroughly. If a project also involves exterior additions, the same principle applies; see Home Additions & ADU in Fremont for how the paperwork path works on larger scopes.
A Step-by-Step Way to Decide
Run this order of operations before you buy a single tool or order a single window.
- Name the task precisely. “Adjust the threshold” and “install a new exterior door” are not the same job, and “fix a draft” might turn out to be either one.
- Check whether the work touches the rough opening, the weather barrier, or the structural framing. If it touches any of the three, you’re in licensed-contractor territory.
- Confirm with Fremont Building and Safety whether your scope requires a permit. Ask the specific question with the measurements in hand. Get the answer before you order anything.
- Read the manufacturer’s installation instructions for the specific window or door you bought. If the flashing sequence looks like more than you want to take on, that’s your answer.
- Get a free written estimate and compare it to your time and risk. We offer a free second opinion on any written estimate you’re reviewing – bring a competitor’s quote in and we’ll go through it line by line at no charge.
Common Mistakes to Avoid
- Assuming a permit and a warranty are the same thing. A permit shows the work was inspected; a warranty shows the manufacturer’s specs were followed. You can have one without the other, and neither substitutes for the other.
- Flash the sill over the side legs instead of under. This is the most common DIY error we see, and it’s the exact detail manufacturers cite when they deny a water intrusion claim.
- Use the wrong flashing tape. Manufacturers name approved tapes in their installation specs. A generic foil tape from the hardware store isn’t on the list and can invalidate the warranty by itself.
- Skip the sill pan entirely on a frame replacement. In Fremont, where spring moisture and wind-driven rain hit the south and west elevations, a missing sill pan shows up as rot in the room below within a couple of seasons.
- Measure the rough opening once. Measure at top, middle, and bottom, and at left, middle, and right. One measurement tells you nothing about whether the opening is square.
- Sign off on a quote that doesn’t name the flashing products. A written scope should list the sill pan product, the tape, and the sealant, not just “flashing included.” If it’s vague, the number is soft too.
- Paint over exterior trim before the installation warranty period ends. If a water issue needs to be looked at, paint obscures the sealant line and makes diagnosis slower. Wait for the first rainy season, then paint.
See the difference
 Before
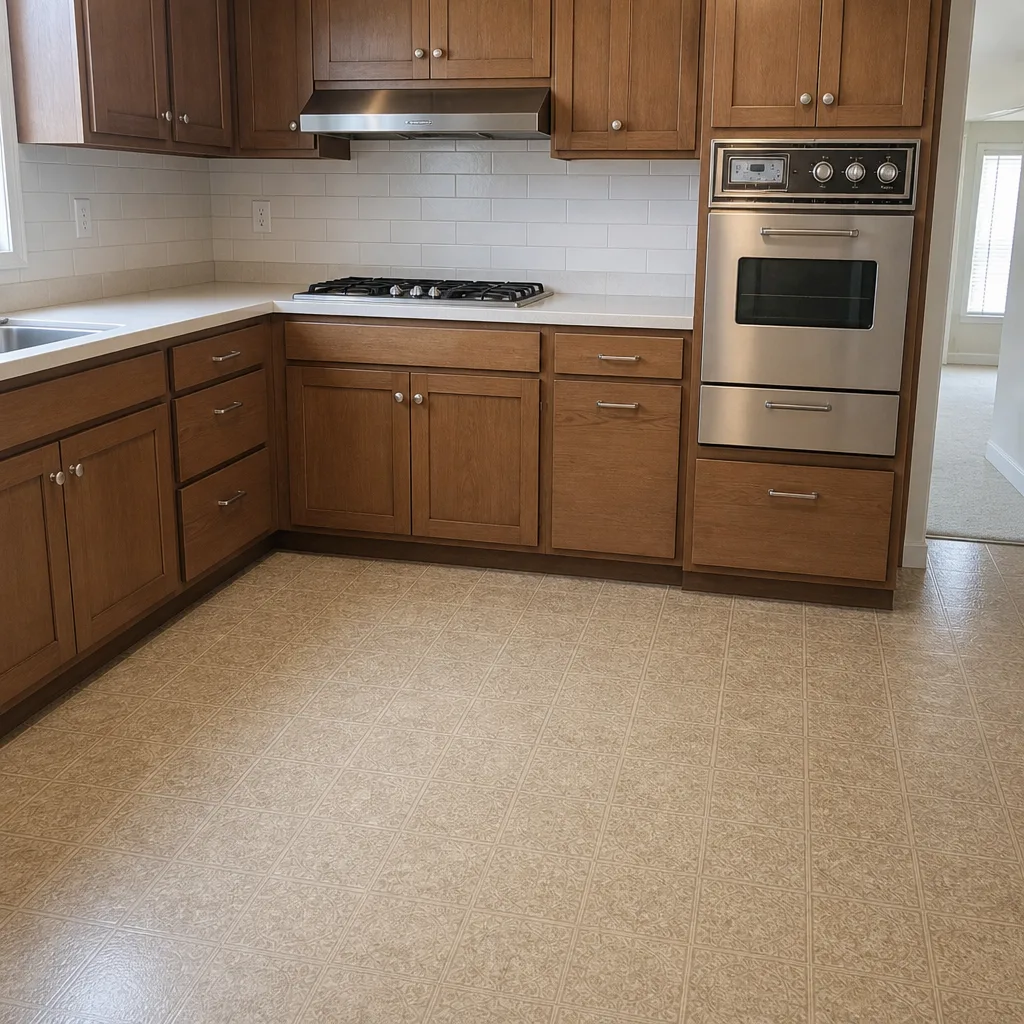 After
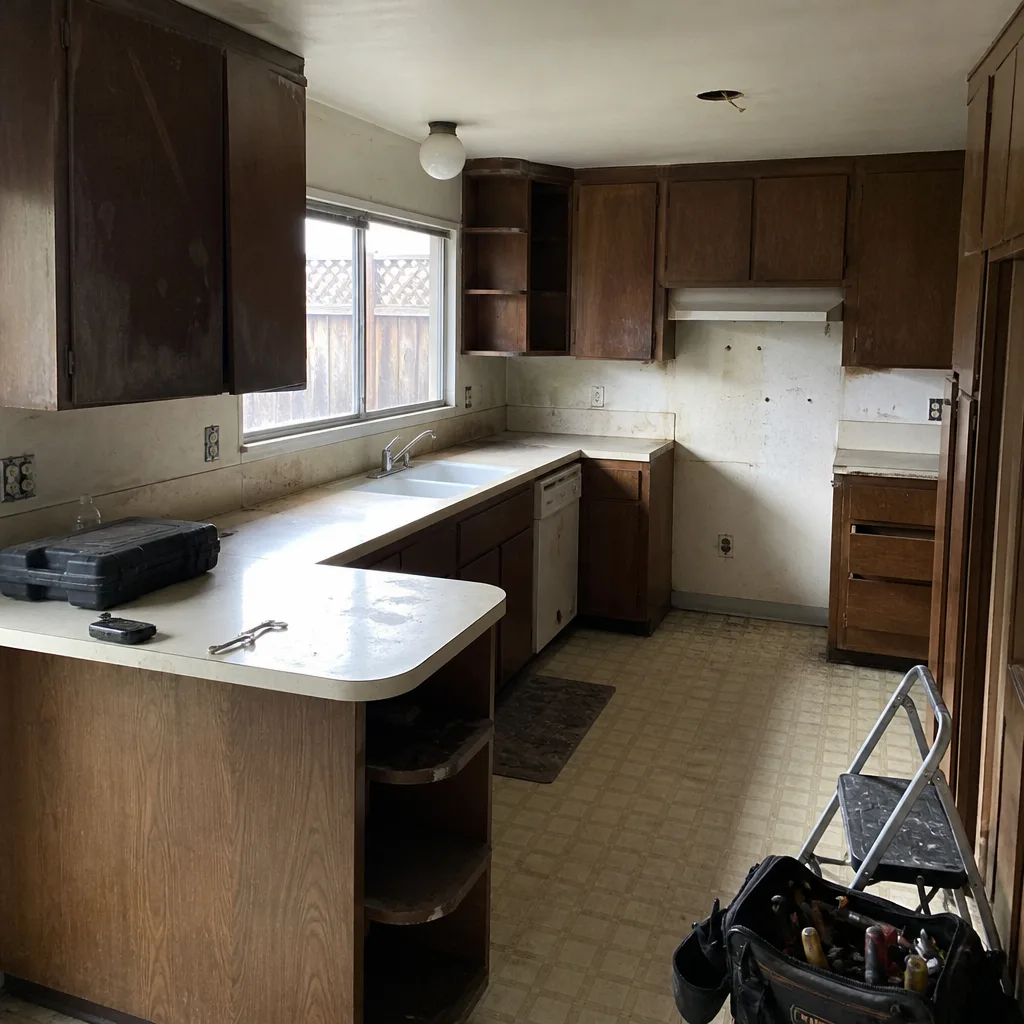 Before
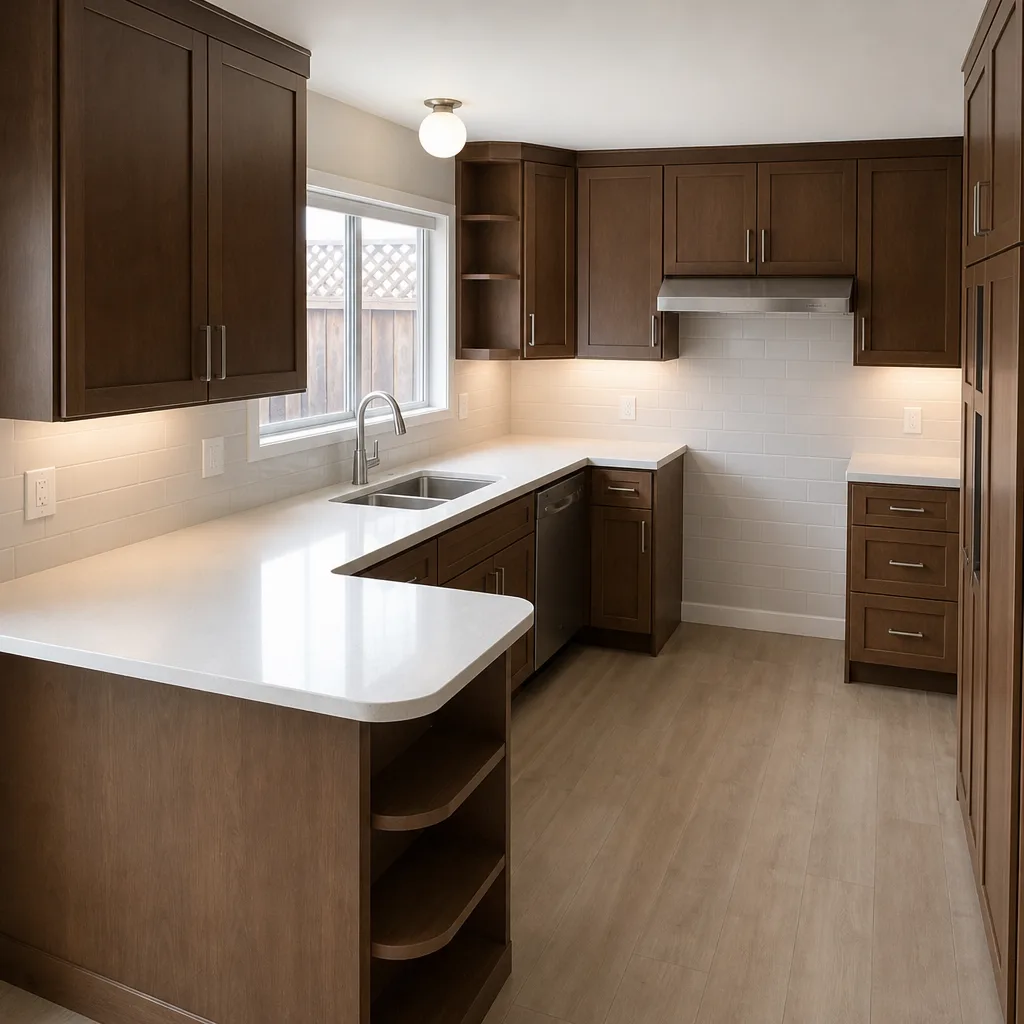 After
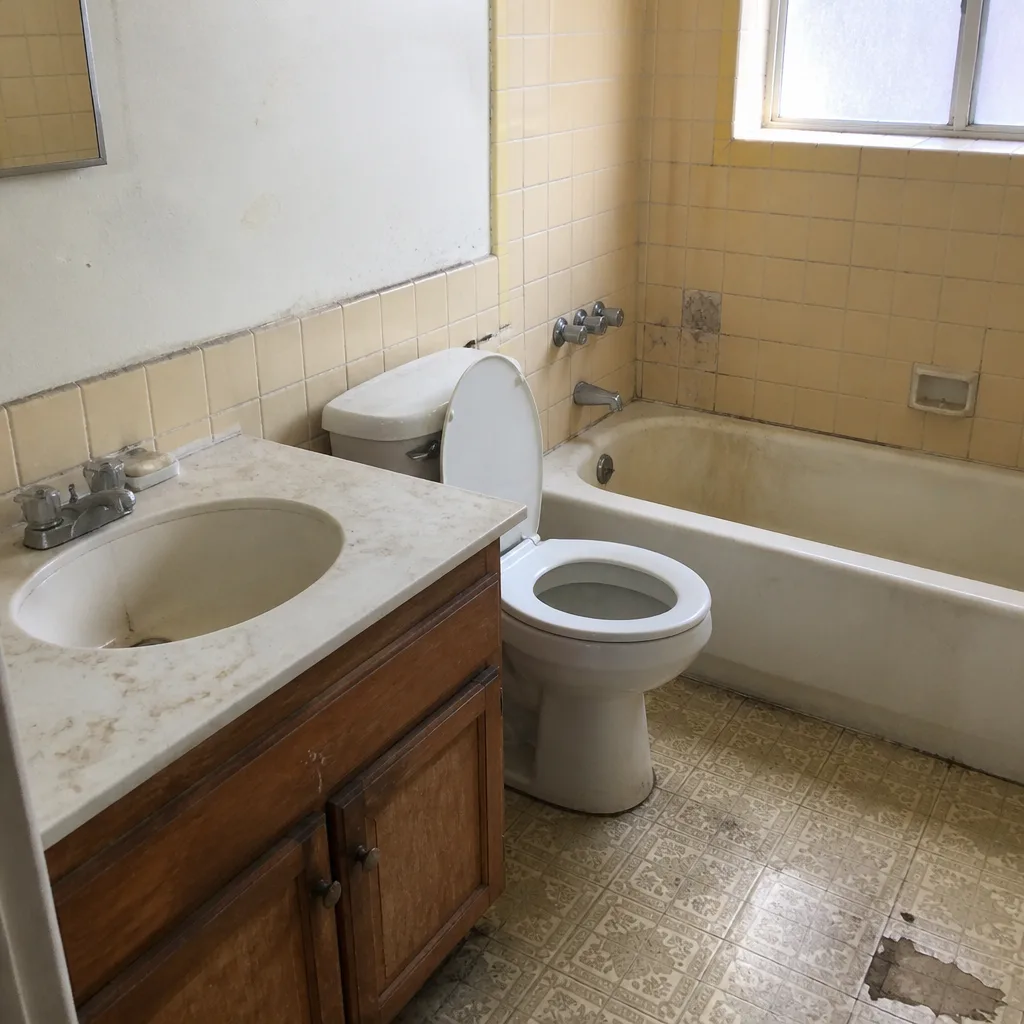 Before
 After
When to Call a Professional
Call a licensed contractor when the work involves a structural header, an egress window rough opening change, an exterior door in a load-bearing wall, a size change, or any installation where you don’t want to take on the flashing warranty personally. Also call when the window or door is going into a wall you can’t confirm is or isn’t load-bearing, or when the door you bought doesn’t match the frame depth of the one coming out. Those are the jobs where the failure cost is measured in thousands, not hundreds.
Rowan Construction Group Fremont offers free written estimates on window and door work in Fremont – a flat price with a written scope before any work starts. Call (866) 797-6171 to schedule yours.
Frequently Asked Questions
A true like-for-like replacement – same rough opening, same frame depth, same configuration – often doesn’t require a permit in California jurisdictions, but the exact scope of what’s exempt is interpreted by Fremont’s Building and Safety Division, so confirm before you buy. Any size change, egress window rough opening adjustment, or structural header modification will require a permit. Call (866) 797-6171 for a free written estimate – estimates are free and we can walk you through the permit path for your specific scope.
Only if the installation doesn’t follow the manufacturer’s written installation instructions. Milgard, Andersen, and Marvin all publish installation specs, and the flashing sequence is a named requirement. A homeowner who follows the spec to the letter, flushes the sill pan, laps the side legs over the sill, and laps the head over both legs, can technically keep the product warranty intact, but a contractor’s installation warranty is a separate layer neither the manufacturer nor a DIY install provides. Call (866) 797-6171 to talk through what a written installation warranty would cover on your job.
Sill pan first, then side legs overlapping the sill pan, then head flashing lapping over both side legs. Every layer sheds water outward and laps over the layer below. Skipping any part of the sequence, using an unapproved flashing tape, or reversing the order gives the manufacturer a written basis to deny a water intrusion claim. Call (866) 797-6171 for a free written estimate that names the flashing products in the scope.
Not if it’s going into a load-bearing wall – that calls for a licensed contractor under California contractor law, plus the permit and inspection path. Even where the wall isn’t load-bearing, the weather barrier and flashing details on an exterior door are the highest-risk part of the job. A written price from a licensed contractor also protects you on the Contractors State License Board complaint process. Call (866) 797-6171 for a free written estimate.
It can, particularly on a water damage claim. Insurance will look at the installation record, and a written scope, dated invoice, and photo record of the flashing layers before they were closed up are what separate a covered claim from a denial. A DIY install usually has none of that. Call (866) 797-6171 for a free estimate with a documented scope – every Rowan visit includes a photo record as a standard deliverable.
Weatherstripping replacement, hardware adjustment, interior casing painting, door threshold adjustment, and screen replacement are all low-risk, permit-free, and warranty-neutral. Those five tasks have a failure cost measured in a couple of hours and a few dollars of material. Anything that touches the rough opening, the weather barrier, or the framing moves to a licensed contractor. Call (866) 797-6171 if you’re not sure which side of the line your job falls on – a free estimate will answer that.
The Bottom Line
The line between DIY windows and doors and contractor work isn’t difficulty – it’s permit exposure and weatherproofing exposure. Five tasks are genuinely safe to do yourself: weatherstripping, hardware adjustment, interior casing paint, threshold adjustment, and screen replacement. Everything else touching the rough opening, the structural header, or the exterior weather barrier belongs with a licensed contractor in Fremont. The flashing sequence is the specific step most DIY installs skip, and it’s the step that voids the manufacturer’s warranty on water intrusion no matter what the permit says. Written documentation – the signed scope, the photo record, the written warranty – is what protects you at resale and at claim time. For related exterior work, see Fence Installation in Fremont, and for roof or window leak concerns tied to the same weather, the Rowan Construction Group Fremont home page walks through the seven trades.
Every Rowan window and door quote comes as a flat written price with a written scope before any work starts, no change proceeds without a signed change order, and our 365-Day Done Right Promise covers it either way. Bring us any competitor’s written estimate and we’ll review it line by line at no charge. Call (866) 797-6171 for a free estimate in Fremont.
Written by the team at Rowan Construction Group Fremont.