Last updated November 17, 2026




Free written scope consultation - allowances, timeline, and change-order rules on paper before a single trade is scheduled
Windows & Doors Warning Signs Every Homeowner Should Know
Diagonal stucco cracking that runs from a window corner at 45 degrees is not a stucco problem. It’s the cladding reporting movement in the framing or foundation behind it, and re-stuccoing over that crack without addressing the cause will have it back within two years. In our experience across Fremont homes, the signals that windows and doors are failing usually show up 12 to 18 months before the glass fogs, the door sticks permanently, or water reaches the sheathing. Homeowners read them as cosmetic, defer the call, and by the time a crew opens the wall the scope has grown from a sealant repair to a reframe. This guide names the specific indicators, explains what each one says about the structure, and assigns an urgency level so you know what can wait and what can’t.
Quick Answer
The warning signs of failing windows and doors fall into five groups: progressive frame racking (uneven gaps that get worse over months), water staining or efflorescence near frames, inter-pane condensation that appears on the glass rather than the room side, hardware that needs force or a lift to operate, and any egress window that won’t open from inside. Cosmetic seasonal movement shows up in wet months and reverses in dry ones. Structural indicators do not reverse; they widen. In Fremont, the wet-winter, dry-summer cycle makes that distinction easy to test if you measure instead of guess.
Styles & brands we work with
- Kitchen remodeling
- Bathroom remodeling
- Home additions & ADU
- Roofing
- Windows & doors
- Driveway & pavers
- Fence
Table of Contents
- How to Tell Seasonal Door Movement From Frame Racking
- Interior Staining Near Windows: Flashing Failure vs. Condensation
- Sealed IG Unit Failure: The Condensation Timing Test
- Hardware Warning Signs and Their Urgency Levels
- Fremont-Specific Indicators in Stucco Homes
- When the Damage Goes Past the Stucco and Into the Sheathing
- Common Mistakes to Avoid
- When to Call a Professional
How to Tell Seasonal Door Movement From Frame Racking
A door that sticks in January and frees up in June is doing what wood does. A door whose gap at the hinge side keeps growing while the latch side closes down is moving in one direction only, and that direction is the diagnosis. Here’s how to measure it without special tools.
- Close the door fully on a dry day and shine a flashlight along the hinge-side gap from the outside. Note whether the gap is even top to bottom.
- Repeat the same check at the latch side. On a healthy frame, hinge-side and latch-side gaps should read within about 1/8 inch of each other at top, middle, and bottom.
- Record each measurement with the date. Repeat in 60 days. Seasonal wood movement shifts maybe 1/16 inch and comes back. Frame racking moves 1/8 inch or more in the same direction and doesn’t return.
- Check the top corners of the door frame with a level. A frame that has racked will read out of plumb by a visible margin when the door is closed and latched.
In Fremont, we see racking most often in homes built on expansive clay soils in the Warm Springs and Mission San Jose areas, where the soil swells in winter and shrinks hard in summer. That cycle works on the foundation continuously, and the door in the affected corner is usually the first thing to tell you. If the frame has racked, adjusting the hinges only masks the symptom. The underlying movement needs to be identified before you spend money on trim and paint.
Interior Staining Near Windows: Flashing Failure vs. Condensation
Interior staining around a window frame has two main causes, and they look different once you know the pattern to check. Flashing failure shows up as a stain that spreads from the top of the window or runs down the sides, and it usually comes with damage to the surrounding drywall or paint. Condensation shows up as a fine band of moisture or a tide-line mark at the bottom edge of the glass or frame, tied to cold mornings and interior humidity.
Here’s how to tell the difference without opening the wall:
- Location. Staining at the top and upper sides of the frame points to water getting behind the cladding from outside. Staining at the bottom edge is more often condensation running down and pooling at the sill.
- Timing. Condensation staining appears or darkens on cold, damp mornings and fades as the house warms. Flashing-failure staining is present and darkens regardless of weather.
- Texture. Run a fingernail along the paint at the stain. Paint that bubbles or peels back to bare drywall points to water behind the paper face, which is a flashing issue. Paint that’s simply discolored with no lift is more consistent with surface moisture.
- Smell. A musty note at the window after rain is an indicator of water intrusion and, if it’s been there a while, mold growth in the wall cavity.
Flashing failures in Fremont often trace to the original installation of stucco and trim over a wood-frame wall, where a missing kick-out flashing at the roof-to-wall junction channels roof water directly behind the stucco. We’ve seen this on homes in Centerville and Irvington where the stain sat on the drywall for a full season before the owner called, and by then the framing below the window had softened. If the stain has been there through a wet winter, the interior inspection is worth the cost of opening a small section of drywall.
Sealed IG Unit Failure: The Condensation Timing Test
Modern windows ship with insulated glass (IG) units: two panes sealed around a desiccant-filled spacer, with an argon fill in better units. The seal fails and the argon escapes over time. The desiccant gets saturated, and moisture that was held inside the cavity condenses on the inner face of the cold pane. Here’s how to tell an IG failure from ordinary surface condensation without taking anything apart.
- On a cold morning, look at the fog. If it’s on the room-side surface, you can wipe it off with your finger. Try. If it won’t wipe off, it’s between the panes.
- After the fog clears, check the interior glass surface at the edges of the pane for a chalky haze or a fine white mineral ring. That ring is desiccant migration, and it only forms when the seal is broken.
- Check the bottom edge of the glass inside the frame for a faint fog band that persists for days. Edge haze that never clears is a seal failure, not a humidity event.
- Run the test in two seasons. Surface condensation clears when humidity drops. Inter-pane fog stays put, or gets worse, as the cavity fills with moisture.
An IG unit that has lost its seal loses most of its insulating value and its UV blocking at the same time. The glass will also start showing thermal stress cracks along the edge in the next couple of years. Replacing the unit, or the sash, addresses the seal. Replacing the whole window is only needed if the frame itself has also moved or rotted. When we quote a window replacement through Rowan Construction Group, the written scope separates the glass unit from the frame so you’re paying for the part that actually failed.
Hardware Warning Signs and Their Urgency Levels
Hardware tells you how the frame, sash, or door is behaving before anything else shows. We sort hardware indicators into three tiers so homeowners can prioritize a repair call and skip an unnecessary one.
- Immediate (call now). An egress window that won’t open from inside. Every bedroom in Fremont needs a working egress window per California code, and a stuck one is a life-safety issue in a fire. A door that won’t open or close at all is also an immediate call if it’s the only exit from a room.
- Medium (window of 3 to 6 months). A lock that requires force to engage, a latch that catches partway, or a deadbolt that needs a hip-check to turn. These point to frame shift or hardware wear and tend to worsen as the season moves. Get them assessed before the dry season ends so the fix happens before the wet months.
- Low (cosmetic, watch it). A door that needs the handle lifted slightly to latch. This is usually a broken or worn strike plate alignment and often resolves with an adjustment. Measure the gap on both hinge and latch sides to confirm it isn’t the earlier racking pattern wearing a hardware mask.
We see a lot of “the door just needs a shim” calls in Fremont where the real issue is a hinge-side frame that’s moved 3/8 inch in a year. Shim it, and it will be back within the season. Under Clause 1 of the Haven Standard, the written assessment names the cause before any adjustment is quoted, so you’re not paying for a repeat visit.
Fremont-Specific Indicators in Stucco Homes
Fremont’s housing stock is largely stucco over wood frame, and the marine layer that rolls in from the Bay most summer mornings keeps the exterior skin wetter, for longer, than most of the inland East Bay. That combination produces a very specific indicator: a white, chalky powder crust forming on or near the window sill and the surrounding stucco. It’s called efflorescence, and it’s salt that water carries out of cement-based materials as it evaporates.
Every stucco home in Fremont will show a little efflorescence once after construction. Chronic, recurring blooms, especially at the sill line under a window, are a different thing. They signal persistent moisture wicking through the stucco and evaporating at the surface, which means water is getting behind the cladding somewhere above and traveling down.
The window sill is the tell because it’s where the weep screed is supposed to drain water back out. When the sill stays wet or the efflorescence keeps returning after a rain, the drainage plane has failed. In new builds in the Niles district and older homes near the Fremont Hub, we’ve pulled sill trim only to find that the original flashing at the window opening was the paper-faced type that degrades once it’s wet for a few winters.
Efflorescence is a symptom worth catching early because the cost of dealing with it is entirely dependent on when you start. Stucco-layer damage, once the water has only worked through the outer coat, can usually be repaired with the drainage detail corrected. By the time the efflorescence has been blooming for two seasons and the interior drywall shows a soft spot, the sheathing underneath is the problem.
When the Damage Goes Past the Stucco and Into the Sheathing
The question every homeowner asks when they see the efflorescence is whether it’s cosmetic or whether the damage has reached the framing. There’s a non-destructive step-by-step check before you agree to opening the wall:
- Press the flat of your hand against the interior drywall directly inside the efflorescence line. A soft or yielding spot is an interior moisture reading in the making – call for a professional moisture check.
- Look at the interior baseboard and adjacent trim for a dark line or lifted paint at the bottom edge, which often confirms water reaching the floor plate.
- Check the exterior stucco for hollow-sounding patches with a light tap of a screwdriver handle. Deadened tapping near the window corners means the stucco has separated from the substrate, which is where water travels.
- Have a contractor take a moisture reading at the stucco surface and the interior drywall with a pin meter. A difference of more than a few points between adjacent areas, at both faces, confirms water is in the wall.
If the exterior reads dry but the interior reads wet at the same location, the water is entering higher up and traveling down inside the cavity – most commonly at a roof-wall junction or above a window head. If both read wet, the exterior drainage has failed at the sill. That distinction sets the repair scope from a stucco patch (a few hundred dollars) to a wall opening and flashing rebuild (several thousand).
James Hardie fiber cement siding is one of the materials we specify when a section of Fremont stucco has to come off and the owner wants to reduce the moisture pattern long-term. It’s not the right call for every home, but for walls with a chronic flashing detail and no easy drainage fix, it removes the reservoir of wet cement.
Common Mistakes to Avoid
- Re-stuccoing over a diagonal crack without finding the cause. A 45-degree crack from a window corner is almost always a movement indicator, and cosmetic repair without addressing the movement repeats in one to two years.
- Adjusting hinges to fix a racking door. Hinge adjustment is a mask on a frame that has moved. Measure both gaps before agreeing to any hinge repair.
- Assuming condensation is a humidity problem. Fog on the inside of the room you can wipe off is a humidity event. Fog between the panes is a broken IG seal, and it will not resolve with a dehumidifier.
- Skipping the egress-window check on a bedroom. California code requires one operable egress window per bedroom, and homeowners in Fremont routinely discover a stuck sash only during a home sale or a fire. Test it now.
- Calling a house painter for exterior trim repairs. Paint on a window opening is cosmetic. Flashing is structural. A painter will strip and repaint a failing flashing detail and hand you a bill that hides the actual problem.
- Ignoring efflorescence that comes back every winter. Every return means water is still moving behind the stucco. The cost of a moisture reading is one percent of the cost of a wall rebuild.
- Pricing a window replacement over the phone without seeing the frame. We won’t do it, and it’s a sign another contractor is quoting the glass and will send a change order the minute the frame is opened.
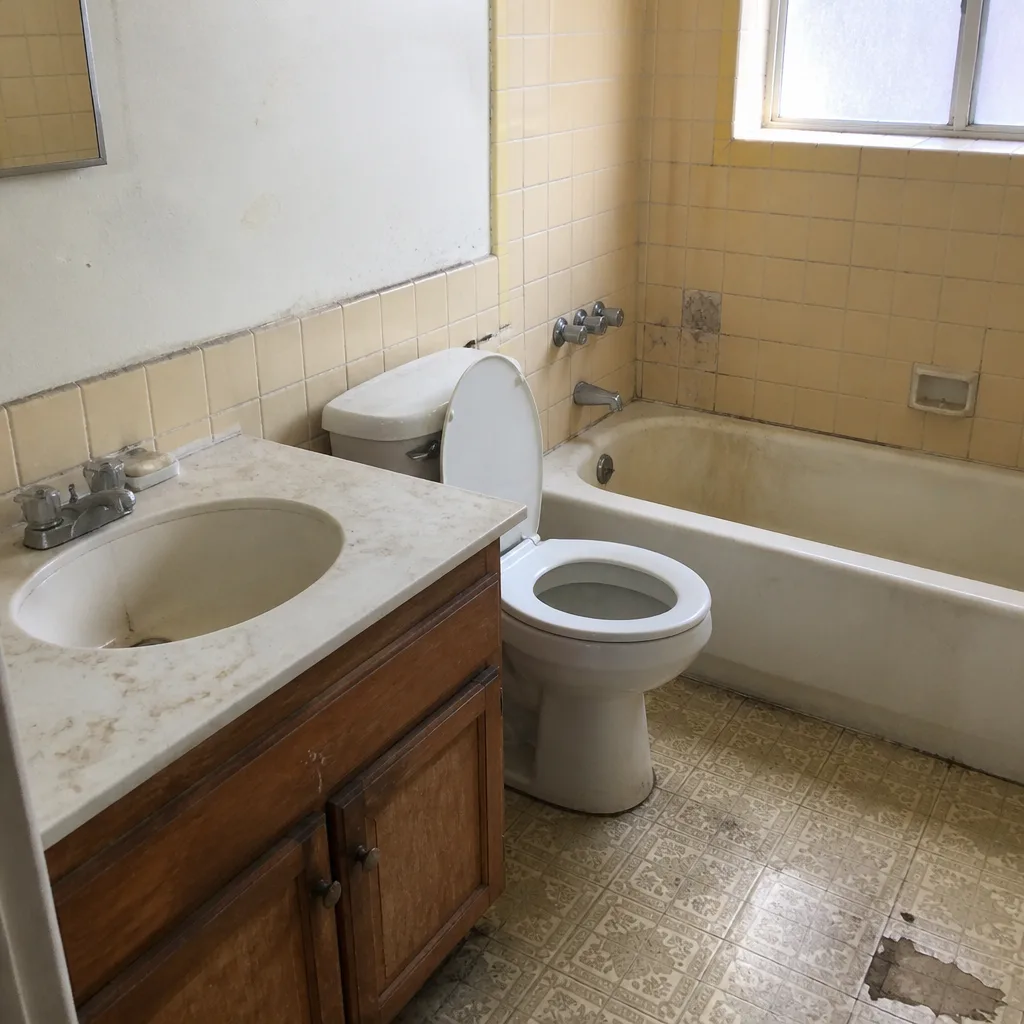
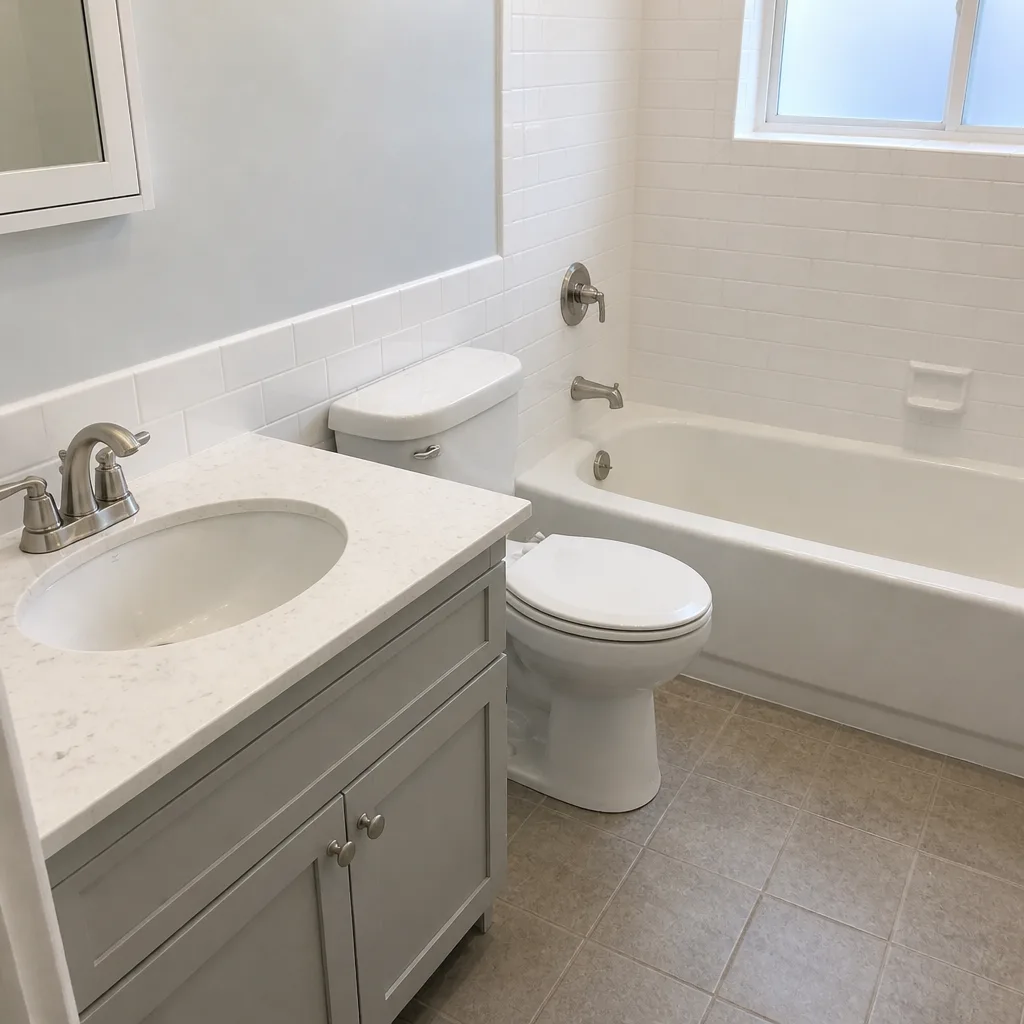
See the difference
 Before
 After
 Before
 After
 Before
 After
When to Call a Professional
Call a professional if any of the following is true: an egress window won’t open from inside; a window or door frame gap has grown by 1/8 inch or more across 60 days; interior staining at a window has been present through a wet winter; efflorescence has returned at the same window sill for two consecutive seasons; or a door requires lifting the handle to latch while the frame reads out of plumb. Those five scenarios move the job from a hardware or paint repair to a structural assessment, and they’re the ones where waiting a dry season usually costs more than the visit. Rowan Construction Group Fremont offers free estimates in Fremont – call (866) 797-6171.
Frequently Asked Questions
Window replacement in Fremont typically runs $650 to $1,400 per opening for a standard vinyl or fiberglass unit with installation, and $1,200 to $2,400 for wood-clad units from makers like James Hardie-trimmed openings or premium Marvin or Andersen lines. Full-frame replacements that require new flashing and stucco repair add $400 to $900 per window. Call (866) 797-6171 for an exact quote – estimates are free and we review any competitor’s written bid line by line at no charge.
If the fog wipes off with your finger, it’s room-side humidity. If it won’t wipe, it’s between the panes and the IG seal has failed. Look for the edge haze and mineral ring at the pane’s perimeter as confirmation, and recheck the same window in two seasons – inter-pane fog doesn’t clear with the weather. Rowan Construction Group quotes the glass unit and frame separately, so you don’t pay for a full window when only the IG unit failed. Call (866) 797-6171 to book an assessment.
Fremont’s wet winters swell wood frames and doors slightly, which is normal seasonal movement and reverses in summer. The case that needs a call is a door whose gap grows in the same direction across 60 days instead of returning. Measure the hinge-side and latch-side gap and note the date; if the difference exceeds 1/8 inch, get the frame checked for racking. Call (866) 797-6171 for a free estimate if the movement is progressive.
It’s efflorescence, salt pushed to the surface as water evaporates out of the stucco. A one-time bloom right after construction is normal. A bloom that returns every wet season means water is getting behind the cladding and draining through the wall instead of out the weep screed, and the window sill is usually where the flashing detail has failed. Call (866) 797-6171 for a moisture check before the damage spreads to the sheathing.
If only the IG unit (the sealed glass assembly) failed and the frame is sound, replacing just the glass unit is the correct call and typically saves 40 to 60 percent versus a full unit replacement. If the frame has moved, rotted, or the sill shows efflorescence from a flashing failure, the frame is the actual problem. We only quote a full window when the frame is the part that failed, and we show you why in the written scope. Call (866) 797-6171 for a free estimate.
Like-for-like window replacements in Fremont usually don’t require a building permit if the opening size and location stay the same and the window meets current egress and safety-glazing requirements. Any change to the opening size, adding a new opening, or replacing windows in a historic overlay district does typically require a permit and, on some properties, a design review. We confirm the requirement for your address before quoting, and the permit scope is written into the quote. Call (866) 797-6171 to schedule a free estimate.
The Bottom Line
Windows and doors report structural conditions 12 to 18 months before you can see damage, and the indicators are specific: uneven door gaps that widen across 60 days, interior staining at the window head versus the sill, edge haze that won’t wipe off the glass, hardware that requires a lift or force to operate, and efflorescence that returns each wet season in Fremont stucco homes. The test that matters is repeatability. Seasonal movement reverses; structural movement doesn’t. Measure, photograph, and date what you find, and if two checks show the same direction of change, get a professional moisture reading before the repair scope grows.
Rowan Construction Group writes a flat price with a written scope before any work starts, documents every visit with a photo record, and stands behind the work with the 365-Day Done Right Promise. Our technicians have up to 19 years of experience, calls are answered by a live person 24/7, and we’ll review any competitor’s written estimate line by line at no charge. Whether you’re steering a kitchen or addition project and want to know how the framing ties into these repairs, or you’re just looking for a straight answer on a window that’s fogged, we can help. Call (866) 797-6171 for a free estimate.
Written by the team at Rowan Construction Group Fremont.