Last updated November 17, 2026
Free written scope consultation - allowances, timeline, and change-order rules on paper before a single trade is scheduled
DIY vs Professional Driveway & Pavers: What’s Safe to Do Yourself
A homeowner who lays pavers by hand on an under-compacted base hasn’t saved the contractor’s labor cost. They’ve deferred it, plus added a full demo charge, to year two or three when the surface has to come up and the base gets rebuilt anyway. We’ve pulled enough failed DIY driveways out of Fremont to know the pattern by heart: the pavers themselves are usually fine, and the six inches underneath them are not. This guide draws the line where we think it honestly sits – not at ambition level, but at the equipment threshold. You’ll learn which tools actually matter, which jobs you can safely take on, and how to verify a contractor’s compaction work before you pay the final invoice.
Quick Answer
You can safely handle joint sand replenishment, individual paver resets, and surface cleaning yourself. You cannot safely build a driveway base without a plate compactor that delivers real compaction force and a way to test it – that’s the line. Base excavation, grading, and anything touching drainage or setbacks belongs to a licensed contractor, both for structural reasons and because those tasks can void manufacturer warranties and trip city permit requirements. Everything above the base is largely homeowner territory. Everything below it is not.
Styles & brands we work with
- Kitchen remodeling
- Bathroom remodeling
- Home additions & ADU
- Roofing
- Windows & doors
- Driveway & pavers
- Fence
Table of Contents
- The Equipment Threshold: Where DIY Actually Stops
- Low-Risk DIY Tasks You Can Genuinely Handle
- The Tasks That Void Warranties and Permit Protections
- How to Verify a Contractor’s Compaction Work
- Cost Comparison: Full DIY, Partial DIY, and Professional
- Fremont’s Soil, Drainage, and Why the Base Matters Here
- Common Mistakes to Avoid
- When to Call a Professional
The Equipment Threshold: Where DIY Actually Stops
Here’s the number that matters: a plate compactor delivering 3,000 to 4,000 pounds of compaction force per pass. That’s the working standard for a residential paver base, and it’s the single spec most DIY driveways miss. A hand tamper or a lightweight rental unit doesn’t reach it – not with enough passes to matter, and not consistently across a 400 sq ft pour. The base underneath a paver driveway is typically a compacted aggregate layer four to six inches deep for a walkway and six to eight inches for vehicle traffic. Every inch of it needs to hit density targets before a single paver goes down.
The full toolkit for a professional install looks like this:
- Plate compactor – 3,000-4,000 lbf compaction force, rented from a tool yard for roughly $80-$120 per day in the Fremont area.
- Laser screed or hand screed – to establish consistent base depth and slope. A laser level setup rents for $60-$100 per day; a hand screed is $30 or less.
- Dead-blow mallet – for setting individual pavers, roughly $25 to buy.
- Paver splitter vs. wet saw – a manual splitter handles straight cuts for about $40 per day; a wet saw runs $90-$140 per day and is required for curved cuts and hard stone.
- Compaction test equipment – a nuclear density gauge runs $400-$700 per day or requires a testing firm, which is why almost nobody rents one for a DIY job.
Total rental cost for a 400 sq ft DIY driveway lands somewhere near $350-$600 depending on how many days you keep the equipment. A licensed contractor amortizes that same cost across multiple jobs in a week. That’s the unglamorous reason they can afford the right gear and you can’t – not skill, not magic. Just utilization.
Low-Risk DIY Tasks You Can Genuinely Handle
We mean this without condescension: most of the maintenance that keeps a paver driveway looking sharp for a decade belongs to you, not to us. These are the jobs where a homeowner with a Saturday and a shop vac does as well as any crew.
Joint Sand Replenishment
- Sweep the surface clean and let it dry completely – sand won’t set into a wet joint.
- Pour polymeric joint sand across the pavers in thin layers, sweeping it into the joints with a stiff broom.
- Compact the sand into the joints with a hand tamper or a light plate compactor set to low force – and if you’re not confident in the setting, sweep only.
- Mist lightly to activate the polymeric binder, then let it cure for 24 hours without traffic.
Replenish joints every two to three years on a Fremont driveway. The dry season shrinks sand; the wet season washes it out. Both are normal.
Individual Paver Resets
A single rocking paver is a five-minute fix. Lift it with a putty knife or paver extractor, scrape the bedding sand under it back to level, reset it with a dead-blow mallet, and re-sand the joint. Do this in the dry months – never during a rain week, when the bedding is saturated and won’t hold a set.
Surface Cleaning
Rinse, scrub with a stiff-bristle brush and a mild detergent, and skip the pressure washer on polymeric joints. A pressure washer at 3,000 psi blasts the joint sand out of the joints – we see it weekly on Fremont driveways and it’s the most common self-inflicted paver problem we repair.
The Tasks That Void Warranties and Permit Protections
Three categories of work fall on the professional side of the line, and each one carries a specific consequence if handled without a licensed contractor.
Base excavation over 12 inches. A paver base goes deeper than most homeowners expect, and excavation beyond 12 inches crosses a threshold that moves the work from “surface treatment” into “grading and site work” in most jurisdictions, including Fremont. That change in classification usually triggers a permit requirement and, more importantly, changes what a manufacturer will warrant. A paver warranty that assumes an engineered base won’t hold if the base was dug by hand.
Work within 5 feet of a property-line setback. Excavating, regrading, or changing the surface within 5 feet of a setback line can affect drainage onto a neighbor’s parcel, which is a code and sometimes a civil issue. Don’t do this without a licensed contractor or, in edge cases, an engineer’s sign-off.
Connecting to existing drainage infrastructure. Tie-ins to storm drainage, French drains, and catch basins sit squarely outside DIY territory. A mis-sloped tie-in can back water into a foundation or a basement slab within one wet season, and the resulting repair dwarfs the savings. For context on how we handle drainage in larger site work, our Driveway & Pavers in Fremont page describes how base prep, slope, and drainage tie into a full install.
These are the three places where we’ll gently refuse to warranty a homeowner’s work. Not because you can’t physically do it – because the paperwork trail falls apart when you do.
How to Verify a Contractor’s Compaction Work
You should never need a geotechnical engineer to check your driveway. You need one test and one piece of paper. The nuclear density gauge test measures the in-place density of the base and reports it as a percentage of maximum dry density from a Proctor test – typically 95% or above is the pass floor for a residential paver base.
What a passing result looks like on paper:
- Test method and date – usually ASTM D6938 for the nuclear gauge, with the date the test was run.
- Location-by-location results – not one number for a 400 sq ft driveway. Three or more probes minimum.
- Percentage of maximum dry density – target is 95% or higher per location.
- Moisture content vs. optimum – within a couple of percentage points of optimum.
If a contractor tells you the base is compacted and hands you no record, that’s a yellow flag. If they hand you a test report you don’t recognize, ask them to walk you through it line by line – it’s a two-minute conversation. Should you choose too not have the test performed? The plate compactor pass count (usually four to six passes per lift) plus a documented photo record is a fair second-best, which is the standard we work to under The Haven Standard. Call (866) 797-6171 and we’ll walk you through what a proper test report looks like before final payment.
Cost Comparison: Full DIY, Partial DIY, and Professional
For a 400 sq ft driveway in Fremont, here’s what we’d honestly put on the table. Materials prices reflect the current local market for a mid-grade concrete paver. Labor estimates assume a homeowner with average tools and no prior paver experience.
- Full DIY – materials $3,200-$4,600 (pavers, base aggregate, joint sand, edging), tool rental $350-$600, dump fees $150-$400, total $3,700-$5,600. Labor: 80-120 hours. Realistic completion: 3 to 5 weekends. Risk: base failure in 2-3 years.
- Partial DIY – homeowner does demo and final cleanup (approx. 20-30 hours); contractor handles base prep, compaction, setting, and cut work. Total $5,200-$7,000. Risk: low, if the contractor is licensed and provides compaction records.
- Full Professional – turnkey install including permits if required, compaction test documentation, and written warranty. Total $7,500-$11,500 for a 400 sq ft paver driveway in Fremont, depending on paver selection and site access.
The $2,000 gap between partial and full DIY is the honest cost of compaction infrastructure. It’s also the difference between a driveway that’s still level in year five and one that’s not. If you’re comparing pavers against concrete, our Rowan Construction Group Fremont home page covers the trade-side view of both.
Fremont’s Soil, Drainage, and Why the Base Matters Here
Fremont’s soil is not uniform, and that matters for compaction. The clay-heavy soils in the older flats of Centerville and Irvington hold water and expand under winter rain, which means an under-compacted base loses volume under load and drives pavers out of plane. The gravelly soils near Niles and up against the Mission foothills drain faster but lose compaction more easily under heavy vehicle loads. In both cases, the base has to be settled before pavers go down or it settles after – and after is the expensive version.
Fremont’s wet season runs roughly November through March. A paver driveway installed in May has a different durability curve than one installed in February, because the base had months to dry and stabilize. We generally recommend paver installation in the dry months where scheduling allows. Where it doesn’t, the base needs to be protected from rain during construction and tested after any wet period post-compaction.
Fremont also sits on a mix of older planned subdivisions and newer infill lots, so site access varies dramatically. A driveway on a narrow lot in the Irvington district takes a different equipment sequence than a wide lot in Ardenwood. The base preparation, in all cases, works the same way – which is the point of drawing the line at equipment rather than neighborhood.
Common Mistakes to Avoid
- Under-compacting the base in favor of visible labor. A homeowner will spend 40 hours hand-screeding and ten minutes tapping the base with a hand tamper. Density is what fails, not ambition. Skip the plate compactor and you’ve guaranteed the failure.
- Laying pavers over saturated ground. Fremont’s winter rains push the water table up in the Centerville flats. Laying on wet bedding sand sets every paver to the wrong level and they won’t hold set once the base dries.
- Cutting joints too tight against the house or a hard edge. Pavers need expansion room, usually 1/8 to 1/4 inch, and a snug install against a wall will heave or crack in year one.
- Skipping the edge restraint. Without a properly anchored plastic or aluminum edge restraint, pavers creep laterally under vehicle load within a season. It’s the cheapest $40 in the whole project.
- Pressure-washing the joint sand out. We said it once above and we’ll say it again: a 3,000 psi pressure washer strips polymeric joints in a single pass. Use a garden hose, a brush, and mild detergent.
- Tying into the existing drainage without a permit check. In Fremont, drainage tie-ins to storm lines require permit review in many cases. Skipping it can surface during a future sale inspection – and the correction is expensive.
- Buying pavers before confirming the base plan. The base depth depends on the paver thickness and the traffic load. Buy the pavers first and you’ll often buy the wrong ones, then buy them again.
When to Call a Professional
Call us when the work crosses any of these thresholds: base excavation beyond 12 inches, any grading or regrading that affects drainage, work within 5 feet of a setback line, drainage tie-ins, or any driveway that supports a vehicle load and that you want to last past five years. If you’ve already laid pavers yourself and they’ve settled, cracked, or heaved in the first two winters, that’s a base rebuild, not a surface repair – and the demo cost is now part of a project you could have done once. If you’re planning any adjacent site work – a new Fence Installation in Fremont, a driveway extension tied to a Home Additions & ADU in Fremont project – drainage and grade should be planned together rather than in sequence. Call (866) 797-6171 for a free estimate in Fremont. We’ll walk the site, show you what we find, and put the price in writing before anyone touches a tool.
See the difference
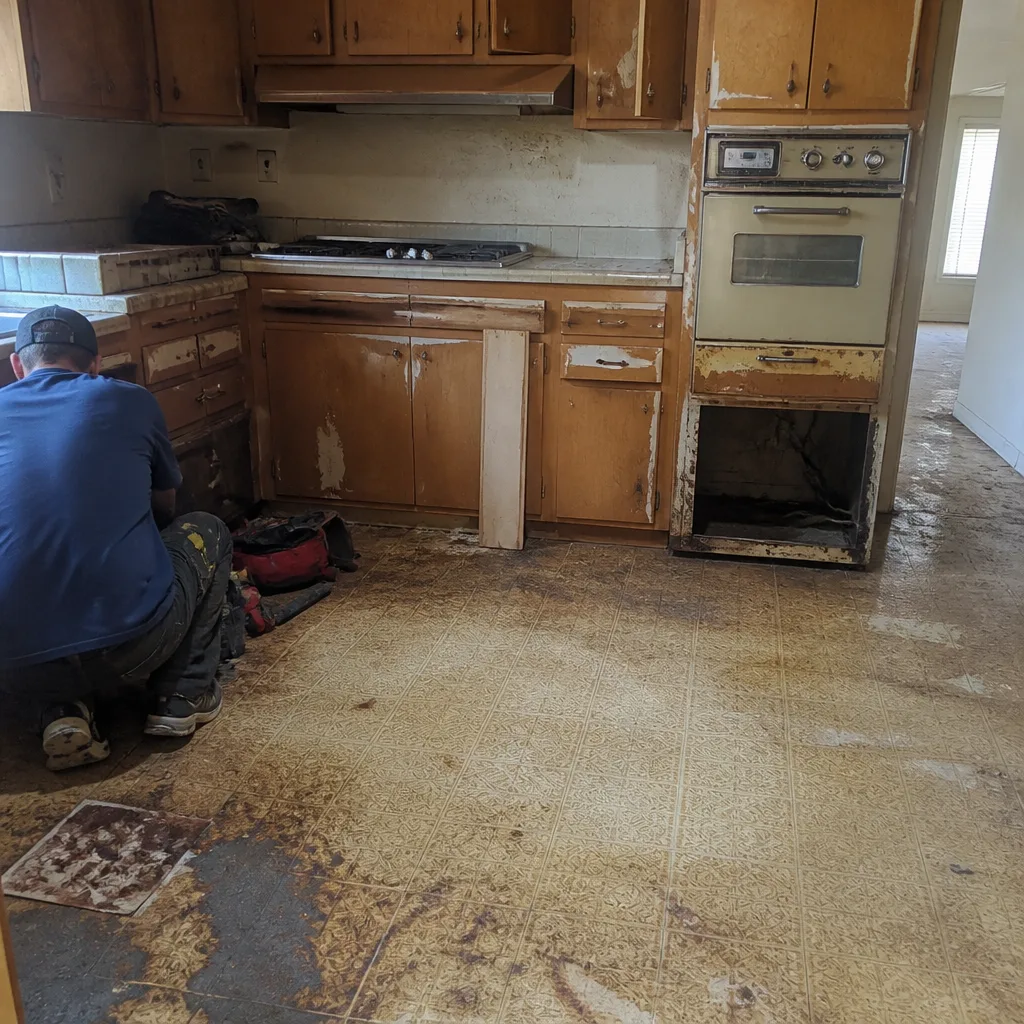 Before
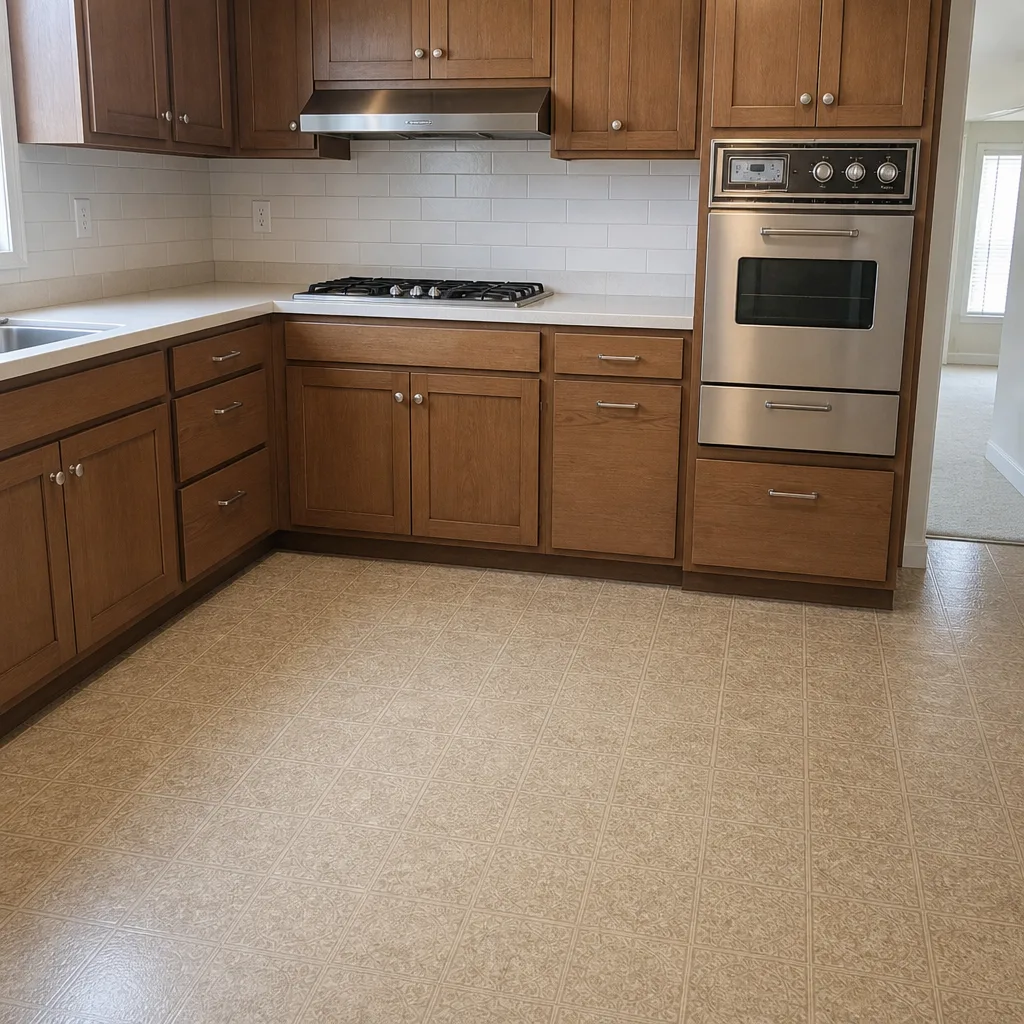 After
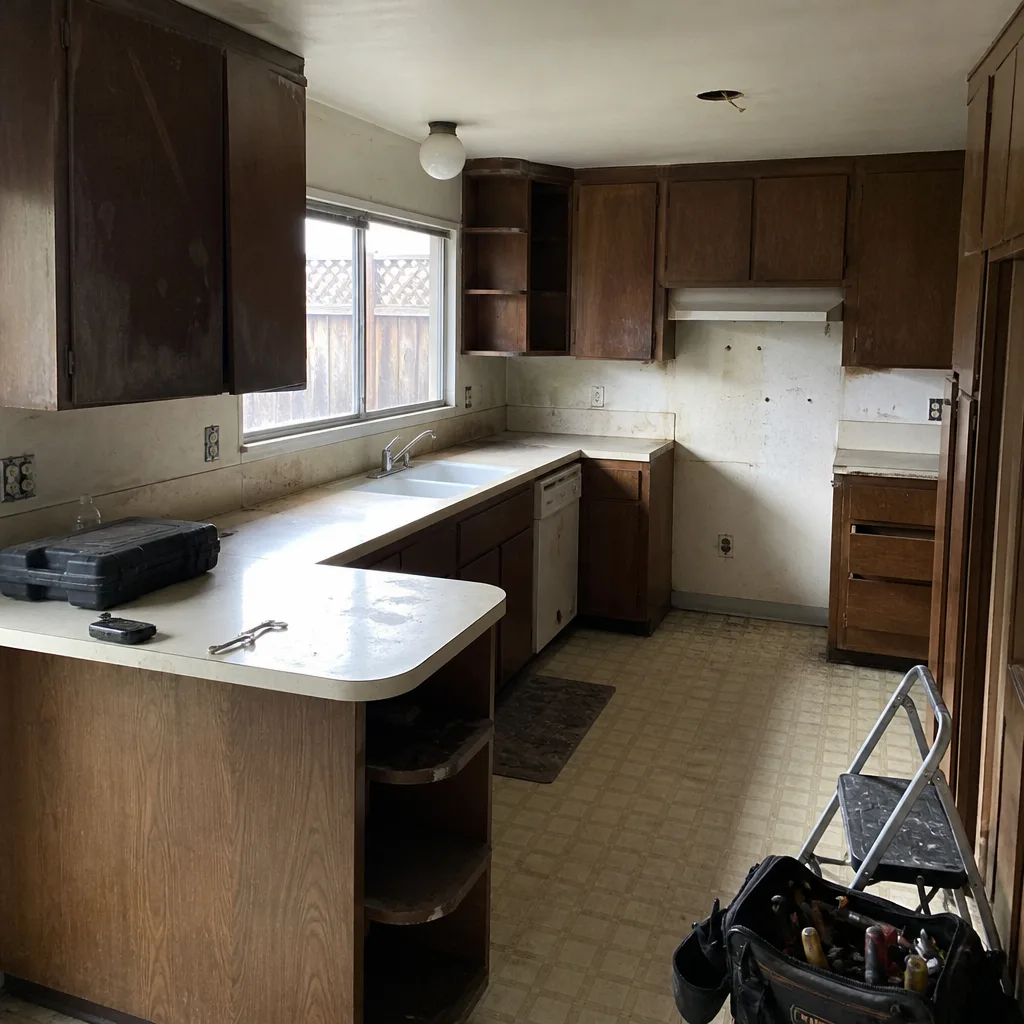 Before
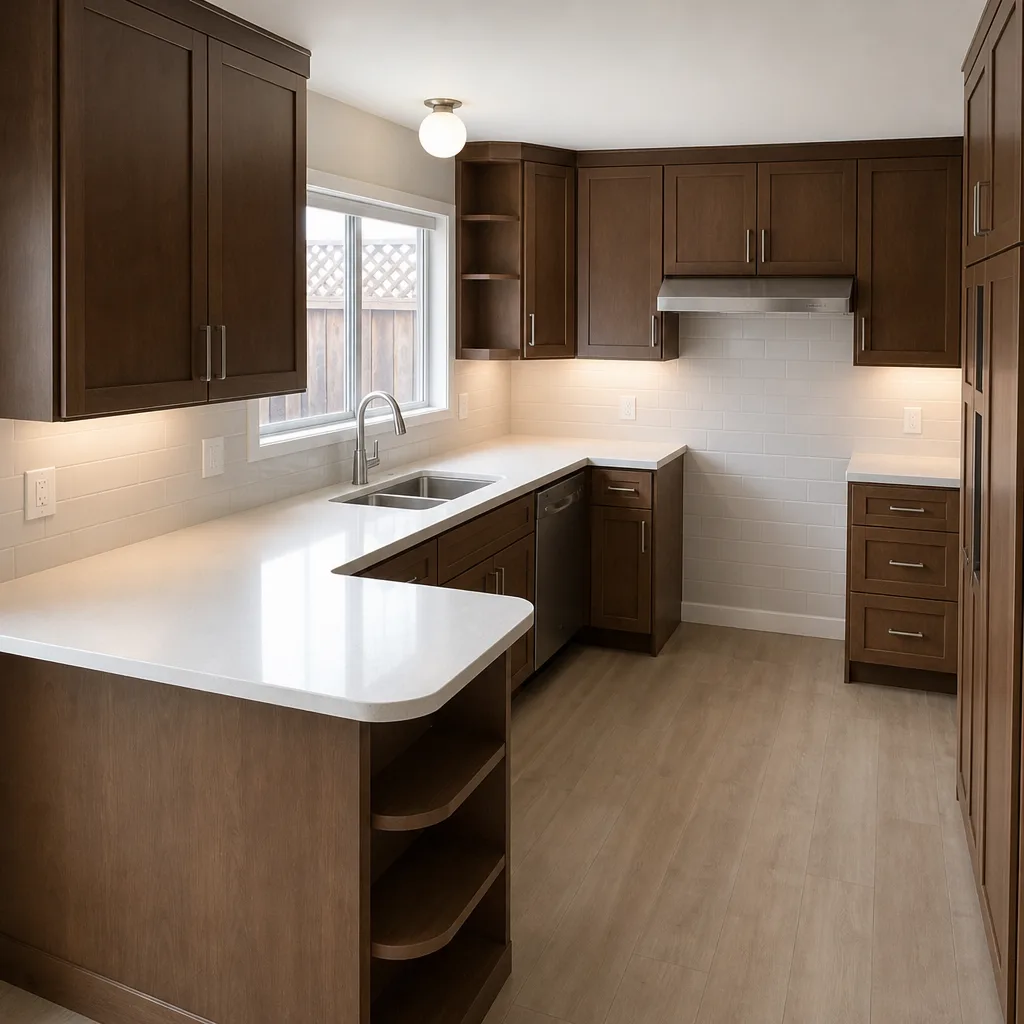 After
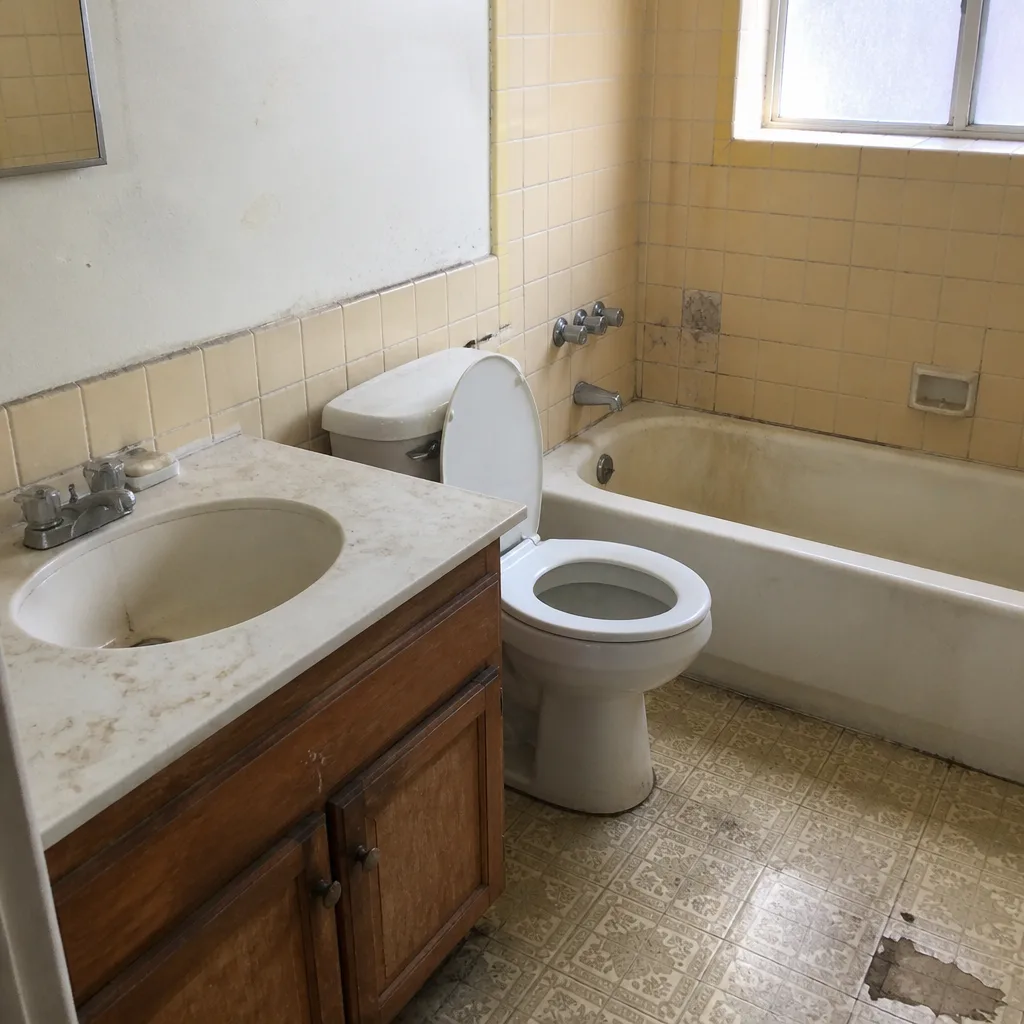 Before
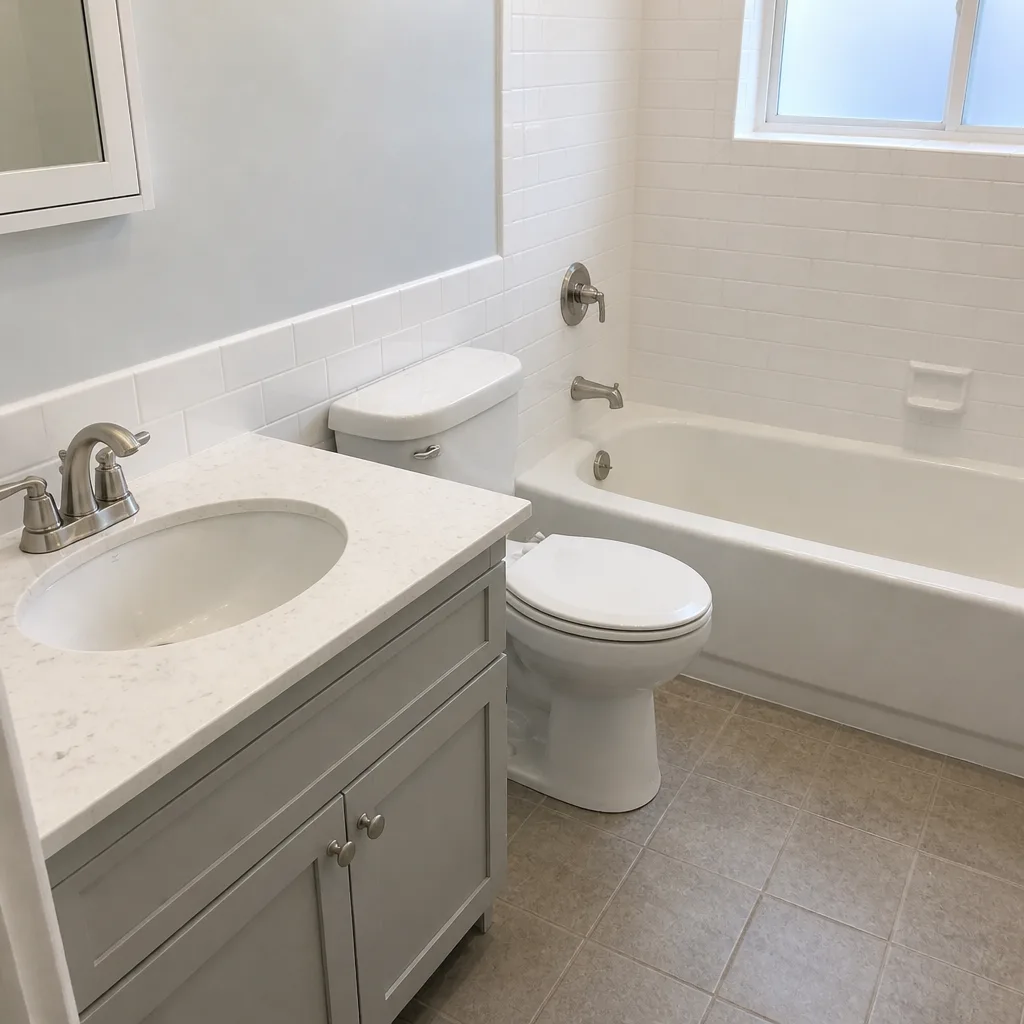 After
Frequently Asked Questions
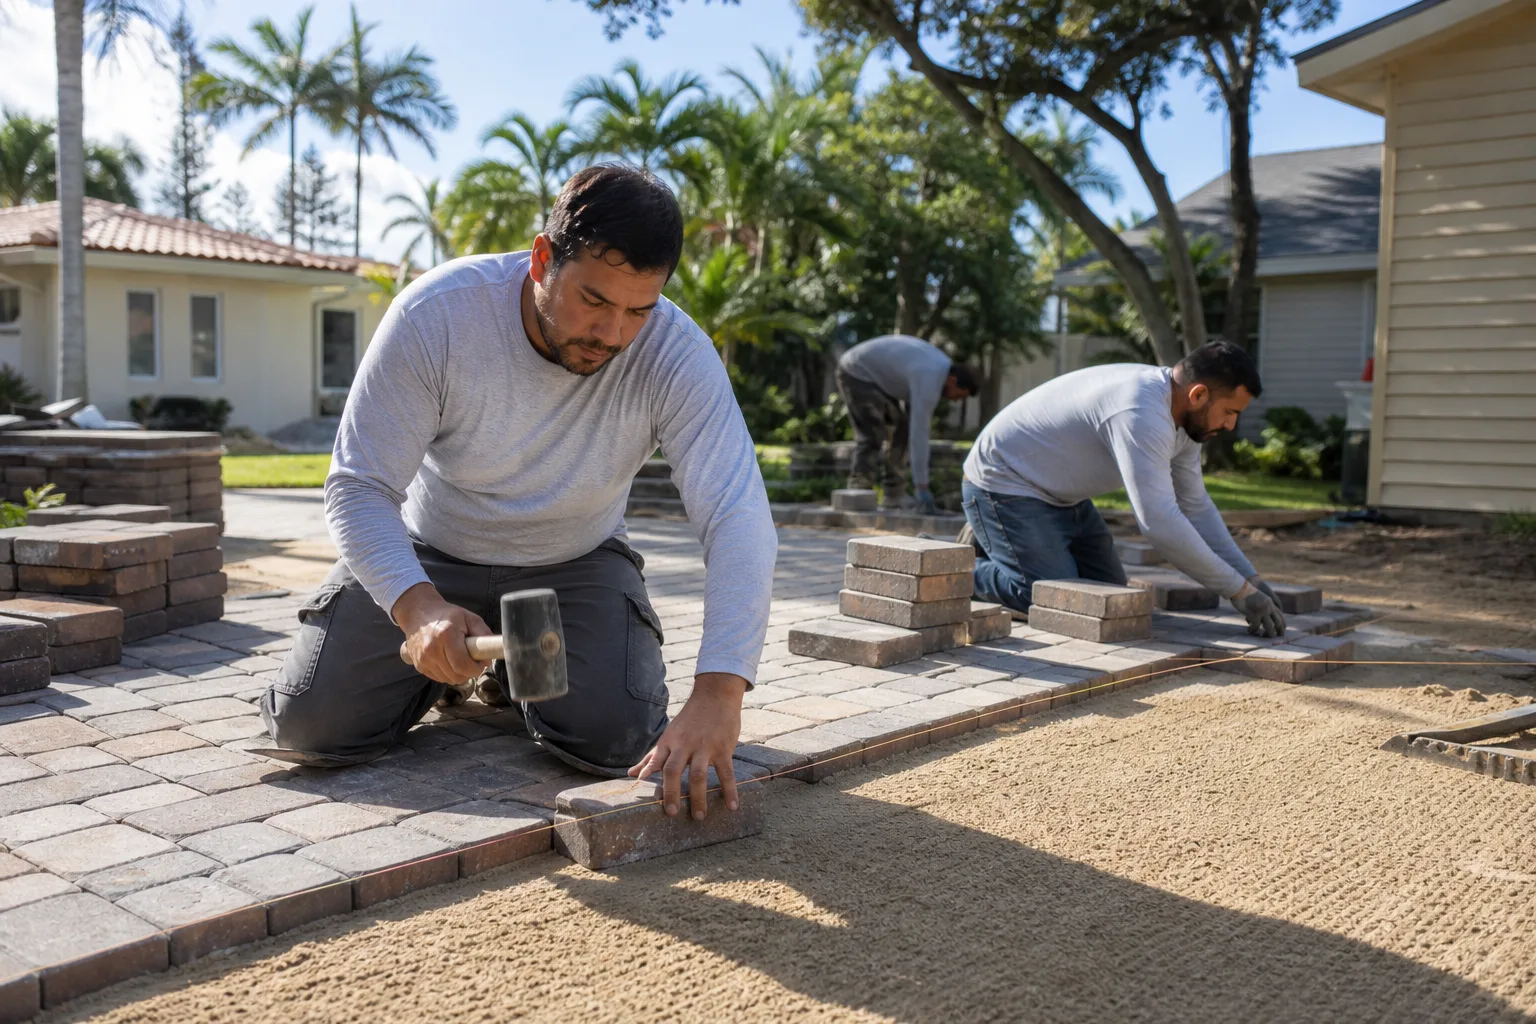
You can handle the surface work, but not the base. Without a plate compactor reaching 3,000-4,000 lbf and a way to verify compaction to 95% of maximum dry density, the base will settle within two to three years. Call (866) 797-6171 for a free estimate on a base install if you want the pavers to last.
A 400 sq ft paver driveway runs $7,500-$11,500 turnkey in Fremont, including base prep, compaction, and written warranty. Partial-DIY (you handle demo and cleanup) runs $5,200-$7,000. Full DIY with rented equipment lands at $3,700-$5,600, but carries a high risk of base failure. Call (866) 797-6171 for an exact quote – estimates are free.
Not for a like-for-like paver replacement where the depth and grade remain unchanged. You will need a permit for base excavation beyond 12 inches, changes that affect drainage, or any work within 5 feet of a property-line setback. These scopes require a licensed contractor in most cases. Call (866) 797-6171 and we’ll tell you which category your project falls into before you commit.
Ask for a nuclear density gauge report showing 95% or higher compaction across multiple probe locations. The test follows ASTM D6938 and reports compaction as a percentage of maximum density from a Proctor test. A contractor who can’t produce a report is a yellow flag – ask them to show you compaction records on a prior job.
Often, yes. Most paver manufacturers warranty the product against defects but require proper base preparation per spec in order for the warranty to stand. A DIY base that misses compaction targets or drains incorrectly is excluded. Call (866) 797-6171 if you want warranty-eligible install documentation – it’s part of what we deliver.
The partial-DIY route – you handle demo and cleanup (about 20-30 hours of real labor), and a licensed contractor handles base prep, compaction, and setting. For a 400 sq ft Fremont driveway, that runs $5,200-$7,000 versus $7,500-$11,500 turnkey. Call (866) 797-6171 for a line-item quote that shows what each scope costs.
The Bottom Line
The safe DIY line for a paver driveway sits at the plate compactor, not at ambition. Joint sand, single-paver resets, and surface cleaning belong to you – they’re cheap, low-risk, and maintain the surface you’ve paid for. Base excavation, compaction, grading, and drainage tie-ins belong to a licensed contractor, both because the equipment threshold is real and because the warranty and permit trail collapses when the work is done by hand. If you want the pavers to last past year five, get the base right the first time. Call (866) 797-6171 for a free estimate in Fremont, and we’ll put the number in writing before any work starts.
Written by the team at Rowan Construction Group Fremont.