Last updated November 17, 2026








Free written scope consultation - allowances, timeline, and change-order rules on paper before a single trade is scheduled
Bathroom Remodeling Maintenance Schedule: What to Do and When
The average tile grout joint begins absorbing moisture within 18 months if it’s left unsealed after installation, yet most post-remodel paperwork mentions sealing once and never again. That gap is where most bathroom failures start: not in the tile, not in the plumbing rough-in, but in the small, dated chores nobody schedules. What follows is a maintenance calendar built around the three things that actually fail first after a bathroom remodel in Fremont – grout carbonation, caulk adhesion loss, and exhaust fan motor wear. You’ll get month-by-month tasks, the specific products that work on each surface, and the records to keep in case a warranty claim ever comes up.
Quick Answer
A bathroom remodel needs a dated maintenance routine, not a vague seasonal one: seal grout and stone at month 3 after installation, inspect caulk at the tub-to-tile and floor-to-wall seams every 6 months, descale fixtures in Fremont’s hard water every 8 to 12 weeks, and test exhaust fan airflow annually. Most of the work takes under 30 minutes per task. Skipping it is what turns a $400 reseal into a $6,000 subfloor repair three years later.
Styles & brands we work with
- Kitchen remodeling
- Bathroom remodeling
- Home additions & ADU
- Roofing
- Windows & doors
- Driveway & pavers
- Fence
Table of Contents
- The First-Year Calendar: Month by Month
- Grout and Stone: Which Sealer Goes on What
- Inspecting Caulk Joints Before Water Gets In
- Exhaust Fan Airflow: Testing Your Broan or Panasonic Unit
- Hard Water in Fremont and the Descaling Schedule It Demands
- The Documentation Checklist That Protects Your Warranty
- Years Two Through Five: What Changes
- Common Mistakes to Avoid
The First-Year Calendar: Month by Month
The first 12 months after a bathroom remodel are the highest-risk window in the room’s life. Materials are still curing and settling, caulk is reaching full adhesion, and small defects from installation show themselves. We’ve found this is the year to be deliberate rather than reactive.
- Month 1: Let everything cure. Don’t seal new grout yet – most cement-based grout needs 7 to 14 days minimum, and some products specify longer. Run the exhaust fan after every shower from day one. Note the date of substantial completion; you’ll want it for the calendar.
- Month 3: First grout and stone sealing. By now the grout has cured fully and any early hairline cracks have appeared and can be filled before sealing. Photograph every joint before and after.
- Month 6: First caulk inspection. Run a finger along the tub-to-tile seam and the floor-to-wall seam. Any place the caulk has pulled away or feels spongy is a candidate for replacement, not a patch.
- Month 9: First descale of shower heads, faucet aerators, and glass. In Fremont’s water this matters more than most guides admit.
- Month 12: Annual fan airflow test, full photo record, and a written log of what you did and when. Warranty season begins here.
This is the schedule we hand homeowners after a Rowan Construction Group Fremont home bathroom project. It’s specific because the failure points are specific. If you’re planning a bathroom as part of a larger project, the sequencing gets more involved – the schedule for a bath inside a full Home Additions & ADU in Fremont build runs differently because the room is often finished alongside other construction, and the first-year window can get compressed or stretched depending on when other trades are in and out of the space.
Grout and Stone: Which Sealer Goes on What
Grout is porous by design. Without a sealer, a cement-based joint starts absorbing water within months, and once moisture reaches the thin-set below, the tile installation begins to fail from underneath. The mistake most homeowners make is buying one sealer for every surface. It doesn’t work that way.
For natural stone – marble, travertine, slate, and most limestone – use a penetrating sealer designed for stone. A solvent-based impregnator such as 511 Impregnator Sealer by Miracle Sealants is the standard for this application; it soaks into the stone, bonds below the surface, and leaves the finish unchanged. Apply with a foam brush, let it sit for the product-specified dwell time, and wipe off the excess before it flashes. Do not use a topical coating, and do not use a grout sealer on natural stone – the chemistry isn’t compatible and the residue will haze the surface.
For ceramic and porcelain tile with cement-based or epoxy grout, use a dedicated grout sealer. A penetrating grout sealer applied to the joint only – not the tile face – is what stops the capillary action. Aerosol grout sealers are convenient but imprecise; a small brush and a bottle of liquid sealer gets into the joint more accurately. On epoxy grout, sealing is usually unnecessary because epoxy is non-porous, though a light sealer on any cement-based transition joint is still worth doing.
The reseal interval depends on use and product. A family shower with daily use typically needs resealing every 12 to 18 months. A guest bath used a few times a month might go 24 months. Test by dripping water on the grout: if it beads, the sealer is holding; if it darkens and sinks in, it’s time.
Inspecting Caulk Joints Before Water Gets In
The caulk line at the tub-to-tile seam and the floor-to-wall seam is the first line of defense against water going where it shouldn’t. It’s also the joint most likely to fail early, because two different materials – a fiberglass or cast-iron tub and the tile above it – move at different rates under load and temperature change.
Check caulk twice a year, at month 6 and month 12, then every 6 months after. Here’s what to look for:
- Pulling away from either surface: if you can slip a fingernail behind the caulk, adhesion has failed and water can follow the gap.
- Hairline cracks: visible gaps indicate the caulk is drying out or the joint has moved more than the caulk can flex.
- Discoloration or dark specks at the joint: this is often the earliest sign of moisture behind the caulk. Mold visible on the surface is one thing; discoloration coming through from behind is another.
- Spongy feel: press a finger into the caulk. If it feels soft or lifts, it’s no longer bonded.
When you redo a caulk joint, cut the old caulk out completely rather than caulking over it. Caulking over failed caulk traps moisture and hides the problem without solving it. Use 100% silicone in wet areas – not siliconized acrylic, which is easier to work with but shorter-lived in a shower. And follow the tub manufacturer’s fill instruction: filling a fiberglass tub partway with water before caulking means the joint gets caulked at its “loaded” position, so it doesn’t stretch every time someone stands in it.
Exhaust Fan Airflow: Testing Your Broan or Panasonic Unit
An exhaust fan is a low-drama component until it fails, and it usually fails quietly. Fan motors lose speed gradually – you rarely notice because the noise changes slightly and the air movement is invisible. But a fan that pulled 110 CFM at installation may be moving 60 or 70 CFM five years later, and that’s not enough to clear a shower’s moisture load.
Here’s what’s happening inside. Fan motor bearings dry out. Dust builds on the blades and the grille, adding drag. The exterior vent flap may stop opening fully. None of these affect the fan’s on/off behavior; all of them reduce the airflow that actually matters.
Test your Broan or Panasonic unit once a year with a simple check:
- Hold a square of toilet tissue against the grille. If it sticks and stays, the fan is pulling some air. If it falls, the fan is badly degraded.
- Check the exterior vent flap from outside the house or with a flashlight through the vent termination. It should open fully when the fan runs and close when it stops.
- Clean the grille and blades with a vacuum and a damp cloth – dust is the most common cause of low airflow.
- Listen for bearing noise – a whine or grind means the motor is on its way out and the whole fan unit will need replacement.
- Compare against the CFM rating on the fan’s label – a bathroom needs 1 CFM per square foot of floor area, with a minimum of 50 CFM for any bath.
If your fan is more than 8 years old and cost under $100 when it went in, replacement is usually wiser than repair. A modern Panasonic WhisperGreen or Broan NuTone unit of equivalent CFM is quieter, more efficient, and installs in under an hour. The $200 or so in parts is the cheapest mold prevention money in the room.
Hard Water in Fremont and the Descaling Schedule It Demands
Fremont’s municipal water runs at roughly 170 to 200 mg/L hardness, which puts it solidly in “hard” territory. That calcium and magnesium load leaves scale on every wet surface it touches, and scale is what cuts the useful life of faucets, shower heads, glass, and the cartridges inside a Kohler or Toto valve. This is a Fremont-specific reality that most maintenance guides skip because they aren’t written here.
What that hardness demands:
- Every 8 to 12 weeks: descale shower heads, faucet aerators, and the shower glass with a citric-acid or vinegar-based descaler. Soak and wipe; don’t scrub scale with abrasives or you’ll dull the finish.
- Every 6 months: flush the tub spout and run the shower valve through its full temperature sweep to keep the cartridge moving freely. A seized thermostatic cartridge from scale buildup is a $150 to $300 repair that takes 20 minutes of descaling to prevent.
- Every 12 months: check the toilet fill valve and supply lines for scale; hard water shortens flapper and fill-valve life noticeably.
If your water tastes or behaves like a problem in the rest of the house, a whole-home softener or a point-of-use filter under the sink can cut descaling frequency roughly in half. That’s not a maintenance item so much as a strategic one, but for Fremont homeowners it’s worth weighing against the ongoing cost of descaling and fixture replacement.
The Documentation Checklist That Protects Your Warranty
This is the part most homeowners skip, and it’s the part that matters when something fails and a warranty claim depends on whether you followed the manufacturer’s requirements. Manufacturers can and do deny claims for lack of maintenance. Your records are what rebut that.
Keep the following, in a folder or a shared digital album:
- Dated photographs of the room at completion, at each maintenance task, and at any change. Include close-ups of seams, grout lines, and joints.
- Product lot numbers for tile, grout, sealers, and caulk. They’re printed on the packaging or the score line on the grout bag; photograph them before you throw the packaging away.
- Warranty expiration dates for fixtures, exhaust fan, waterproofing membrane, and any installed materials – recorded in one place with the purchase date.
- A written log of what you did and when – sealer applied, caulk redone, fan cleaned, and descaling dates.
- The signed change orders and final contract from the remodel. These document what was actually installed and by whom.
For a Rowan project, this record comes to you built-in: every visit carries a documented photo record as a standard deliverable, and change orders are signed before work proceeds. That discipline isn’t just for the construction phase. It’s the same record that stands up if a warranty question ever comes up three years later. If you’re also having exterior work done – a Driveway & Pavers in Fremont installation or a new Fence Installation in Fremont with Bufftech or ActiveYards, for instance – keep those records together with the bathroom file in a single home file. When something needs attention, you’ll know where to look.
Years Two Through Five: What Changes
Once the first year is past, the maintenance intervals stretch – but a few items get more important, not less.
By year two, caulk at the wet joints will likely need a full replacement rather than a spot touch-up. Caulk has a finite life; 100% silicone tends to last 5 to 10 years in a shower, siliconized acrylic closer to 3 to 5, and if it’s on the shorter end, plan for the reseal. Grout reseal cadence depends on the sealer used: solvent-based impregnators can hit 24 months before losing effectiveness, water-based sealers often 12. Test, don’t guess.
By year three, exhaust fan motors that were marginal in year one are on borrowed time. Replace. The cost of a new Panasonic is $150 to $250 for a mid-range unit; mold remediation starts at $1,500 and goes up from there.
By year five, expect at least one fixture component to fail – the cartridge, the fill valve, the supply line, or a shower head. Fremont’s hard water accelerates this clock. Replace early rather than waiting for a leak; a cartridge that starts dripping at the stem is one thing, a supply line that fails behind the wall is a different category of problem.
Common Mistakes to Avoid
- Sealing grout too early. Applying sealer to grout that hasn’t cured fully traps moisture in the joint. Wait the full cure window specified by the manufacturer – 7 to 14 days minimum for cement-based grout, sometimes longer.
- Using the same sealer on stone and grout. A stone impregnator will haze ceramic grout, and a grout sealer will not properly protect natural stone. Match the product to the surface.
- Caulking over old caulk instead of removing it. The new caulk fails to bond and the old failure stays hidden. Cut it out cleanly before reapplying.
- Ignoring the fan until it stops. A fan that still runs but pulls half the air is already failing. Test airflow, don’t just listen for on/off.
- Descaling with abrasive cleaners. In Fremont’s water, the scale is serious – but scrubbing powder dulls fixtures and etches glass. Use citric-acid descalers and let them do the work.
- Skipping the documentation. Without photo records and dates, a warranty claim becomes a matter of memory. Companies that keep records have a much easier time – and it’s the homeowner’s record that wins the claim.
- Waiting for a leak to act. In our experience, the failure most commonly caught too late is the tub-to-tile caulk joint. By the time the water shows up in the ceiling below, the subfloor repair is running into four figures.
See the difference
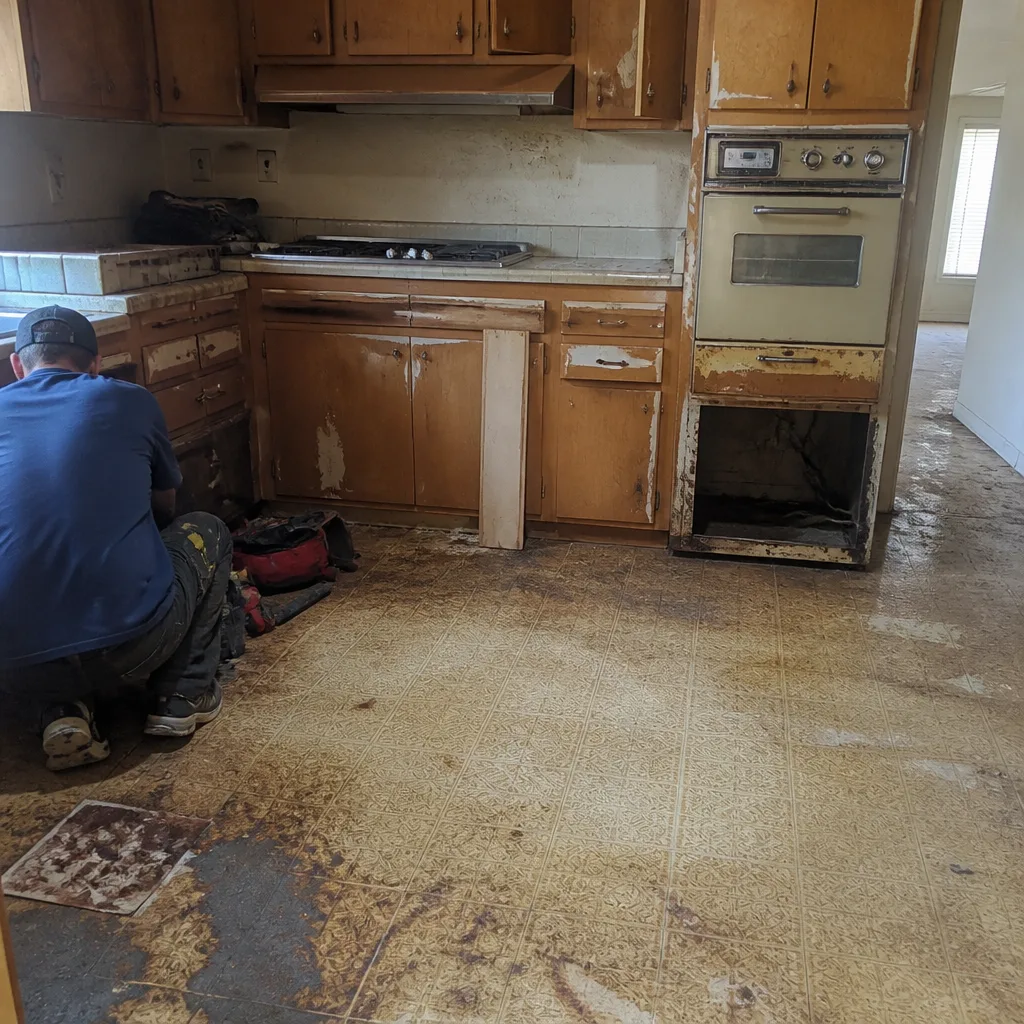 Before
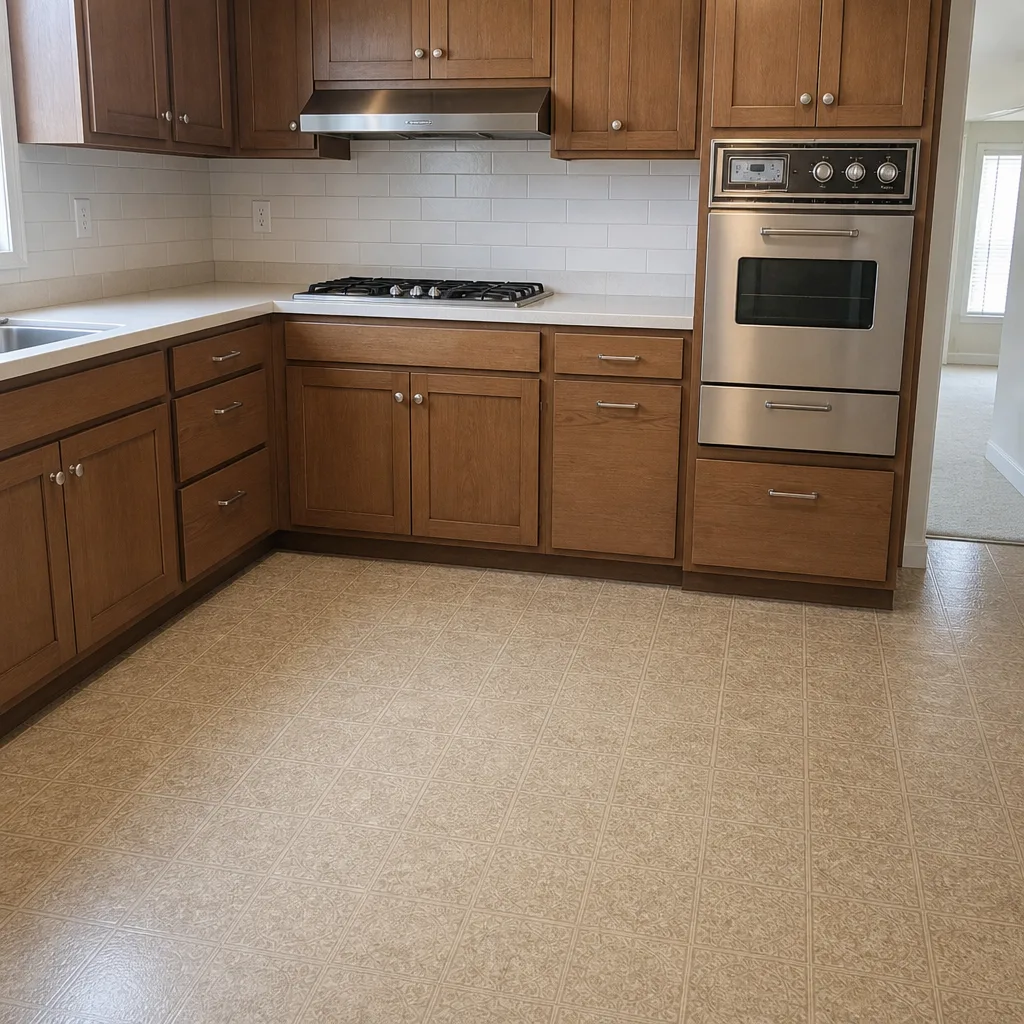 After
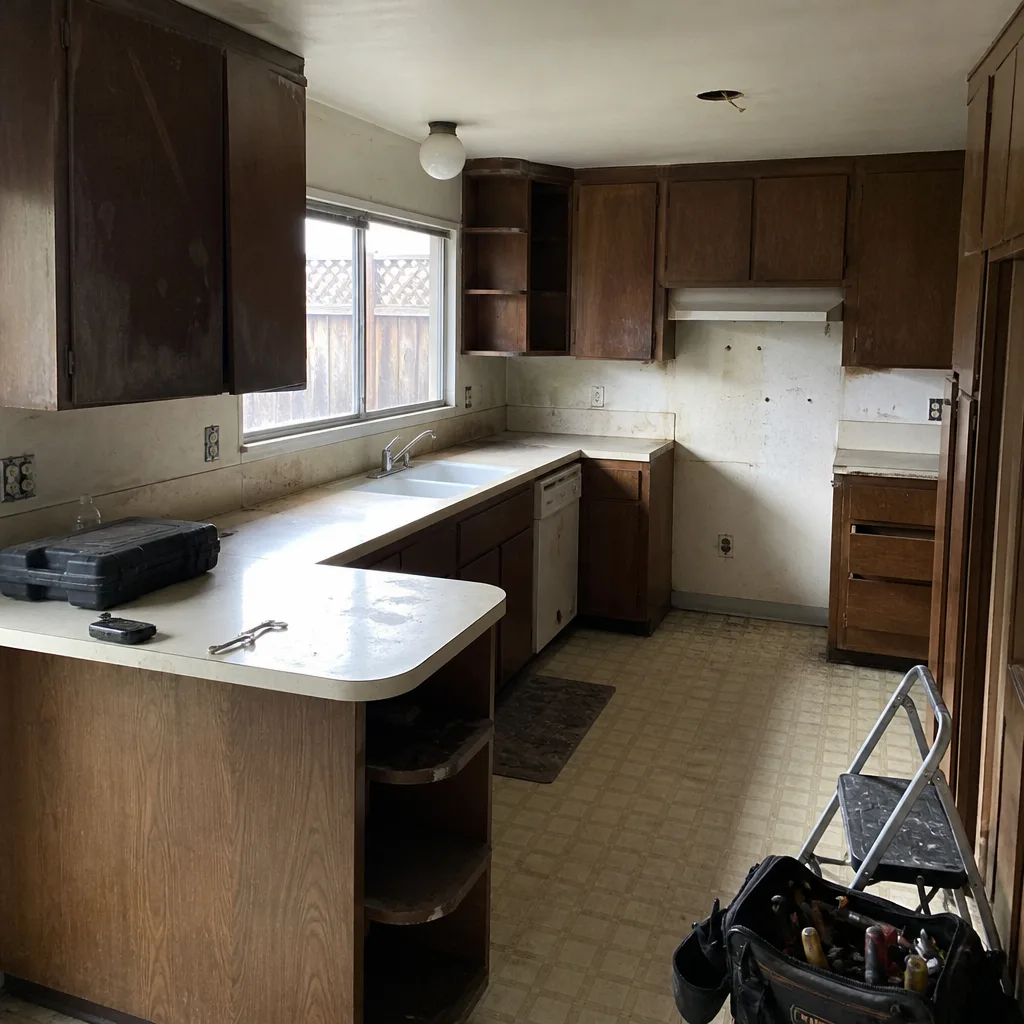 Before
 After
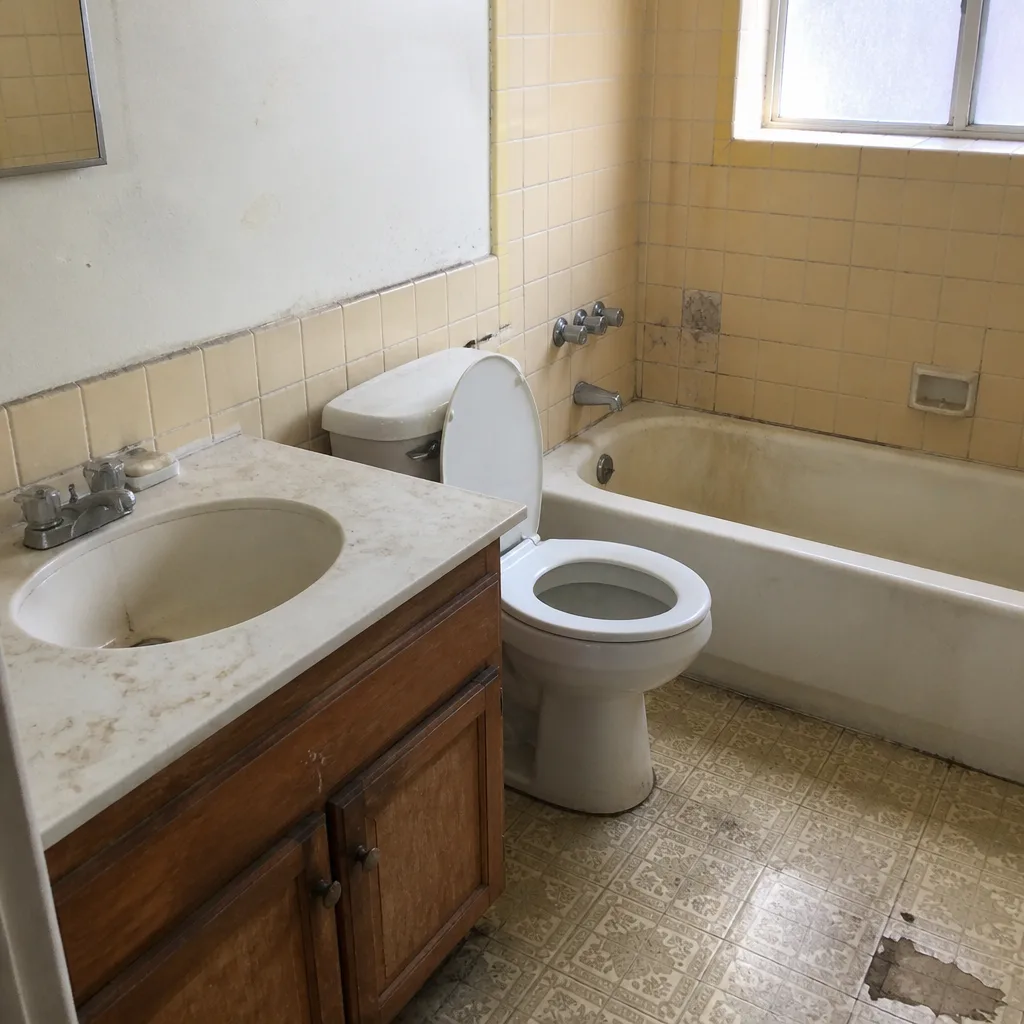 Before
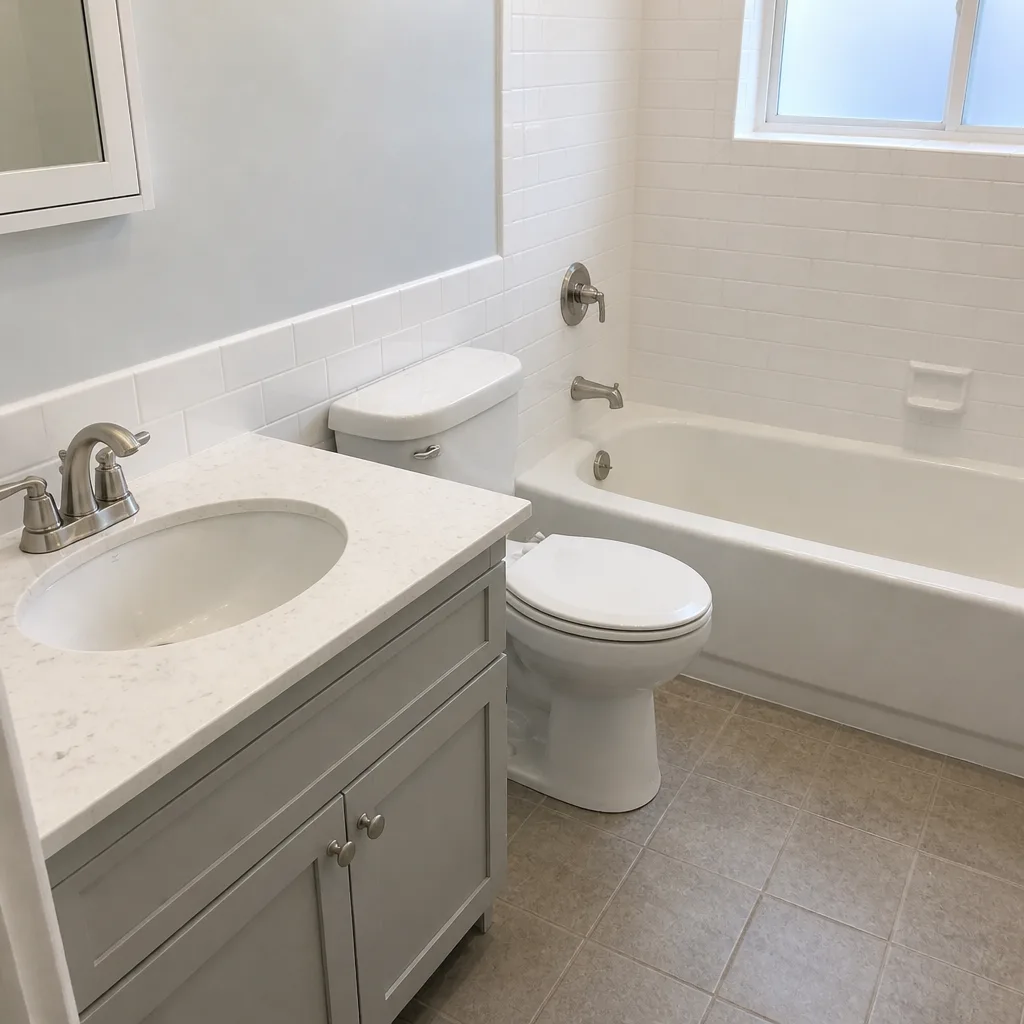 After
When to Call a Professional
Some maintenance you should do yourself. Some you shouldn’t. If water is showing up beyond the caulk line – soft spots under the tub, discoloration on the ceiling below, a spongy feel at the subfloor – stop and call a professional before you touch anything. Opening up a wall to check is not a homeowner job, and the sequence of repair matters: the source needs to be found, dried, and sealed in that order.
Any plumbing work inside a wall or under a subfloor needs a professional, as does any electrical work on the fan, GFCI, or lighting circuits. A leaking supply line you can see is one thing; a leaking supply line behind tile is a different problem entirely. For the sealant and caulk work itself, most homeowners can handle tub-to-tile caulk – but where the joint meets a full shower surround or a stone installation, it’s worth having a pro look at it the first time, then you’ll know the right technique.
Rowan Construction Group Fremont offers free estimates in Fremont – call (866) 797-6171.
Frequently Asked Questions
Seal bathroom grout about 3 months after the remodel is finished (allowing full cure), then reseal every 12 to 24 months depending on use. A daily-use family shower tends toward 12 months; a guest bath can stretch to 24. Test with a water drip – if the water beads, the sealer is still working; if it soaks in, reseal. For specific sealer recommendations in your Fremont bathroom, call (866) 797-6171 and we’ll walk you through it.
The first task is patience: give the grout 7 to 14 days to cure fully before sealing anything. Meanwhile, run the exhaust fan after every shower and start a written log with the completion date. The first real hands-on task comes at month 3, when the grout is fully cured and you can seal it. For the exact cure window on your specific installed products, call us for a free second opinion on any written estimate or maintenance plan.
Hold a square of toilet tissue against the grille while the fan runs – it should stick and stay. If it falls, the fan has likely lost airflow to dust buildup or a failing motor. Clean the grille and blades first, then retest. If airflow hasn’t improved, replace the fan. A bathroom needs 1 CFM per square foot of floor space with a 50 CFM minimum, and modern Panasonic and Broan units meet this quietly.
Fremont’s municipal water runs about 170 to 200 mg/L hardness, which leaves mineral scale on every wet surface. That scale wears through faucet cartridges, clogs shower heads, and dulls glass faster than in softer-water markets. The fix is a descaling schedule – every 8 to 12 weeks on shower heads, faucets, and glass – not a bigger repair budget. A point-of-use filter or whole-home softener cuts the descaling frequency roughly in half.
Yes, potentially. Product warranties from manufacturers like Kohler, Toto, and your fixture brands often require proof that maintenance was performed. Keep dated photos, product lot numbers, and a written log of tasks. Rowan’s 365-Day Done Right Promise is built around a documented record – photo records on every visit, signed change orders – which is why we recommend the same discipline from the homeowner after the crew leaves.
Caulk replacement at the tub-to-tile seam, grout sealing, descaling, and fan cleaning are all homeowner-level tasks. Water intrusion, plumbing inside walls, electrical work on the fan or GFCI circuit, and any subfloor repair need a professional. If you’re uncertain which category your issue falls into, call (866) 797-6171 for a free estimate – we’ll tell you honestly whether it’s a maintenance task or a repair.
The Bottom Line
A bathroom remodel in Fremont is going to live about 20 years before the next one. What happens in the first 36 months after the crew leaves determines whether those 20 years go smoothly or whether year three is spent fixing water damage. Seal grout at month 3, inspect caulk at month 6 and every 6 months after, descale every 8 to 12 weeks because Fremont’s water will not let you skip it, test the fan once a year, and keep the records. Ten minutes a month is the entire job. Call (866) 797-6171 for a free estimate if your bathroom needs more than maintenance. Both the calendar and the numbers are in writing before anyone starts.
Written by the team at Rowan Construction Group Fremont.