Last updated November 17, 2026
Free written scope consultation - allowances, timeline, and change-order rules on paper before a single trade is scheduled
Home Additions & ADU Maintenance Schedule: What to Do and When
The flashing where a new addition roof meets an existing wall is a 24-inch strip of sheet metal doing more weather-sealing work than any other material on the property. It’s also the one component almost no homeowner ever looks at. Additions and ADUs fail at the junctions first: where old framing meets new, where a joined roof plane sheds water onto a wall that was never designed to receive it, where a foundation transition settles at a slightly different rate than the house it’s attached to. This guide gives you a maintenance calendar built around those connection points, with tasks sorted by trade, cost ranges so you can budget, and a log format that holds up when you sell or file a claim. We build these in Fremont, and the schedule reflects what actually fails here.
Quick Answer
Inspect the flashing and roof-to-wall junctions on your addition or ADU once a year in fall, clear the perimeter drainage after the rainy season in March, service any mini-split quarterly (filter) and annually (full refrigerant and coil check), test GFCI and AFCI breakers once a year, and replace the water heater anode rod every three to five years. Everything else – re-caulking exterior penetrations, re-treating wood trim, a thermal scan at the connection joint – falls on a five-year cycle. Total budget: roughly $400 to $900 a year if you outsource the technical items and do the visual checks yourself.
Styles & brands we work with
- Kitchen remodeling
- Bathroom remodeling
- Home additions & ADU
- Roofing
- Windows & doors
- Driveway & pavers
- Fence
Table of Contents
- Why Junction Points Fail First
- The Annual Maintenance Calendar, by Trade
- ADU Rental Maintenance: Compliance and Inspection
- Five-Year Events Most Homeowners Miss
- What Each Task Costs
- Building a Maintenance Log That Works
- Common Mistakes to Avoid
- When to Call a Professional
Why Junction Points Fail First
An addition is two structures sharing a wall. The original house has been settling for decades; the addition started settling the day the foundation cured. That difference is small – usually fractions of an inch – but it’s enough to work a caulk joint open, back a lag screw out a quarter turn, or open a hairline gap at a flashed roof transition. Water finds those gaps. In our experience across Fremont additions, the failures we get called back to look at are almost never in the middle of a new roof or the center of a new wall. They’re at the seam.
The same logic applies to systems. An extended duct run that pushes conditioned air an extra 30 feet loses pressure and picks up heat in the attic; a mini-split serving an ADU cycles harder than the main house unit because the space is smaller and the load swings faster. The equipment isn’t defective. The connection to the original house is where the design margin gets thin.
That’s why a maintenance schedule for an addition shouldn’t just copy the schedule you keep for the main house. The main house schedule covers things. The addition schedule covers interfaces – and interfaces need eyes on them at known intervals.
What you’re checking at each junction, in plain terms:
- Roof-to-wall flashing: the step flashing and counter-flashing where the addition roof tucks into the existing wall. Look for lifted edges, rust, failed sealant, granule loss, or staining on the siding below.
- Foundation transition: the joint where the new slab or stem wall meets the old. Watch for a widening gap, efflorescence (white mineral powder), or soil that has settled away leaving a low spot that holds water.
- Framing connection: where the addition’s wall ties into the original. Interior drywall cracks running diagonally from a corner are the tell – not a cosmetic issue, a movement signal.
- Siding and trim transition: the vertical seam where two different siding runs meet. This is a caulk joint with a lifespan of roughly five to seven years in Bay Area sun.
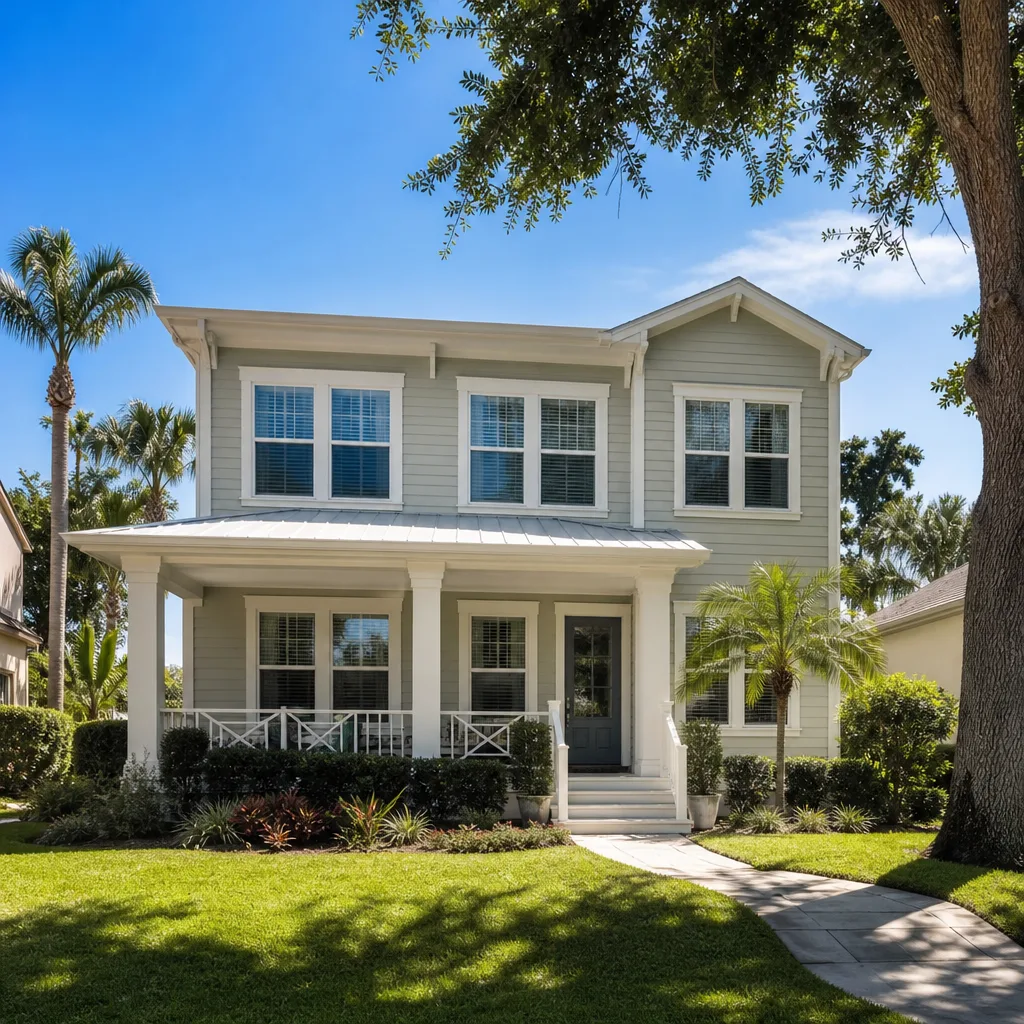
If your addition is still in the planning stage, the detailing decisions that make all of this easier to maintain are made before the first nail – our Home Additions & ADU in Fremont page covers how we sequence those junctions and document them.
The Annual Maintenance Calendar, by Trade
Fremont’s climate makes the calendar fairly predictable. Rain lands between roughly November and March, the dry season runs long and sunny from May through October, and the swing between wet and dry is what does the damage. Schedule the wet-side tasks before the rain starts and the dry-side tasks after it ends.
Fall: Roofing and Flashing (Annual)
Do this in October, before the first real storm. The inspection takes four minutes with binoculars from the ground and a walk along the addition roofline if it’s safely accessible from a window or low section. What you’re looking for: sealant that has cracked or pulled away from the flashing, rust at the fasteners, shingles or membrane that have lifted at the transition, and any dark staining on the wall or soffit below the junction.
Don’t reseal blindly every year. A flashing joint that’s sound doesn’t need another bead of caulk on top of it – layered caulk hides the failure underneath and traps moisture. If you find a lifted edge or a crack, that’s the point to call someone. Same rule applies to your main roof: our Rowan Construction Group Fremont home page covers how we document roof condition before recommending work, and the same photo-record approach applies at an addition junction.
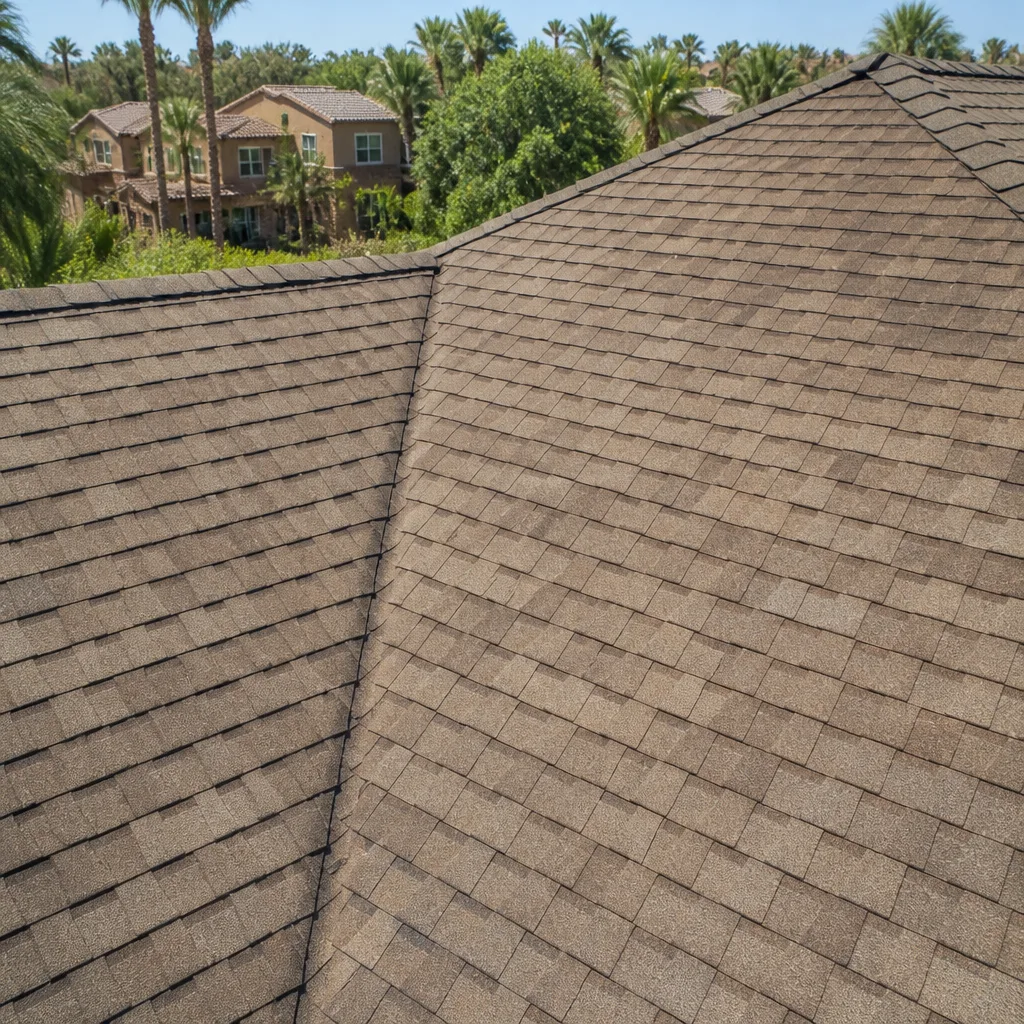
If your addition used architectural shingles from GAF or Owens Corning, note the layer count and product line in your log. It matters at resale and it matters when a roofer quotes a repair.
March: Perimeter Drainage (Post-Rainy Season)
By March, Fremont’s rainy season has pushed several inches of water past your foundation, and whatever the soil didn’t absorb is sitting in the drainage path. Walk the perimeter of the addition and the ADU. Look for:
- Soil that has settled against the foundation, creating a low spot that ponds
- Downspouts that discharge within 3 feet of the foundation instead of 6 or more
- French drains or channel drains clogged with decomposed granite, leaves, or silt
- Any efflorescence or damp staining at the base of the new stem wall
Clearing a downspout extension or raking settled soil back to slope is a weekend task with a shovel. If water is standing against the foundation after a moderate storm, that’s a grading or drainage problem, not a maintenance problem, and it’s the single most common cause of foundation-transition issues we see on Fremont additions.
Quarterly: HVAC Filters and Mini-Split Service
Any ADU with a ductless mini-split needs its filter cleaned or swapped every three months. If the addition extends the main house’s ductwork, change the main filter quarterly too – longer runs pull more dust per cubic foot of air, and the filter loads faster than the manufacturer’s “every 90 days” label suggests. Once a year, have the refrigerant charge, coil condition, and condensate line checked by a technician. A condensate line that clogs in an ADU attic will stain the ceiling before you notice it.
Annual: Electrical GFCI and AFCI Test
Push the test button on every GFCI outlet in the addition, the ADU, the bathrooms, the kitchen, the garage, and any exterior outlet. Push the test button on every AFCI breaker in the panel serving the new circuits. Both should trip and reset cleanly. If a breaker won’t reset or trips immediately, stop and call an electrician. AFCI protection is code-required on most new bedroom and living-area circuits, and it’s what catches a failing connection inside a wall before it becomes a fire. This test takes ten minutes and costs nothing.
ADU Rental Maintenance: Compliance and Inspection
An ADU you rent out is a small business with a maintenance schedule attached, and California’s landlord requirements put the compliance items on a firmer timeline than a typical house.
Smoke and CO detectors. California requires working smoke alarms in each sleeping room, outside each sleeping area, and on every level, plus carbon monoxide alarms in the ADU if it has any fuel-burning appliance or attached garage. Test them monthly, replace the batteries at least annually, and replace the units themselves every ten years. Record the date of every test in your log – if a tenant dispute ever arises, that log is your evidence.
Water heater. Drain a quart or two from the tank annually to clear sediment, inspect the anode rod every three years, and have the unit serviced on its manufacturer interval. In a rental ADU, a failed water heater becomes a habitability issue within hours. Check the temperature-pressure relief valve and the discharge line once a year.
What a rental inspection checks. Fremont and Alameda County both operate rental housing inspection programs that can be triggered at various points. When one runs, expect it to focus on the items that determine habitability: working smoke and CO alarms, GFCI protection in wet areas, hot water at the tap, adequate heat, no active leaks, no exposed wiring, no mold growth, and functioning egress windows from sleeping rooms. An ADU built with permits and maintained on this schedule will pass those checks without drama. An ADU that skipped the anode rod and has a corroded water heater leaking onto the floor will not.
One more: keep a written record of every tenant-reported repair and every completed service. That record is the difference between “we maintained the unit” and “we have no idea.”
Five-Year Events Most Homeowners Miss
These don’t come up every year, which is exactly why they get forgotten until something fails. Put them on a repeating five-year reminder.
- Re-caulk every exterior penetration and the siding transition. That means around window frames, door frames, hose bibs, dryer vents, electrical boxes, and – most important – the vertical seam where the addition siding meets the original. Remove the old bead, clean the joint, and use a proper exterior sealant. Skip the “paintable” caulk on siding seams.
- Re-treat exposed wood trim. Fascia, corner boards, and any exposed rafter tails need a fresh coat of stain or paint roughly every five to seven years in Fremont’s sun. Check for soft spots or checking (the cracks that run along the grain) before you coat – you can’t paint over rot and fix it.
- Thermal imaging scan at the connection joint. A technician points an infrared camera at the interior wall where the addition meets the house. Cool or hot streaks reveal missing insulation, air leaks, or a cavity that got skipped during framing. This is the only reliable way to catch a hidden insulation gap short of opening the wall, and it typically runs $175 to $350.
- Water heater anode rod replacement. The anode rod is the sacrificial metal that corrodes so your tank doesn’t. Once it’s consumed, the tank starts rusting from the inside. Replace it every three to five years depending on water hardness and you can roughly double the heater’s service life.
- Gutter and downspout inspection at the addition transition. The gutter that runs along the original roofline has to handle water from the addition roof too, once the two drain together. On a steep-pitch roof, if your addition added square footage to the same downspout, the runoff calculation changed. Check that the downspout at the transition is the correct size and isn’t backing up during heavy rain.
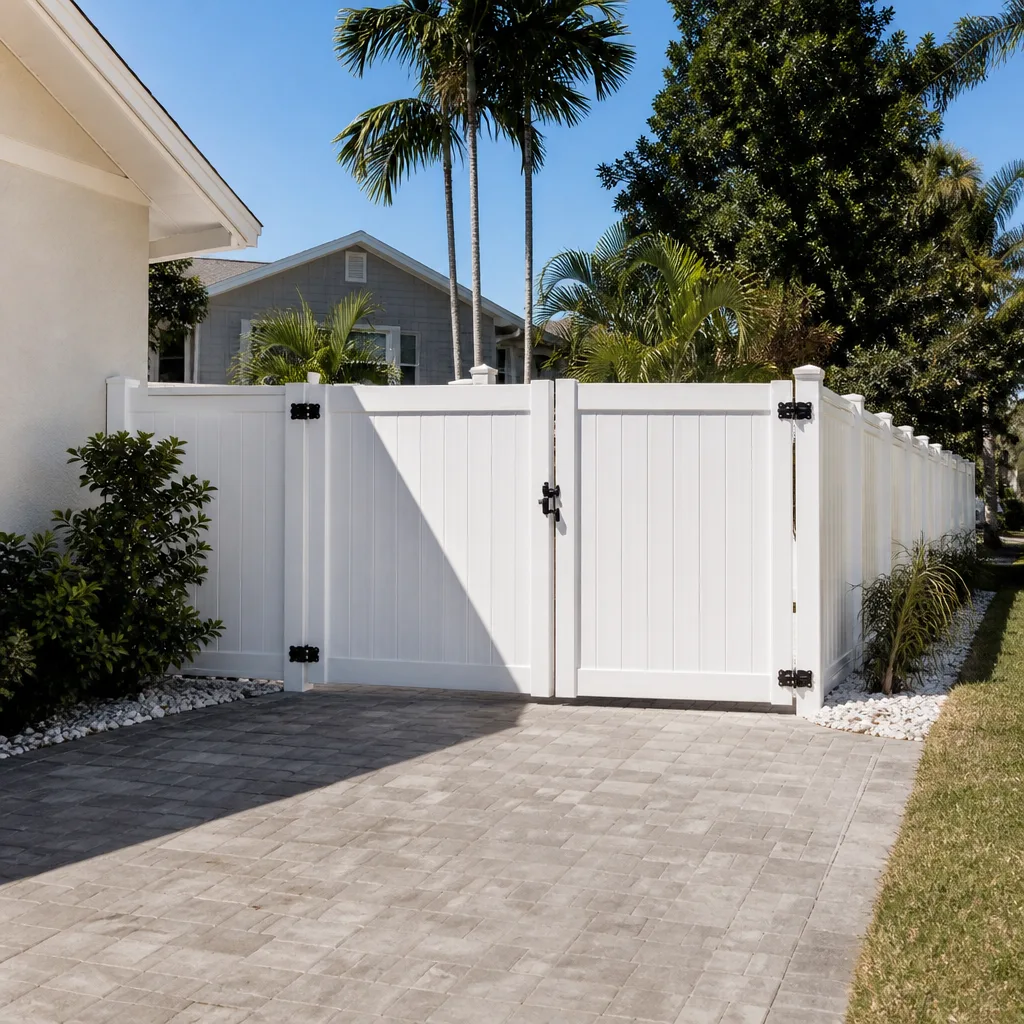
If you’re planning a fence or driveway alongside an addition, the same junction logic applies – see Fence Installation in Fremont and Driveway & Pavers in Fremont for how those materials handle the transition to an existing structure.
What Each Task Costs
These are the ranges we see for Fremont-area work, and they’re the numbers to put in your budget spreadsheet – not the “call for pricing” you’ll find on most contractor sites.
- Flashing re-seal and inspection: $150 to $400 depending on access and linear feet. This includes removing old sealant, re-setting, and a photo record.
- Mini-split annual service: $100 to $200 for filter service, coil cleaning, refrigerant charge check, and condensate flush.
- Perimeter drainage clearing: $0 if you do it yourself with a shovel and a rake; $200 to $400 for a professional clearing including a drainage path check and a report.
- GFCI/AFCI annual test: free if you do it; $75 to $150 for an electrician to test and document.
- Annual roof and flashing inspection: $150 to $350 for a documented inspection; often free if bundled with other work.
- Exterior re-caulk, full perimeter: $300 to $700 depending on how many penetrations and how much prep.
- Wood trim re-treat: $400 to $900 for a one-story addition, more for two-story.
- Thermal imaging scan at the connection joint: $175 to $350.
- Water heater anode rod replacement: $150 to $300 including parts and labor.
- Water heater annual drain and flush: $100 to $200 professional, or DIY with a hose and a bucket.
Add the annualized items together and you land in the $400 to $900 a year range for a typical Fremont addition or ADU. If you skip five years of it and then fix the failures at once, expect $2,000 to $5,000, plus the cost of whatever water damage the flashing didn’t catch.
Building a Maintenance Log That Works
A maintenance log is worth exactly what it can prove. A folder of receipts proves that money was spent. A structured log proves what was done, when, and by whom – which is what an insurance adjuster, a future buyer, and a building inspector all want to see. Here are the fields to record for every task:
- Date performed. Exact day, not month.
- Component and location. “Addition roof-to-wall flashing at northeast corner,” not “roof.”
- Condition found. What did the technician observe? Cracked sealant, 3/8-inch gap, efflorescence, water staining, no defect found.
- Action taken. Removed old bead, cleaned joint, applied sealant; tested GFCI and reset clean.
- Materials used with brand and product line. GAF Timberline HDZ shingles, a specific elastomeric sealant, a specific anode rod – the product names matter at resale and warranty.
- Performed by. Company name, not a technician’s name. Keep it consistent.
- Cost. Total for the task.
- Photo record. Before and after, stored in the same folder, named with the date and location.
- Follow-up needed. Anything noted but not addressed, with a due window.
Store the log digitally and back it up. When you file a water damage claim and can produce a 2024 flashing inspection with photos showing the joint was sound, you’ve moved the conversation from “we think you maintained it” to “here is what we found and did.” That’s worth the fifteen minutes per task. Every Rowan visit includes a documented photo record as a standard deliverable, not an add-on – see our additions and ADU page for how that record is structured.
Common Mistakes to Avoid
- Caulking over failed flashing every year. Layered caulk hides the failure and traps moisture behind it. Strip, clean, re-seal at the source – not on top.
- Ignoring the foundation transition because you can’t see it. Efflorescence and a settling soil line are the visible signals. If the soil has pulled away from the new stem wall and left a low spot, that pond is doing the damage.
- Servicing the mini-split only when it stops cooling. By then the coil is fouled or the charge is low and the compressor has been working hot. Quarterly filters and annual service is what keeps the unit out of the repair category.
- Testing GFCI once, then forgetting the AFCI breakers entirely. AFCI breakers can fail internally without any visible sign. A breaker that won’t test-trip needs to be replaced, not ignored.
- Skipping the anode rod because the water heater is “working fine.” It works fine until the anode is consumed and the tank rusts through. Then it’s a $1,500 emergency replacement instead of a $200 rod.
- Keeping no written record of tenant maintenance in an ADU. Rental inspection programs and insurance claims both come down to documentation. Verbal maintenance doesn’t count.
- Assuming the original house schedule covers the addition. The junction points – roof transition, foundation joint, siding seam – need their own named checkpoints on the calendar, with dates.
When to Call a Professional
Most of this guide is doable with a ladder, a screwdriver, and a calendar reminder. A short list of tasks isn’t. Call someone when you find cracked or lifted flashing you can’t trace to a clean source, when a foundation joint shows active settling (a widening gap, diagonal interior cracks, a door in the addition that no longer latches), when a GFCI or AFCI breaker won’t reset, when a mini-split isn’t reaching temperature after a filter change, or when water is ponding against the foundation after a moderate storm. Those are the calls that get expensive if you wait. Anything involving your roof plane or the flashing at height – call a pro. Slipping off a wet addition roof is the last thing this maintenance schedule should cause.
Rowan Construction Group Fremont offers free estimates in Fremont. We’ll walk the junction points, put the price in writing before any work starts, and leave with a photo record. Call (866) 797-6171 to schedule.
See the difference
 Before
 After
 Before
 After
 Before
 After
Frequently Asked Questions
Once a year, in fall before the rainy season. The 24-inch strip where the addition roof meets the existing wall is the highest-risk weather-seal on the property and the inspection takes four minutes from the ground. If you find cracked sealant or lifted edges, call for a repair – estimates are free by calling (866) 797-6171.
Yes, for the systems that serve it independently – mini-split quarterly filters and annual service, water heater flush and anode rod on its own schedule, and smoke and CO alarm tests tied to California landlord requirements. The junction points where the ADU connects to the main house go on the same annual calendar as any addition.
It focuses on habitability: working smoke and CO alarms, GFCI protection, hot water, heat, egress windows, no active leaks, no exposed wiring, and no mold. A written complaint can trigger one, and documentation of completed maintenance is your best defense. Call (866) 797-6171 for a pre-inspection walk-through.
Every three to five years, depending on water hardness. The anode is the sacrificial metal that corrodes so the tank doesn’t; once it’s consumed, the tank rusts from the inside. Replacement runs $150 to $300 and can roughly double the heater’s life. Call (866) 797-6171 to schedule a check.
Budget $400 to $900 a year if you outsource the technical items – roof and flashing inspection, electrical testing, mini-split service – and do the visual checks yourself. A single flashing re-seal runs $150 to $400; a thermal imaging scan at the connection joint runs $175 to $350. Call (866) 797-6171 for a written estimate.
Missing insulation, air leaks, and skipped cavities in the wall where the addition meets the original house – things you can’t see without opening the drywall. A technician points an infrared camera at the interior wall and reads the temperature differences. It’s a non-destructive way to catch an energy loss you’d otherwise never know about. Call (866) 797-6171 to schedule one.
The Bottom Line
An addition or ADU doesn’t fail in the middle. It fails where it meets the original house – the flashing, the foundation joint, the siding seam, the duct run. Build your maintenance calendar around those junctions and put a date on each one. Fall for the roof and flashing, March for the perimeter drainage, quarterly for the filters, annual for the electrical test, and every three to five years for the anode rod and the re-caulk. Keep a written log with photos. Total budget: $400 to $900 a year, roughly the cost of one emergency visit. That’s the whole trade.
Rowan Construction Group Fremont builds additions and ADUs under the Haven Standard, with a written price before any work starts, signed change orders on every change, and a documented photo record on every visit. Our technicians have up to 19 years of experience, and our crews are background-checked and uniformed. If you want a second opinion on a maintenance quote or a competitor’s estimate, we review any written estimate line by line at no charge.
Call (866) 797-6171 to schedule your free estimate.
Written by the team at Rowan Construction Group Fremont.